Quick Steps
For the “Just Tell Me How” Crowd
- Anchor sized holes: MudPlugz or Spackle Hack.
- Medium holes: a puck patch, Eclipse Patch.
- Holes with nothing behind them: spray foam, tape straps or the Wall Web.
- Large holes: blocking or drywall clips, butterfly patch.
- Old wall boxes: spray foam backing (confirm it’s not live)
watch out
Do your best to check for wires and pipes before you cut into a wall.
Why You Should Learn Drywall Repair
Save money and make it invisible
Drywall damage happens: small holes, cracks, bigger patches. Fixing it doesn’t have to be stressful. Here are 13 different repair methods, so you can pick the right one for the job.
- cost-effective: skip expensive professional repairs
- DIY-friendly: most methods need minimal tools
- versatile: works for holes, cracks, wall boxes and more
- professional finish: with proper sanding, taping and painting, repairs can be invisible
tip
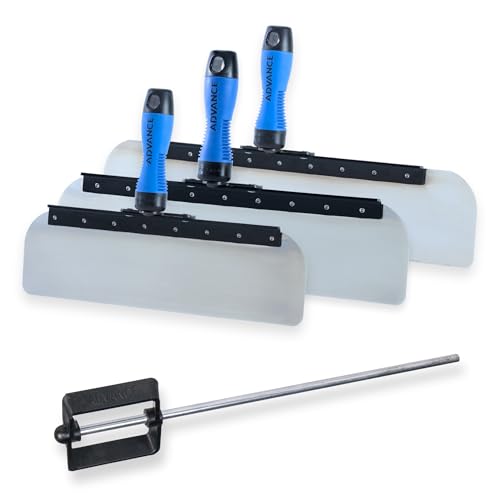
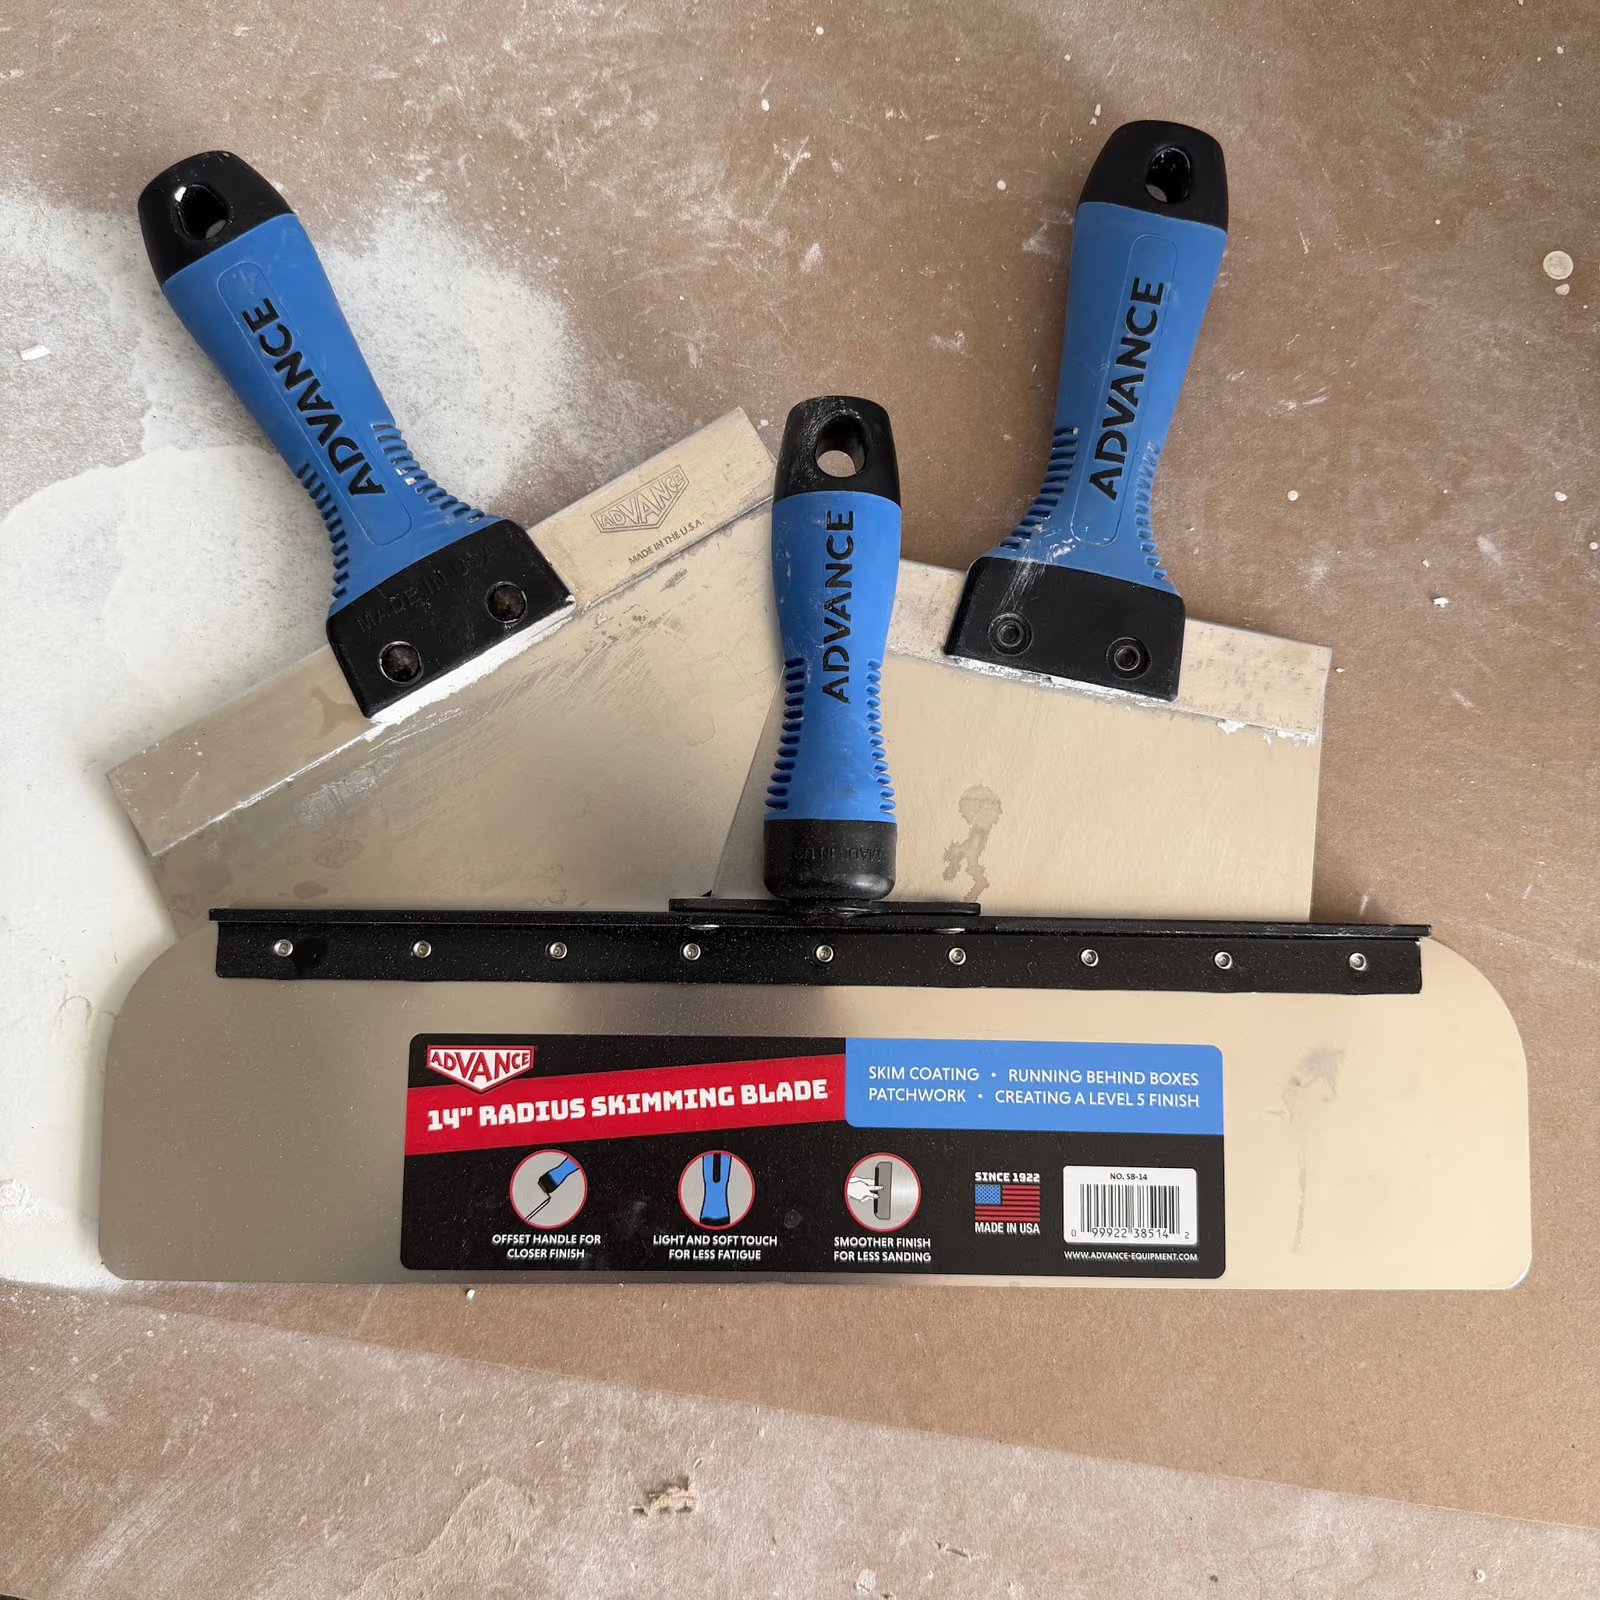
A good set of drywall knives goes a long way.
Butterfly Patch
Also called a California, hot or Chicago patch
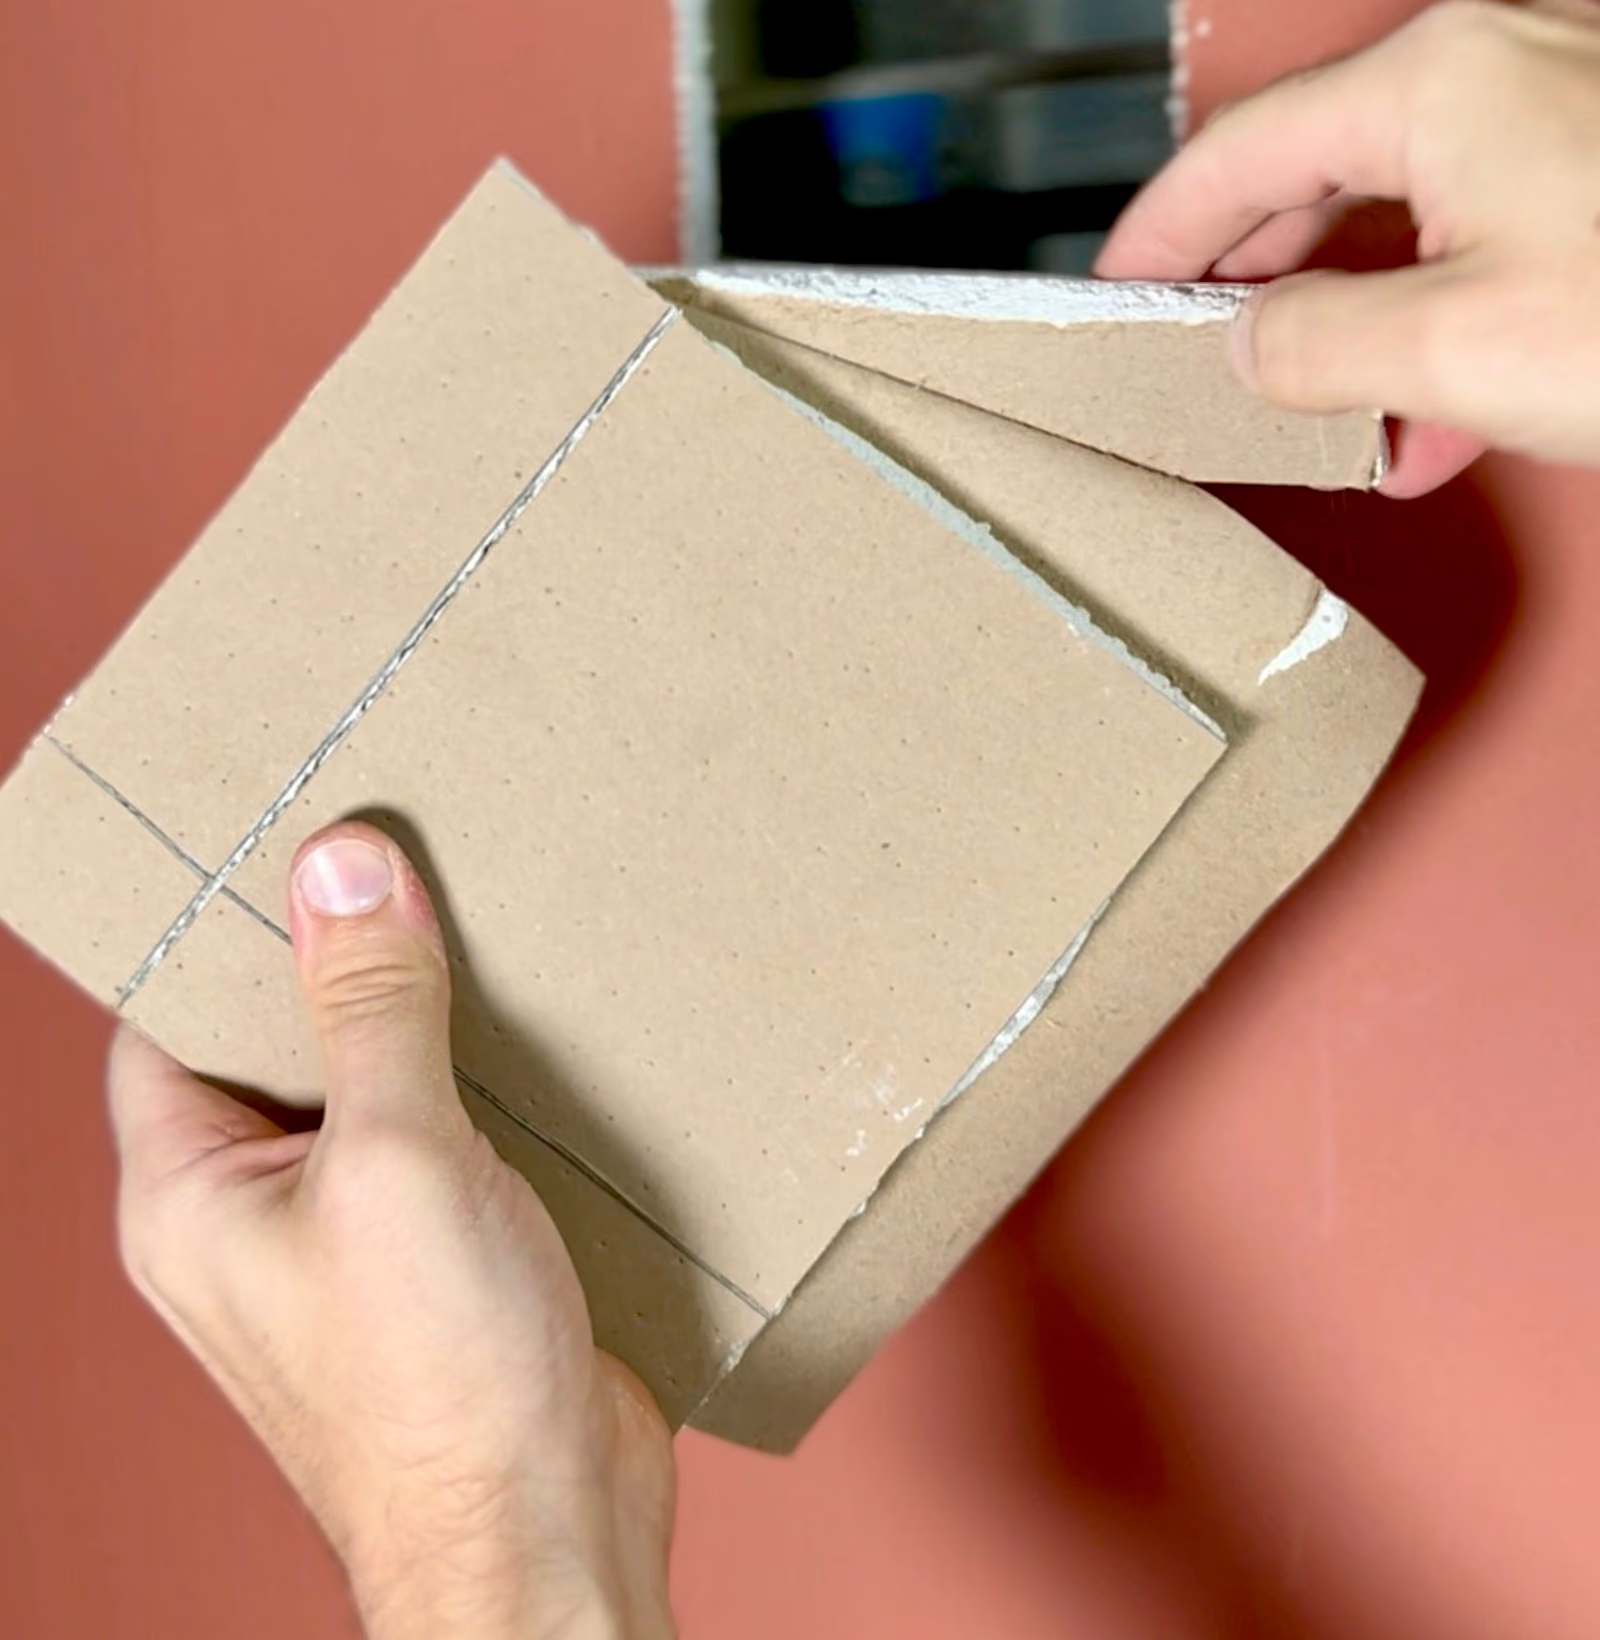
- Cut out the damaged drywall section, ideally with straight lines
- Cut a scrap of drywall slightly bigger than the new hole
- Flip the scrap piece over and transfer the dimensions of the new hole onto the back of the scrap piece
- score the back to match the opening and snap off the extra gypsum, leaving the paper
- mud the hole and the patch, press it in and mud over it, then sand and paint
Works well for irregular holes, or when you don’t have any material to use for blocking, or joint tape.
tip
Keep the paper face intact. That border blends into the wall like built-in tape.
Spray Foam and Tape
When there’s nothing behind the hole
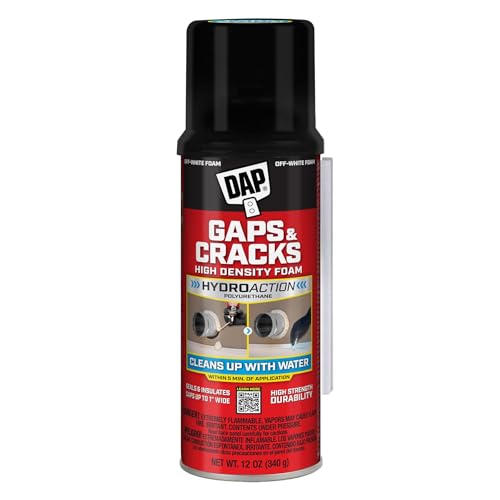
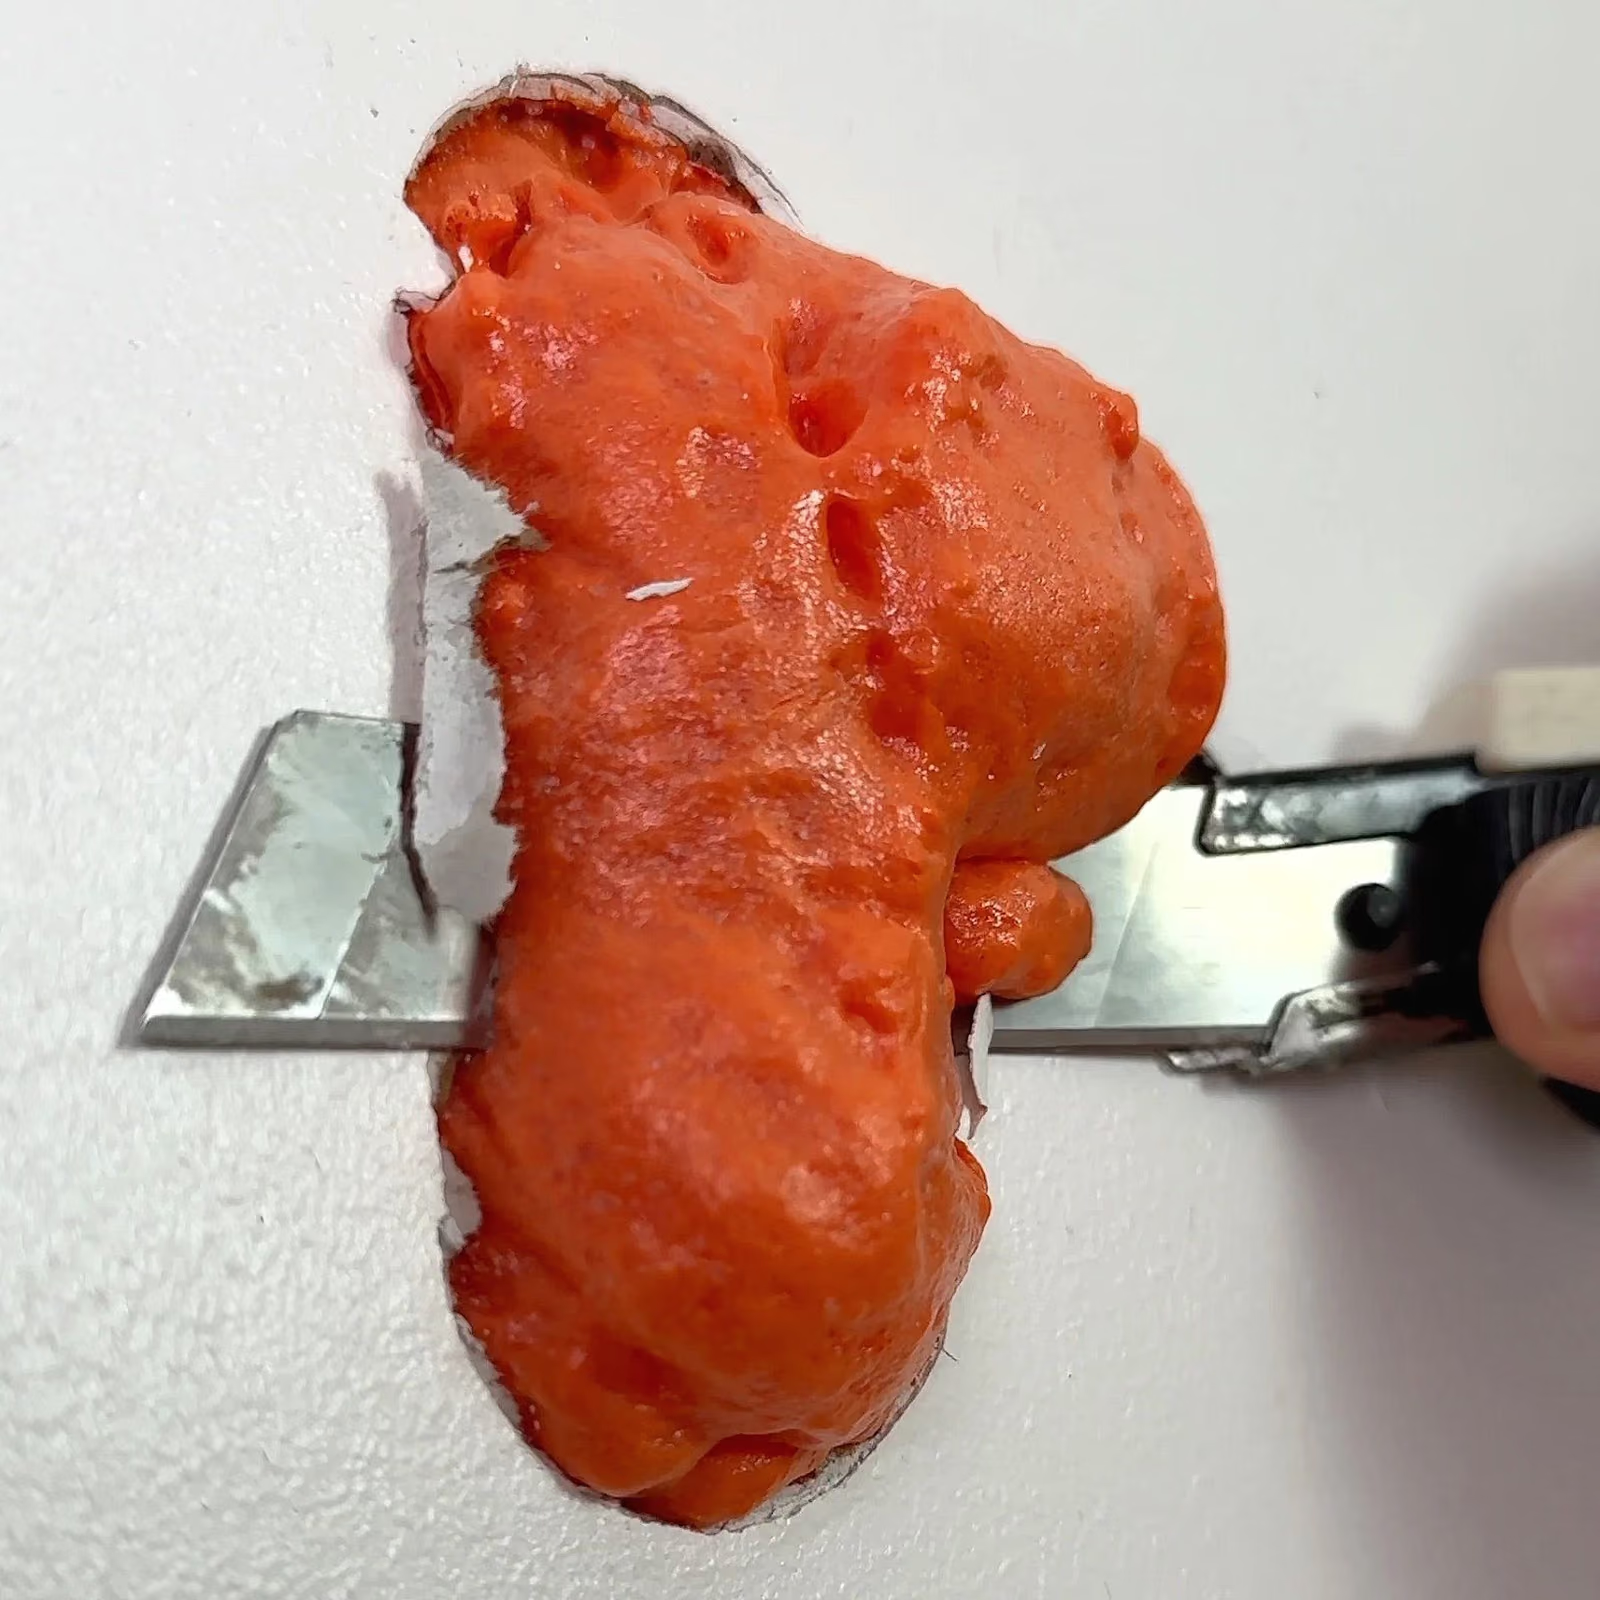
Spray foam isn’t just insulation. It can act as a backer for a patch.
- fill the cavity with foam (build up from the back wall, or “foam weld” around the edge of the hole)
- let it cure fully
- cut back any foam sitting proud of the wall
- apply compound and embed tape
- add multiple thin coats
- sand and paint
tip
Let the foam cure fully before you cut it back, or it’ll push your patch out.
The Wall Web
For medium and large holes
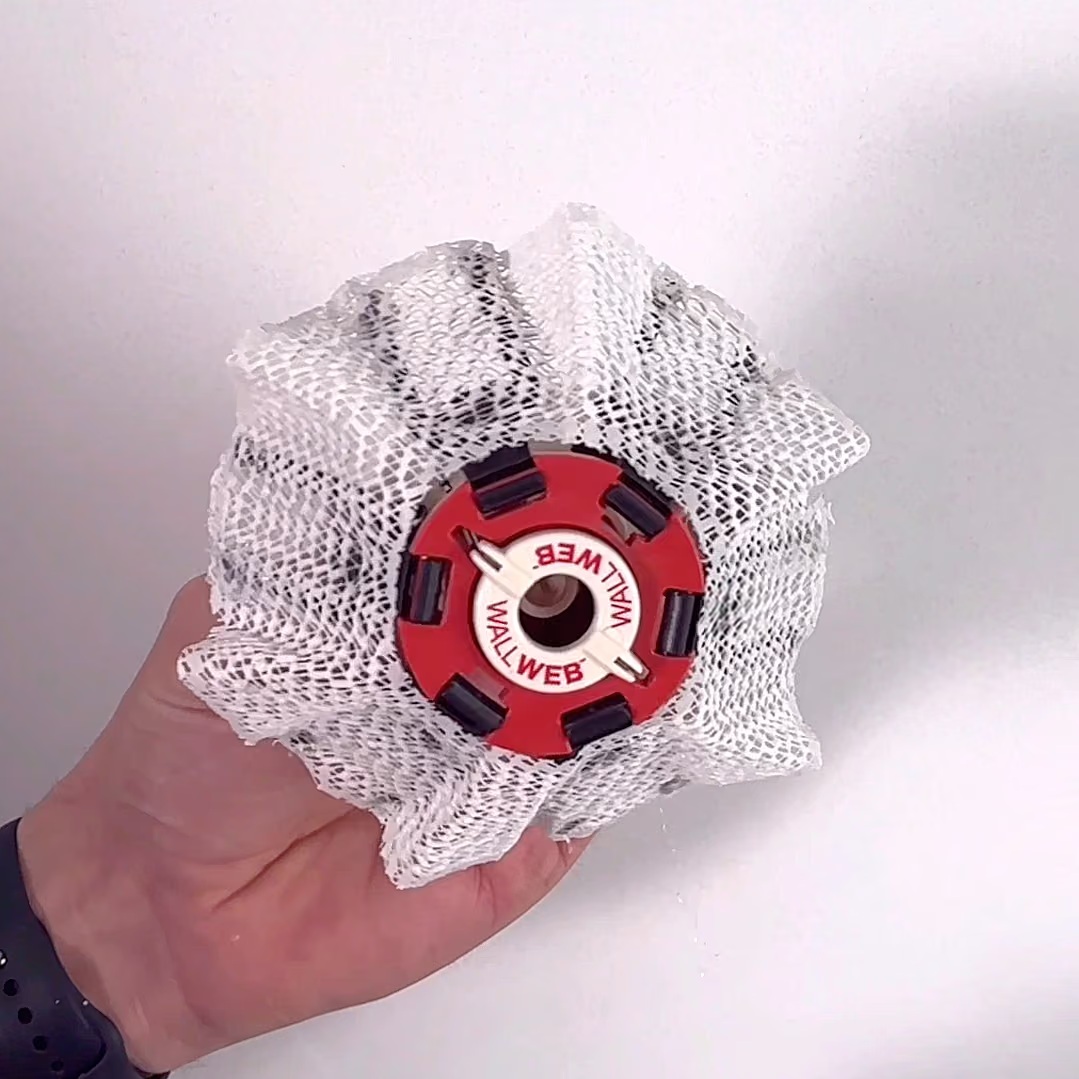
- a highly (maybe overly) engineered device that slides into the hole and braces itself off the back wall.
- supports your compound without needing tape (according to them)
- costs about $20, but works well for medium to large holes
The Wall Web isnt cheap, but someone clearly put a lot of thought into its design. If you can afford them, they could be a cool addition to your patching arsenal.
tip
Tape it anyway. Without it, hairline cracks can show up around the patch.
Puck Patch
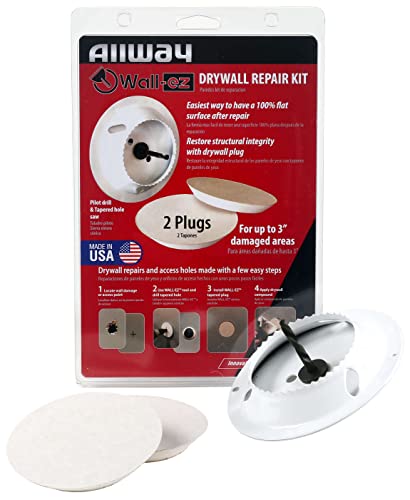
ALLWAY WEK2 Wall-EZ Drywall Repair Kit
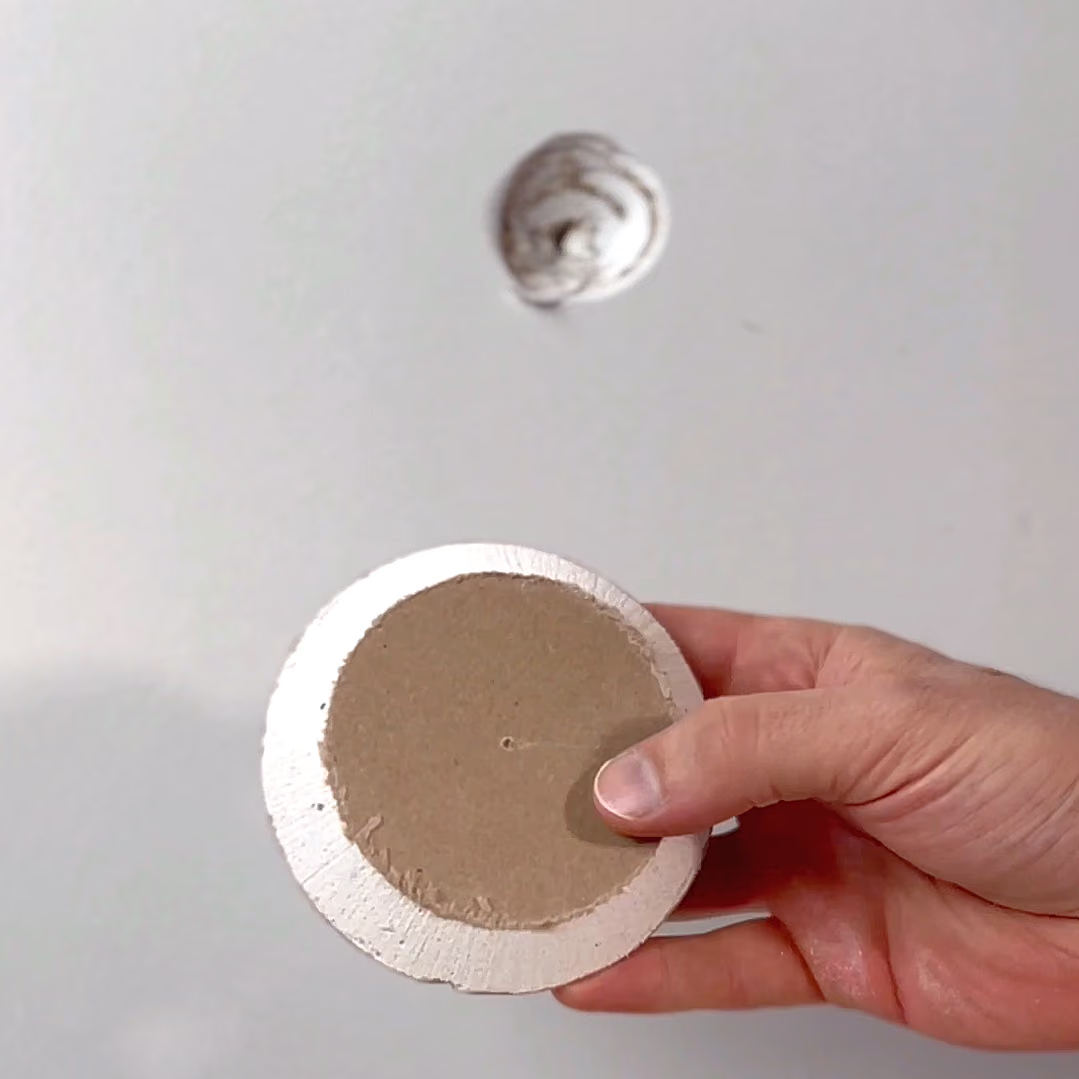
- comes with a hole saw and plugs that slide into the bevelled hole
- minimal prep needed
- great for medium-sized holes
- No need to tape (according to them)
We’ve been in the habit of saving our ceiling pot cut-out pucks for years, but these ALLWAY WEK2 Wall-EZ Drywall Repair Kit (hole saw and two plugs) are beveled to sit perfectly flush with the holes you’ll create with their hole saw.
tip
Again, tape it anyway. If youre detecting a theme here… good on you!
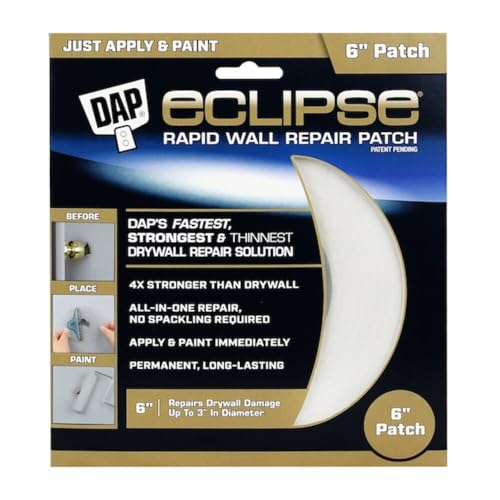
Eclipse Patch
The zero-skill option
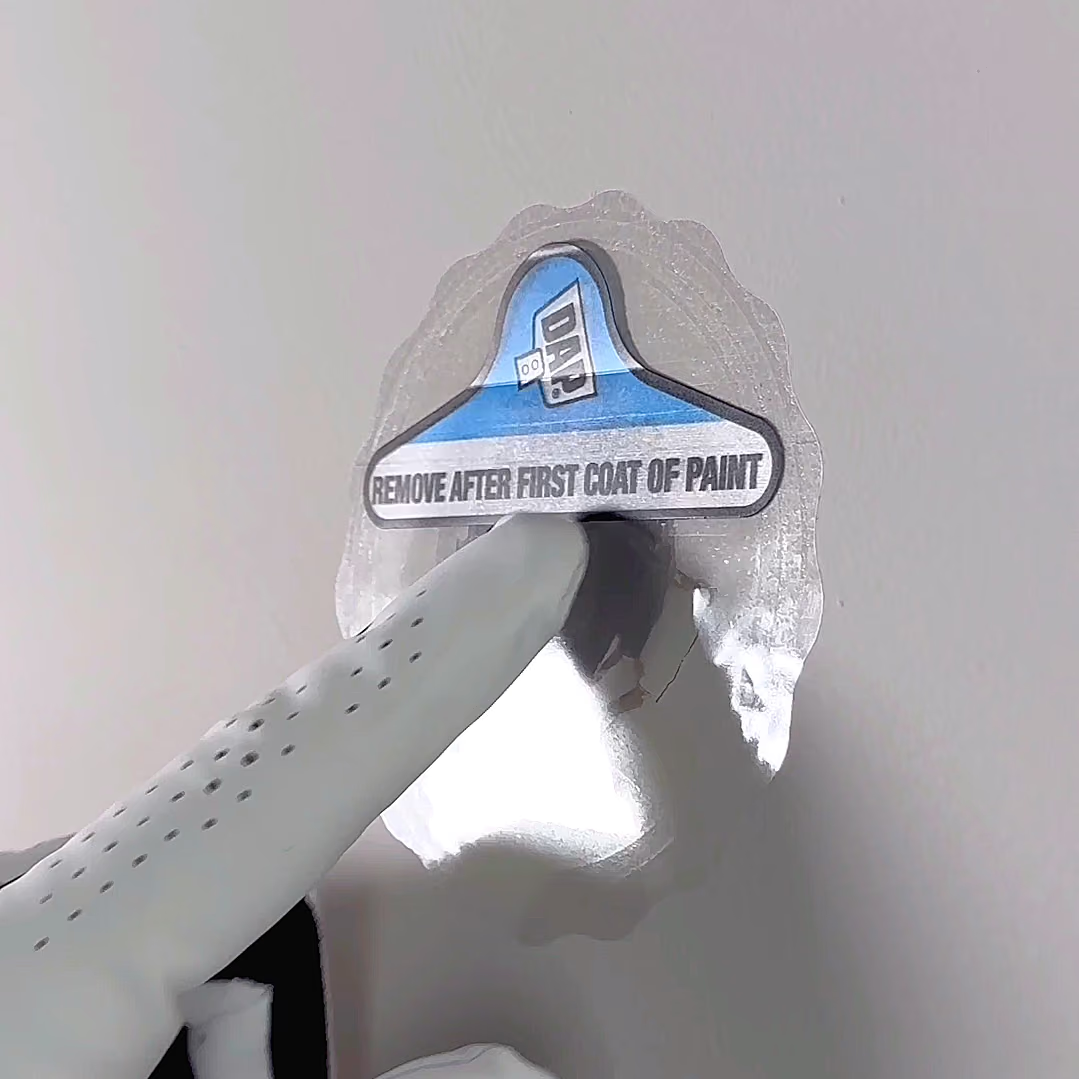
- a “wall sticker” patch that needs no real skill
- two layers let you build up paint thickness for a seamless look
- use a heavy-nap roller and lots of paint so the edges disappear
We first demonstrated the Eclipse Patch before realizing that with some practice and the right rollers, you can actually make these things disappear. Seriously. The key is to use a really heavy knap roller on the first coat of paint, and to leave it thicker than you normally would. This builds up the paint around the border of the sticker and helps to make it disappear when you put the additional coats on later.
tip
Use a thicker roller, and leave your coats of paint much heavier than you normally would.
Tape Straps
When you can’t add backing
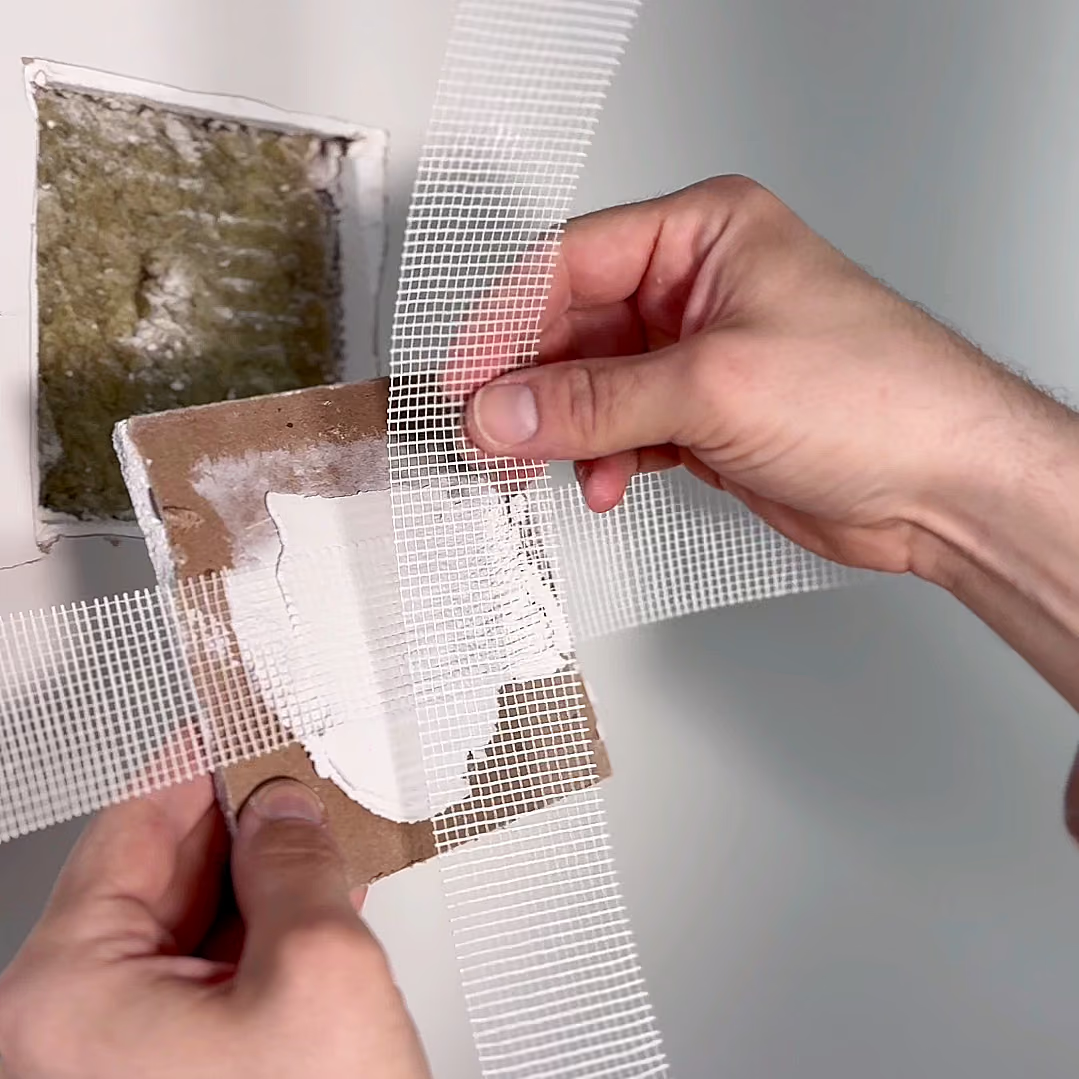
- uses drywall tape as a strap system to hold a patch in place
- perfect when you can’t add blocking behind the hole
- tape the front, mud, sand and paint
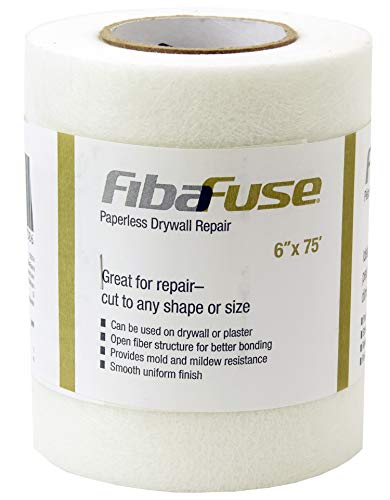
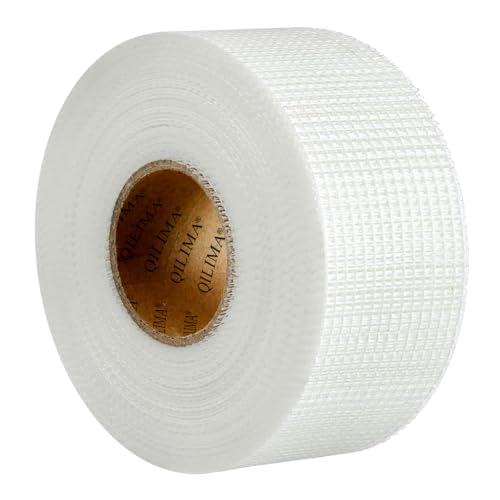
We stumbled upon this method out of desperation, but have found ourselves coming back to it more often than you’d think- mainly because all you need is a little Drywall mesh tape and some compound.
tip
Make sure you use the sticky kind of drywall tape.
Basic Blocking
Tried, tested and undoubtedly reliable for larger holes
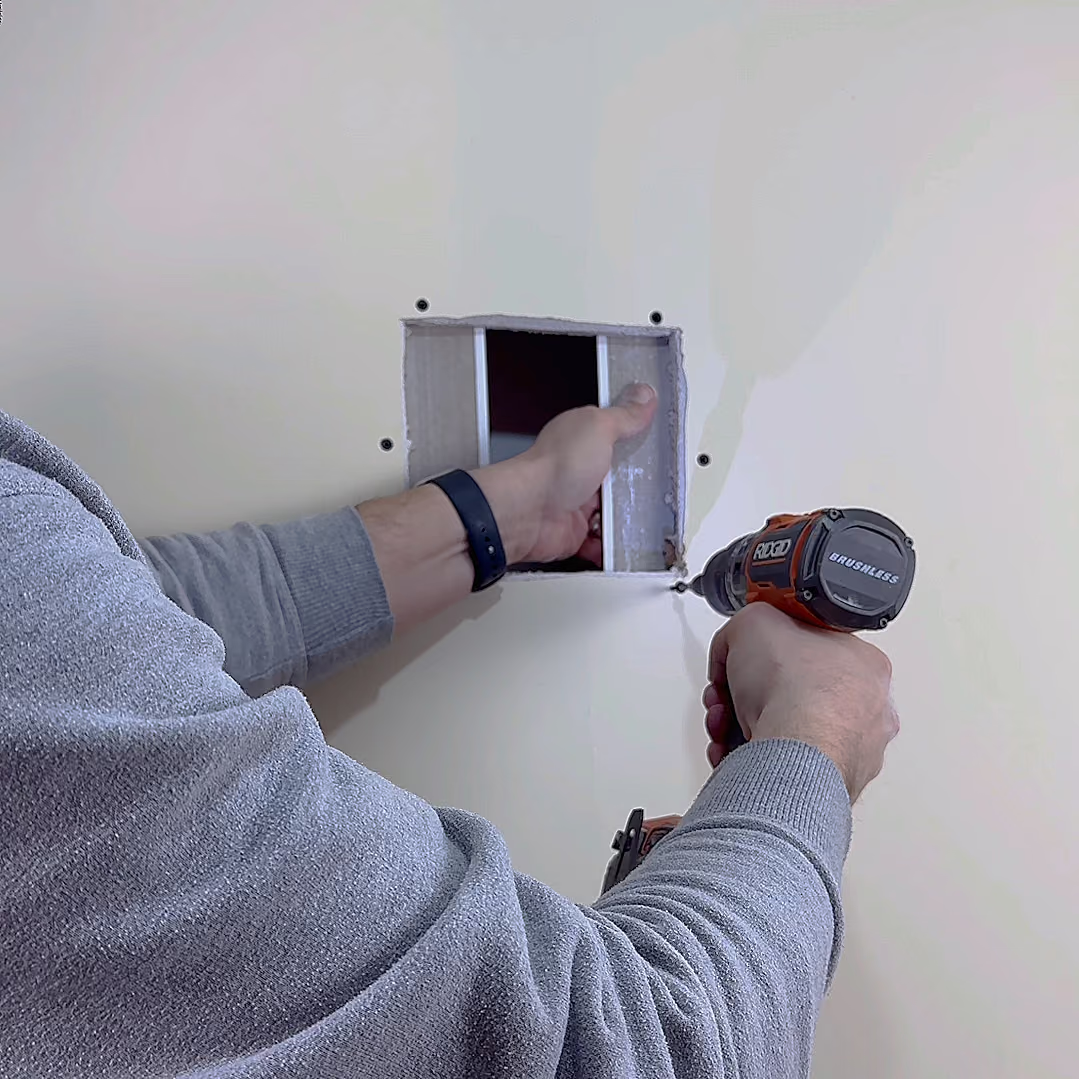
- install blocking behind the damaged drywall
- screw the new drywall to the blocking
- tape, mud, sand and paint
A reliable, long-lasting fix for bigger holes. Think of this as the gold standard for how most people fix their drywall holes. Nothing fancy or complicated about it- but it always works.
tip
Any scrap that holds a screw works as blocking. Feel free to get creative.
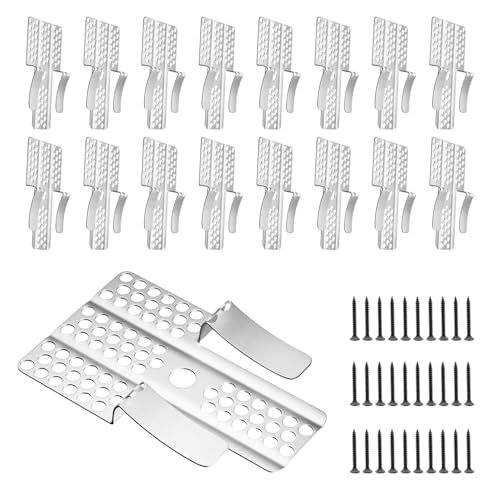
Drywall Clips
Instant backing
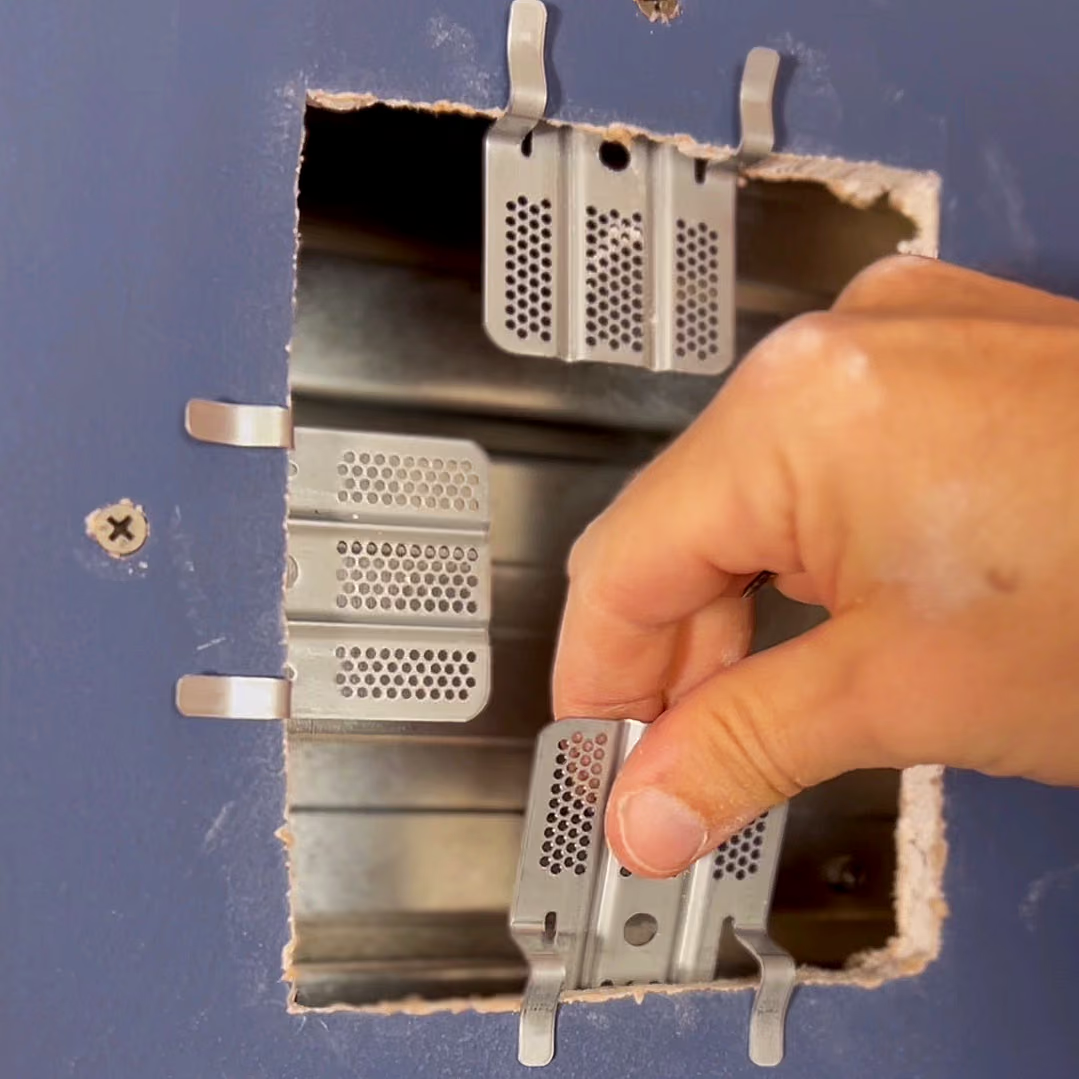
- clips attach to the existing drywall to create backing for a new piece
- screw in the patch, then tape, mud, sand and paint
- excellent for medium to large holes that need extra support
We have made a point to always keep these Drywall support clips in our toolbox, because you never know when you’ll need to repair drywall- and these sure beat bringing scrap lumber around with you!
tip
Do yourself a favour and keep a pack or two of these in your toolbox.
Spray Foam to Delete Wall Boxes
For old boxes and cavities
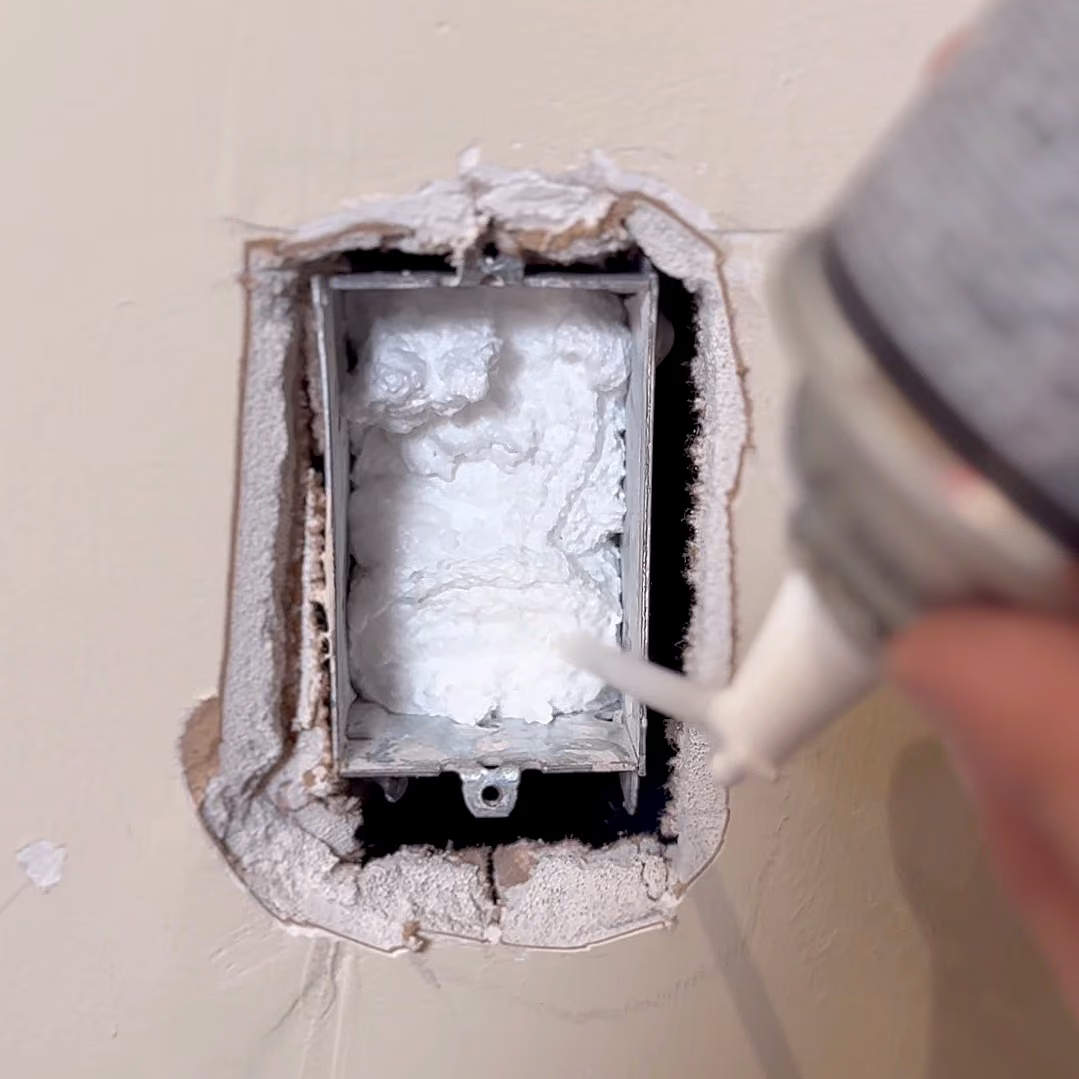
- use foam as backing in an old box or cavity.
- cut it back once it’s expanded and cured.
- tape and mud.
It feels like the further away from landlines we get, the more of these ‘delete’ jobs we’re asked to do. The good news is, as long as the lines are disconnected (very important), the box itself can act as a backer, which really speeds patching time up.
watch out
Make sure the box is dead first! Live wiring shouldn’t ever be buried behind drywall.
Wall Patch Kits
Available at most big-box stores
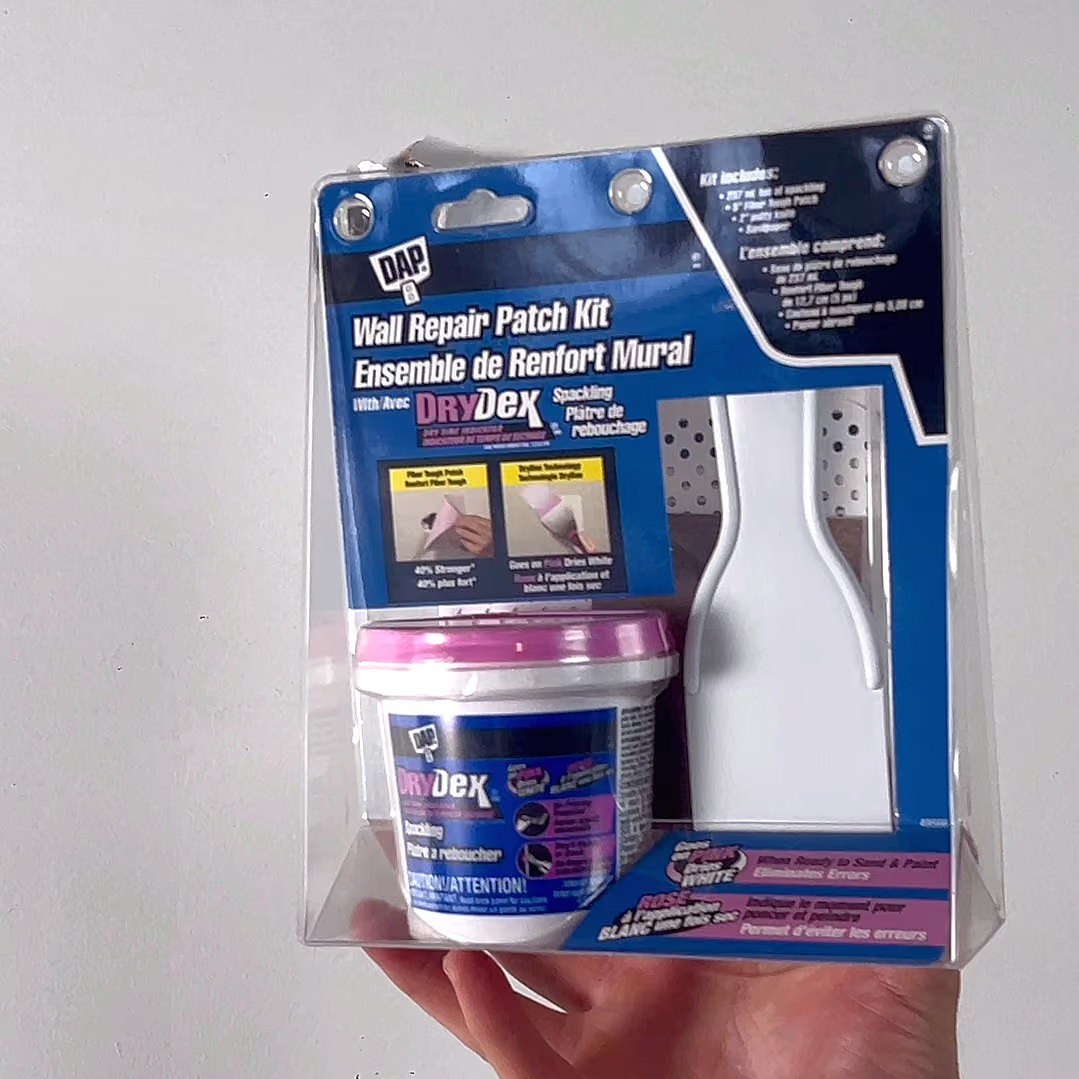
- apply compound and stick on the patch
- mud and sand
- follow the full instructions on the package
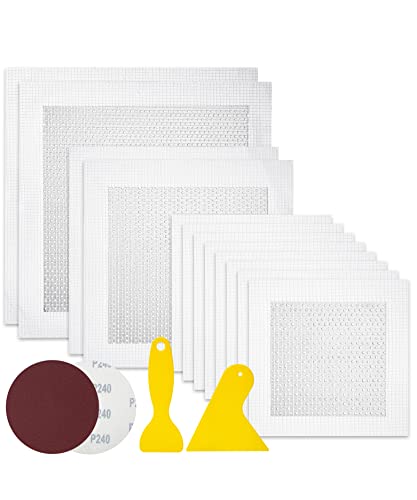
Maybe the best thing about Wall patch kit’s like this, is that everything you need is in the package (assuming you’re ok with using a plastic butter knife to patch with). It also comes with step by step instructions, and that never hurts. The main drawback is that they’re usually pretty thick, and making the patch disappear into the wall takes a bit of practice- but once you get the hang of it, these are a valuable tool.
tip
Fan your mud out wider than you’d think, over several coats so the patch disappears.
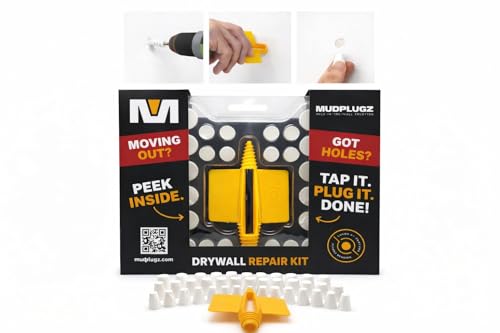
MudPlugz
When it’s more hole than patch
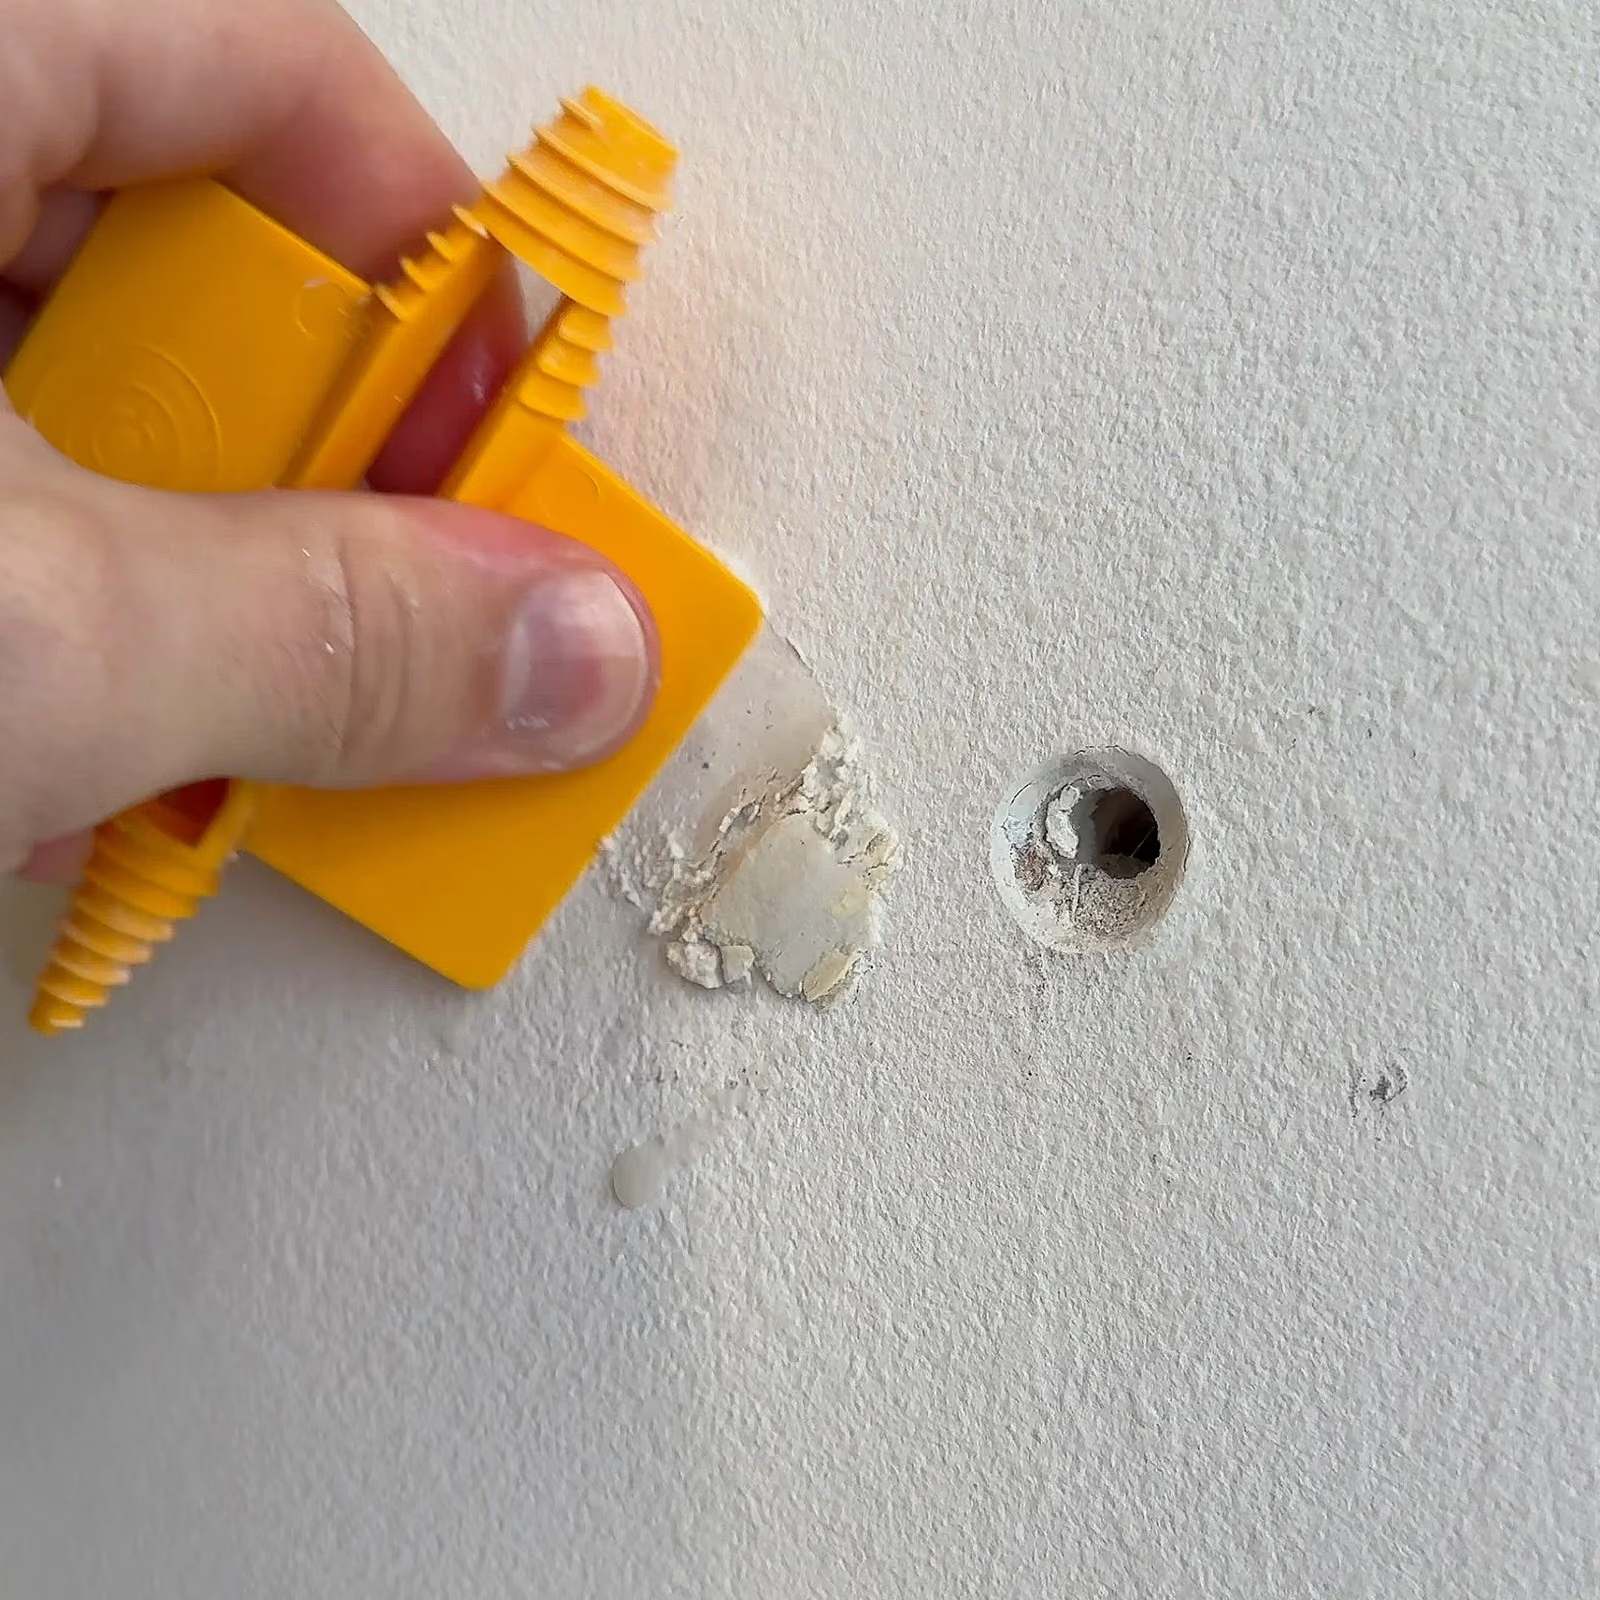
- use the included “Stingray” tool to size the hole
- soak the plug in water until it’s pliable
- push it into the hole
- smooth and sand
These are great for quick repairs that won’t be heavily scrutinized- and again, everything you’ll need comes in the kit (with step by step instructions). These have really grown on us since we first tried them out.
tip
If you like the idea of an all in one, wall anchor-repair solution, these are our choice.
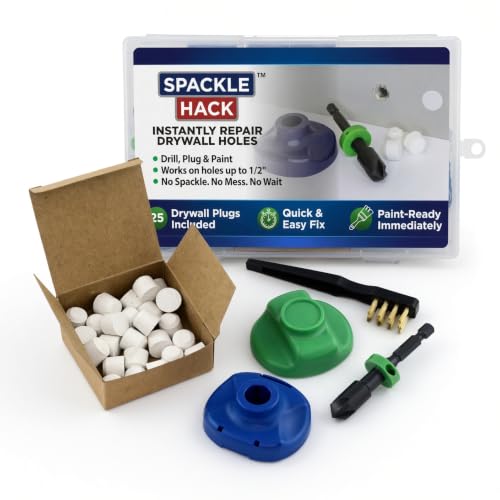
Spackle Hack
For holes left by drywall anchors
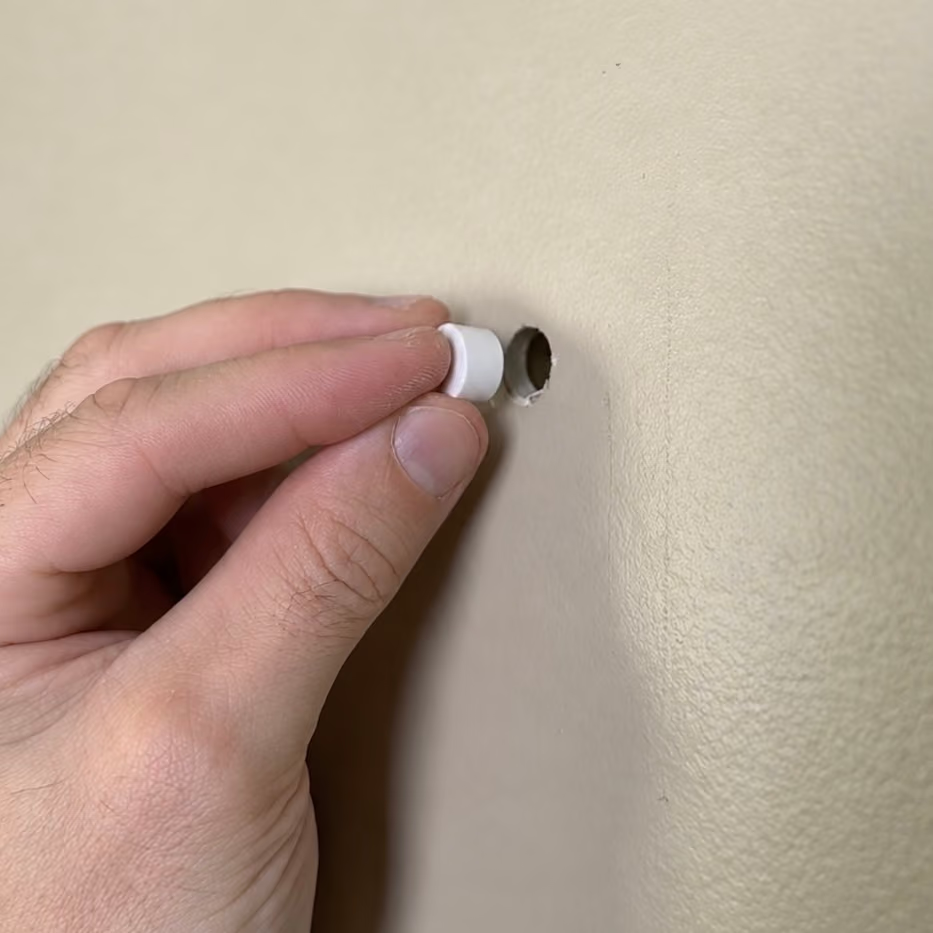
- drill out the damaged area with the supplied bit, depth stop and dust-collecting guide
- press a pre-sized repair plug into the clean hole with the supplied tool, so it sits slightly proud of the wall
- flip the tool over, wrap it in sandpaper and sand the plug flush
- paint with a couple of coats
No tub of spackle and no waiting for compound to dry. Spackle Hack takes a little finesse with the sanding and paint to make the plug disappear completely, but for a quick fix it’s a pretty clever little invention. Just keep in mind we were never really able to make them disappear to our standard, and they can only be used for holes smaller than the supplied counter-sink drill bit.
tip
Undeniably fast repair for holes smaller than the supplied drill bit.
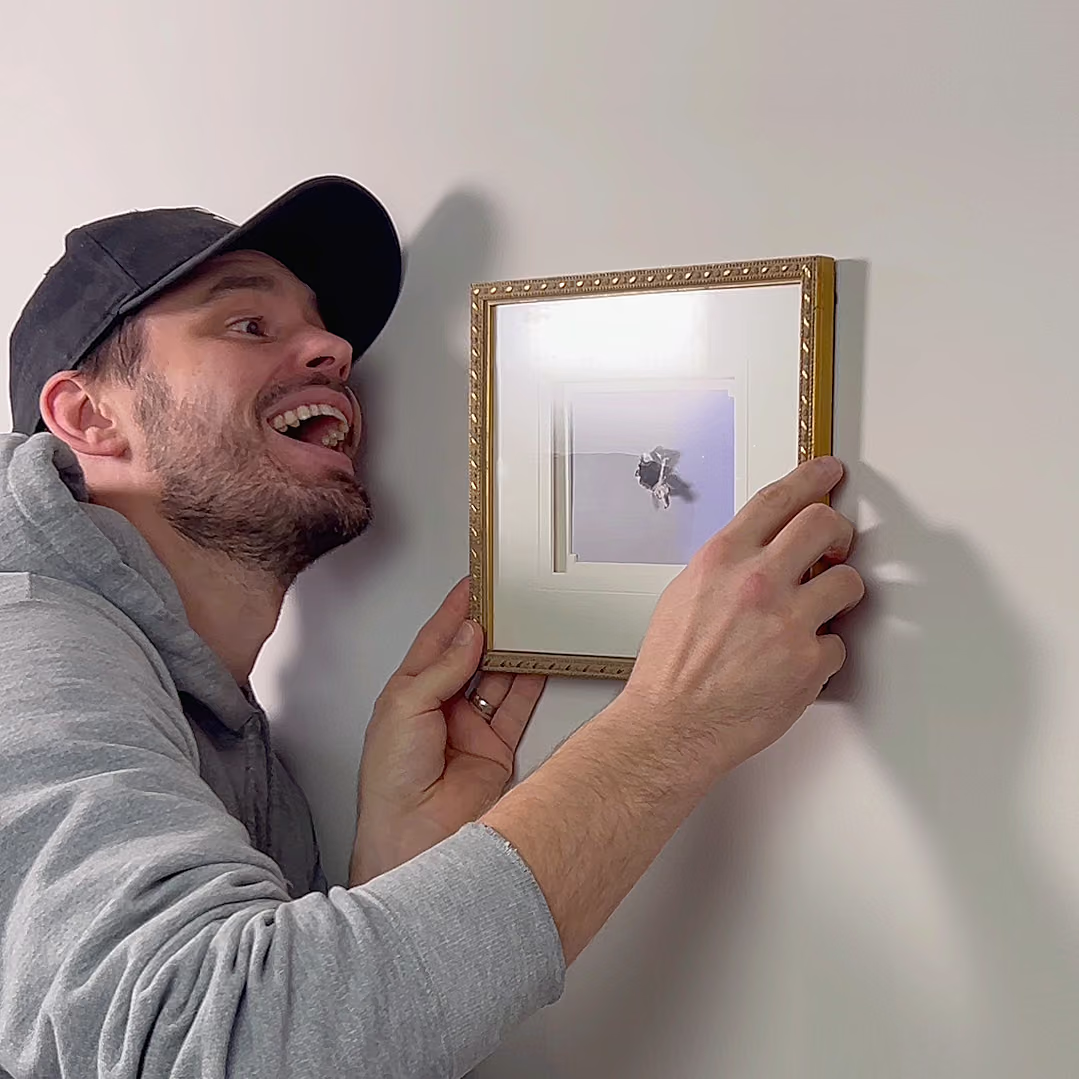
Hang Art Over It
The cheeky option
For holes that don’t really matter. Works for any size: just cover it with art or decor. Need we say more?
Pro Tips for Flawless Repairs
Make it invisible
- the bigger the hump, the wider the mud: fan each coat further out
- spend extra time sanding the edges where new compound meets the old wall
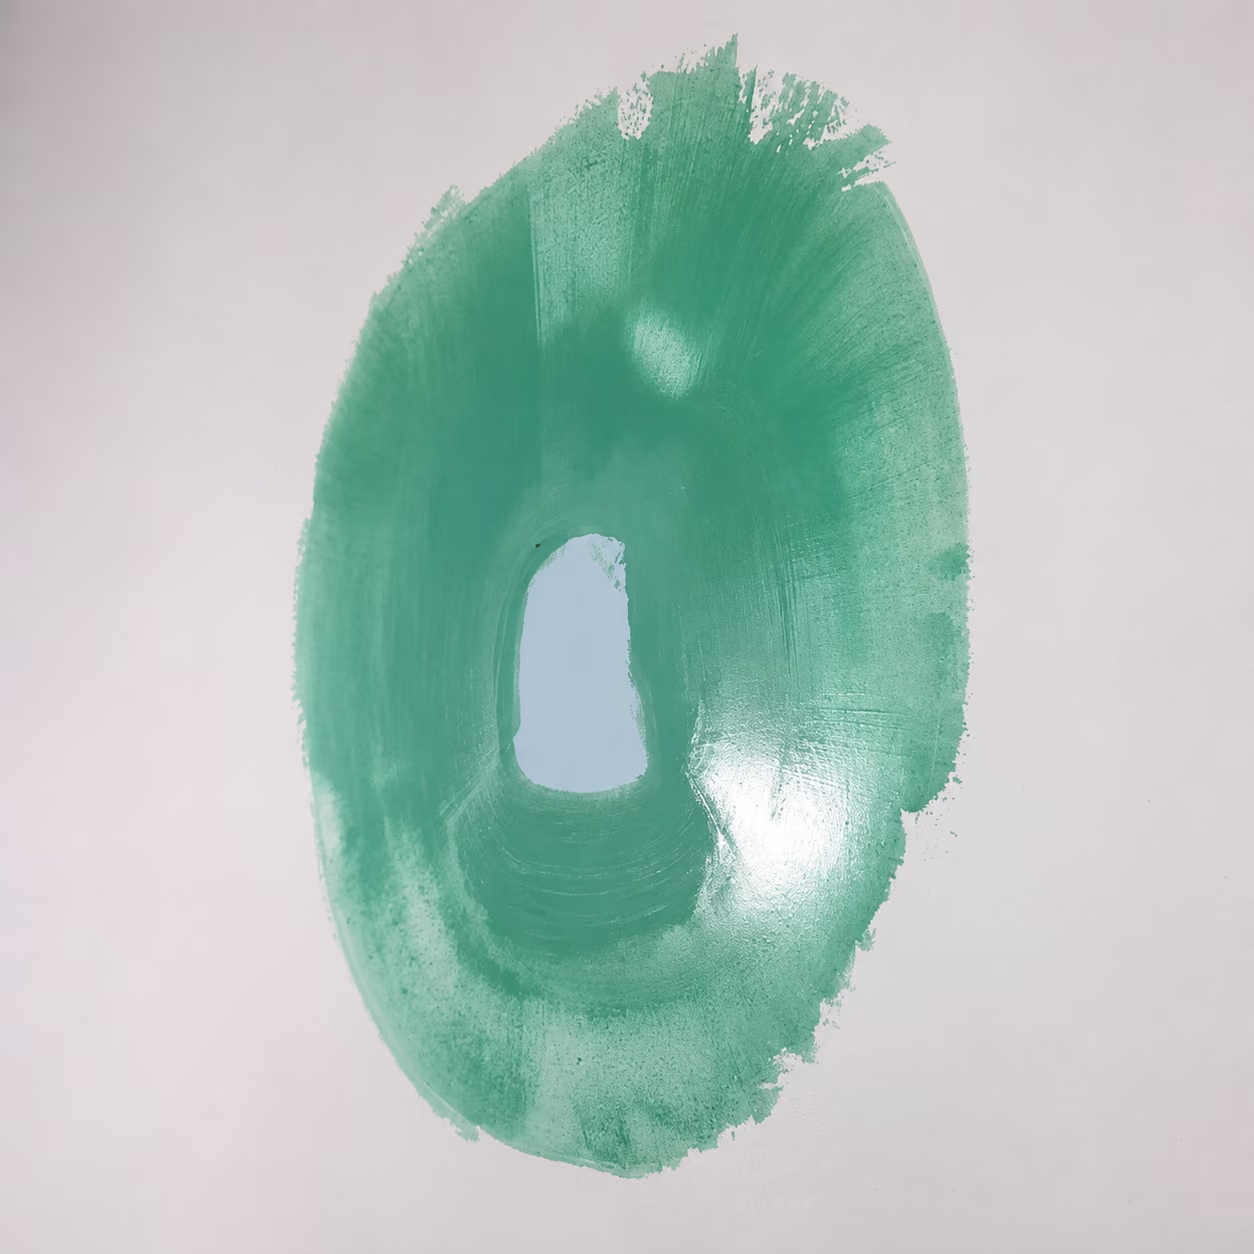
- prime patches before painting to avoid flashing and keep the colour even
- Keep your coats of paint thick to better match the texture of the rest of the wall
tip
Prime every patch before painting, or you’ll get a dull spot called flashing.