

Blog
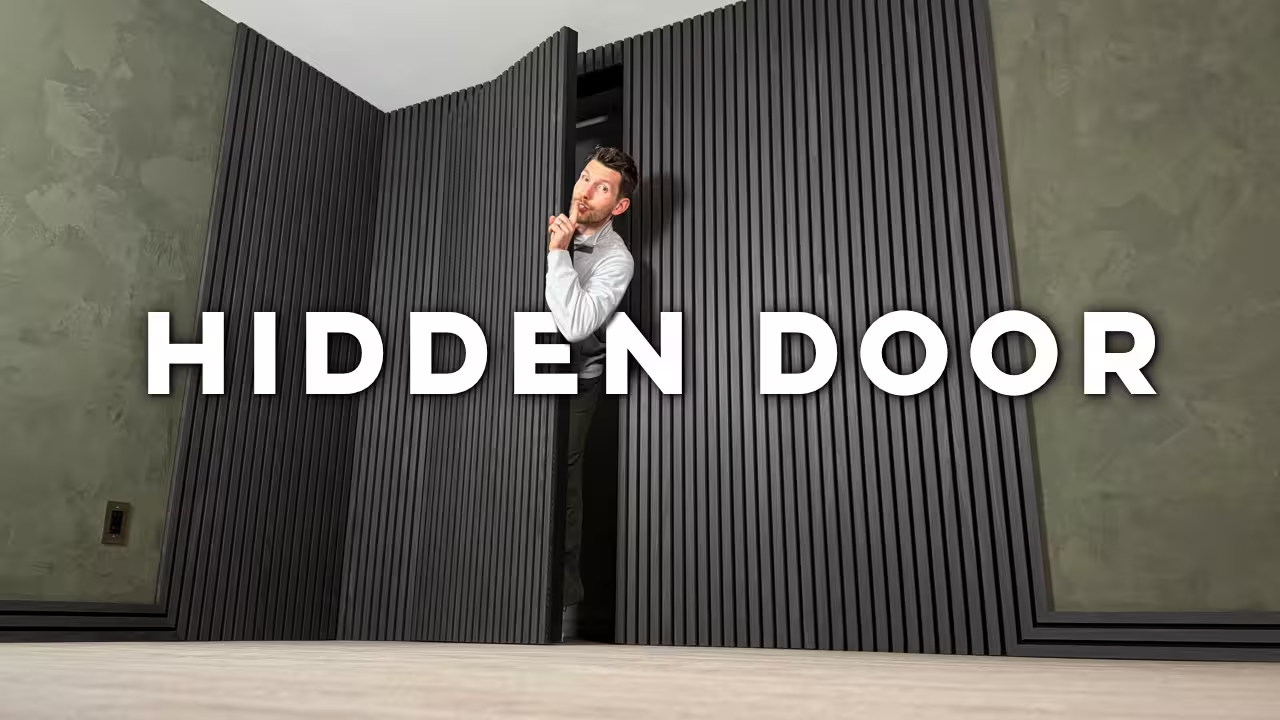
Concealed by Design: How to Build a Hidden Door with Wall Panels
For centuries, doors have been more than just passageways—they’ve been architectural statements. But what happens when you remove the statement altogether? Enter the concealed door: a design that blurs the boundary between wall and entryway, balancing craftsmanship, innovation, and pure visual intrigue.
In our latest YouTube tutorial, we take you step by step through the process of creating a virtually invisible door using sleek 2-inch decorative slatted panels from RONA. The result? A hidden entryway that feels like part of the wall itself, paired with a textured Roman Clay finish that makes the room look as intentional as it is mysterious.
.avif)
DIY Plaster Pillow Coasters (and a Plaster Pillow Wall Sconce)
If you’ve seen any of our videos of Dan making plaster pillows—those soft, wrinkly “stone pillow” coasters—and wondered how you could make them yourself at home, this is the full walkthrough. And because we can’t leave well enough alone, we’re also taking the same method and turning them into a DIY plaster pillow sconce (yes, an actual wall light that looks like a fluffy plaster pillow).
Below is the exact process we used in the video: the Plaster of Paris ratio, the Ziploc bag trick for the pillow shape, how to remove air bubbles, how to get the best wrinkle/smoosh details, and how to paint and seal plaster for a durable finish.
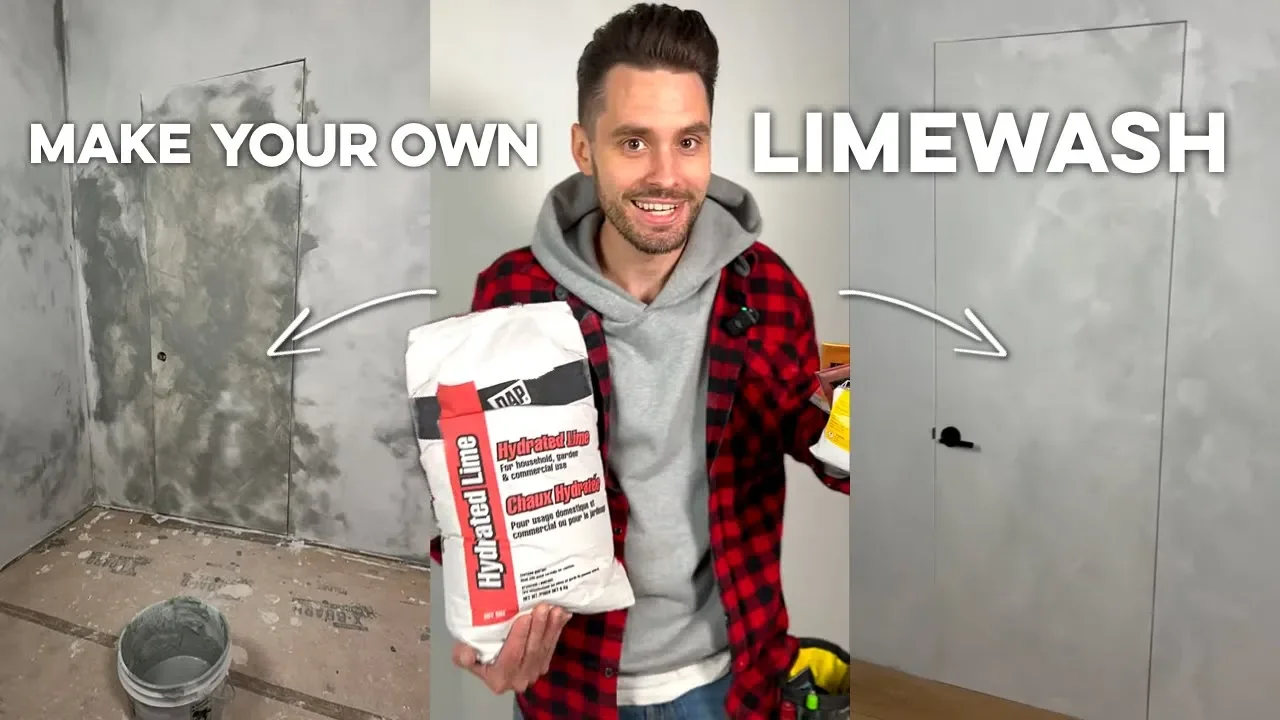
DIY Limewash Paint: How to Make Limewash at Home
Limewash walls are everywhere right now—soft, cloudy, and perfectly imperfect in that modern/designer way. The only annoying part? Buying real limewash paint can be expensive or hard to find, depending on where you live. So we did what we always do: we made our own. In this guide (based on our video “How to Make Your Own DIY Limewash!”), you’ll learn the simple DIY limewash recipe, what each ingredient does, and the best way to apply limewash so you get that signature textured look—without panicking halfway through the first coat.

We'll show you exactly how to install SONOpan acoustic panels to help cut down on noise transfer in a semi-detached home!
If you've ever shared a wall with a neighbour, you know exactly how frustrating it can be. You can hear them, and that means that they can hear you too. If only there were something you could do...
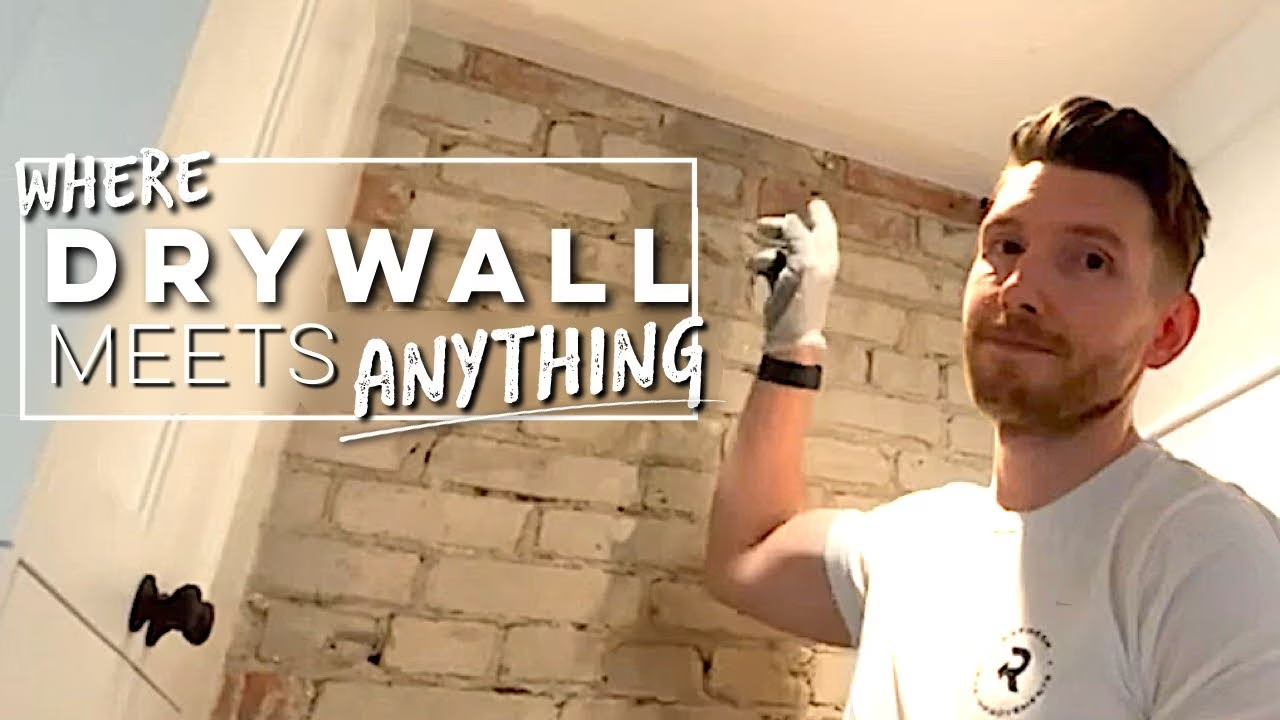
Does your drywall meet a surface that isn't drywall? We'll show you a clean way to transition from drywall to virtually anything else using any regular corner bead you've got lying around. The best part? It will NEVER crack.
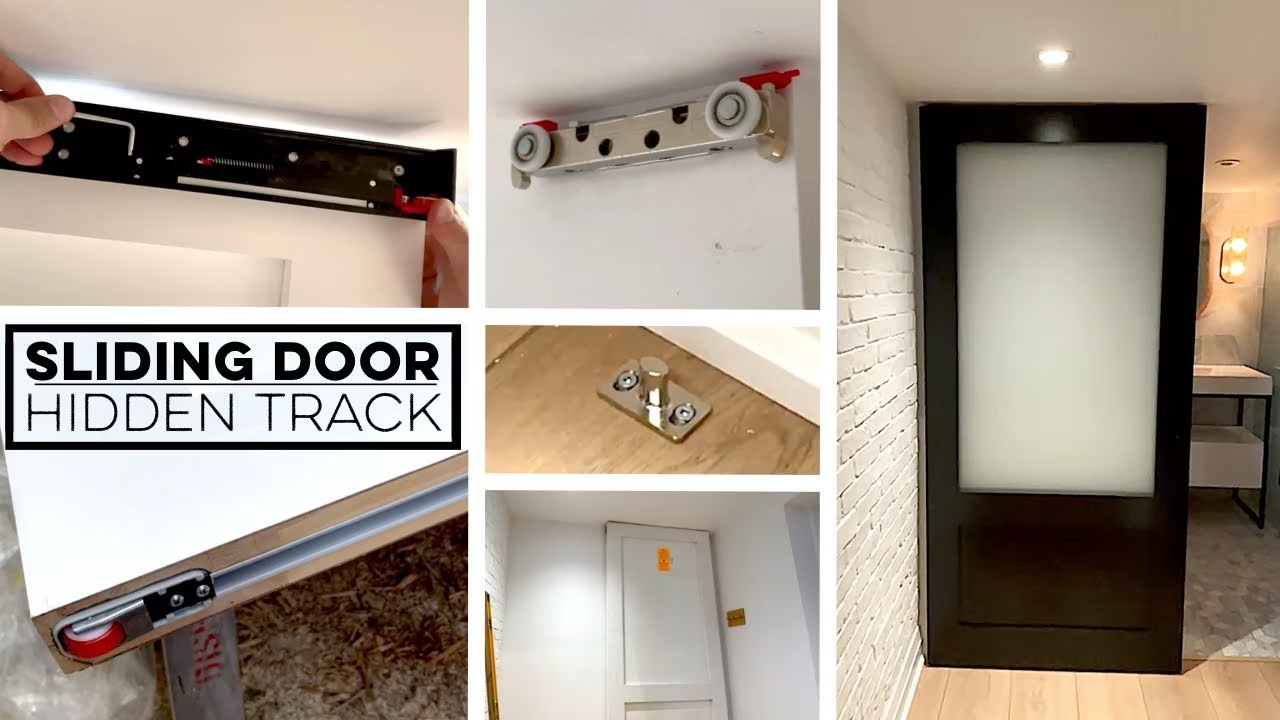
Watch as we show you how to install another Magic 2 wall mounted sliding track sliding door system!
If you're looking to add a sliding door, but not looking to stare at the track all the time, we've got the solution!
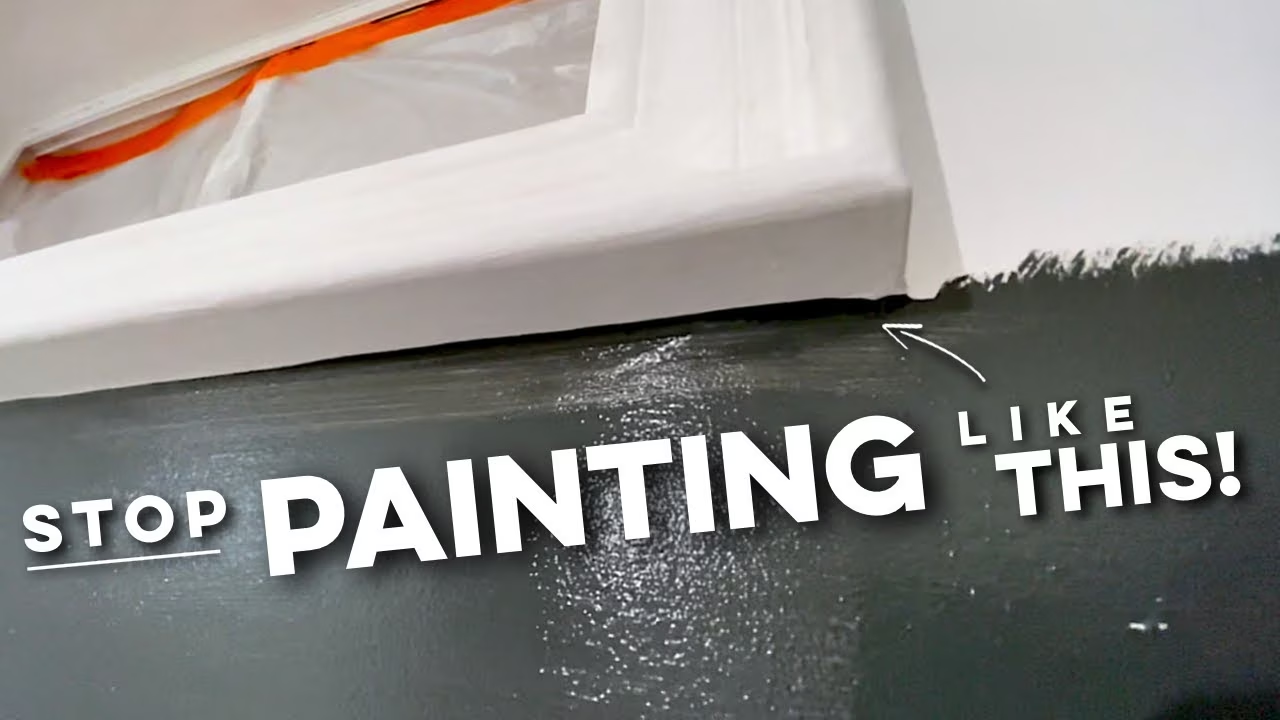
Don't be tricked by the 'satisfying' viral painting videos you're seeing. Learn a better way to cut in, and paint cleaner straighter lines every time!
We've all seen the videos. Someone grabs a brush and cuts a perfect line in the blink of an eye. Full coverage, straight lines, no mistakes. Seems to good to be true, right? Unfortunately, most of the time... it is.
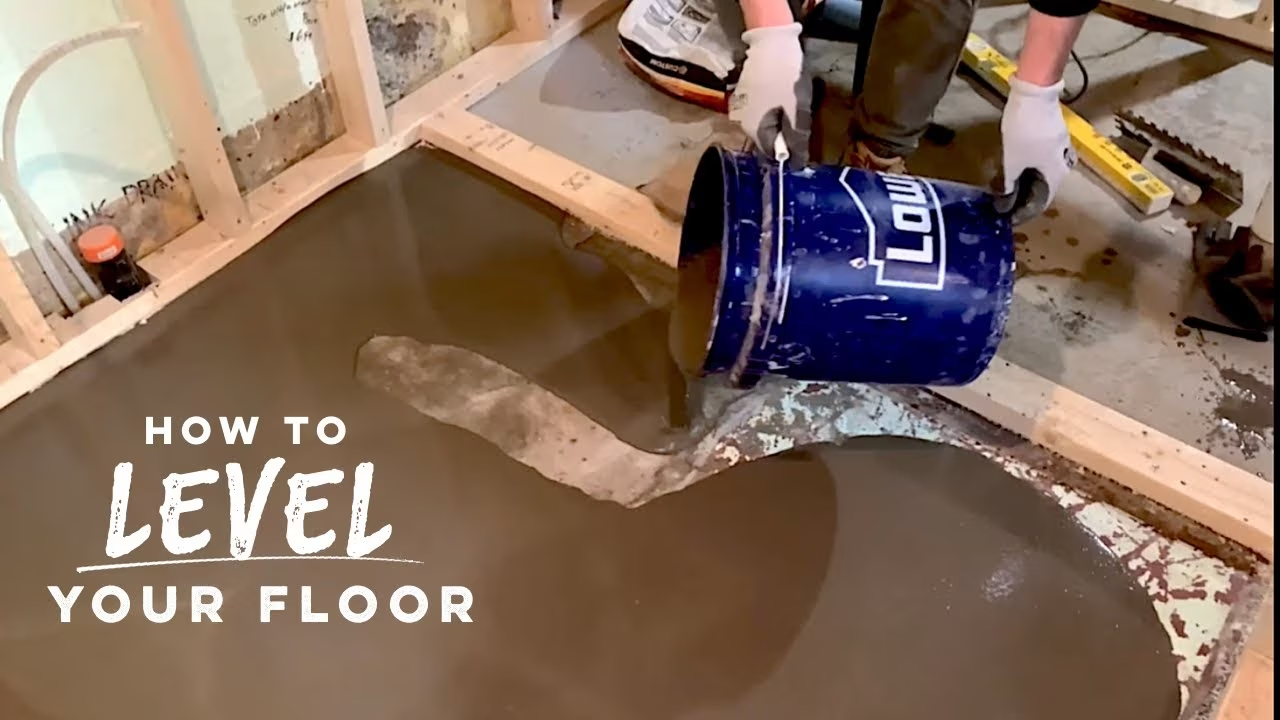
Here's a quick and easy step by step tutorial on how to seal, prime and level a wonky concrete floor using self leveling cement the same way the pros do! We're making self leveler so simple, you'll be able to do it yourself in no time.
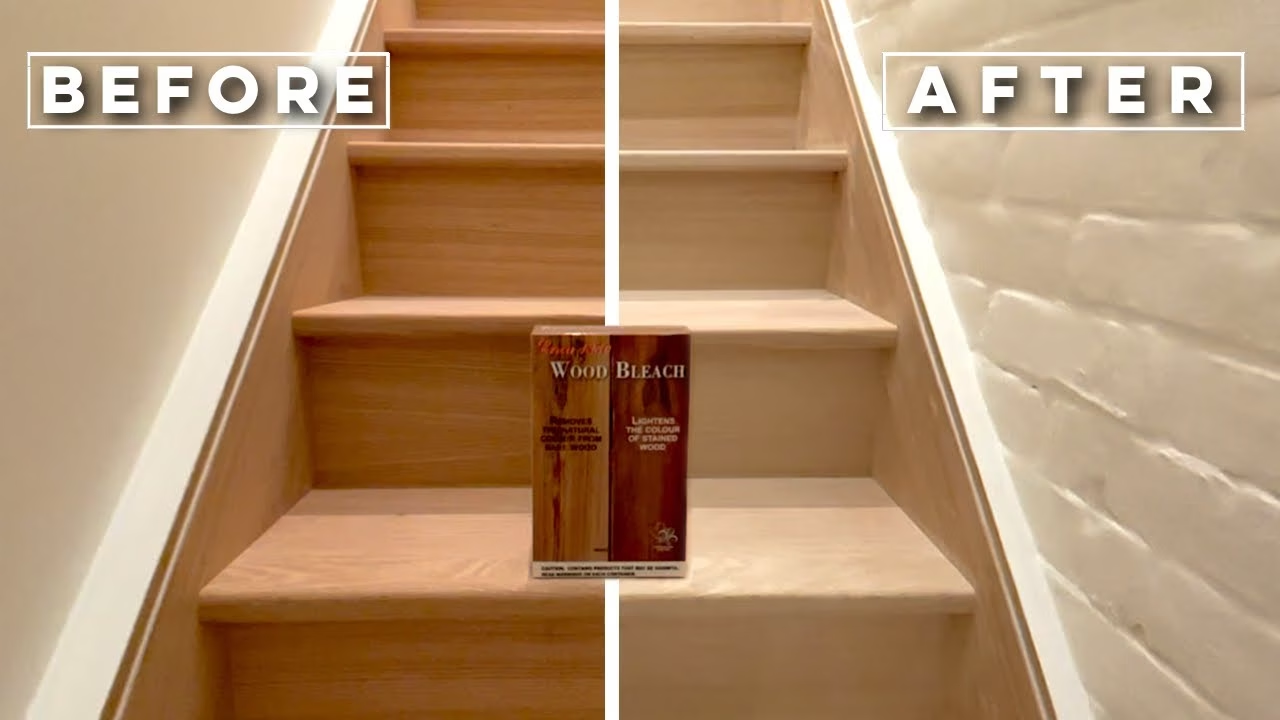
We'll show you how to remove the natural colour from ANY bare wood (and lighten the colour of stained wood) with easy to use Circa 1850 Wood Bleach!
Have you ever wondered if you could make a set of red oak stairs look more like white oak? We have (many times actually). Luckily, as it turns out, you can- and its pretty darn effective too! The solution is to bleach the wood, stripping it of its natural colour, and then to neutralize that bleach after to process is complete.
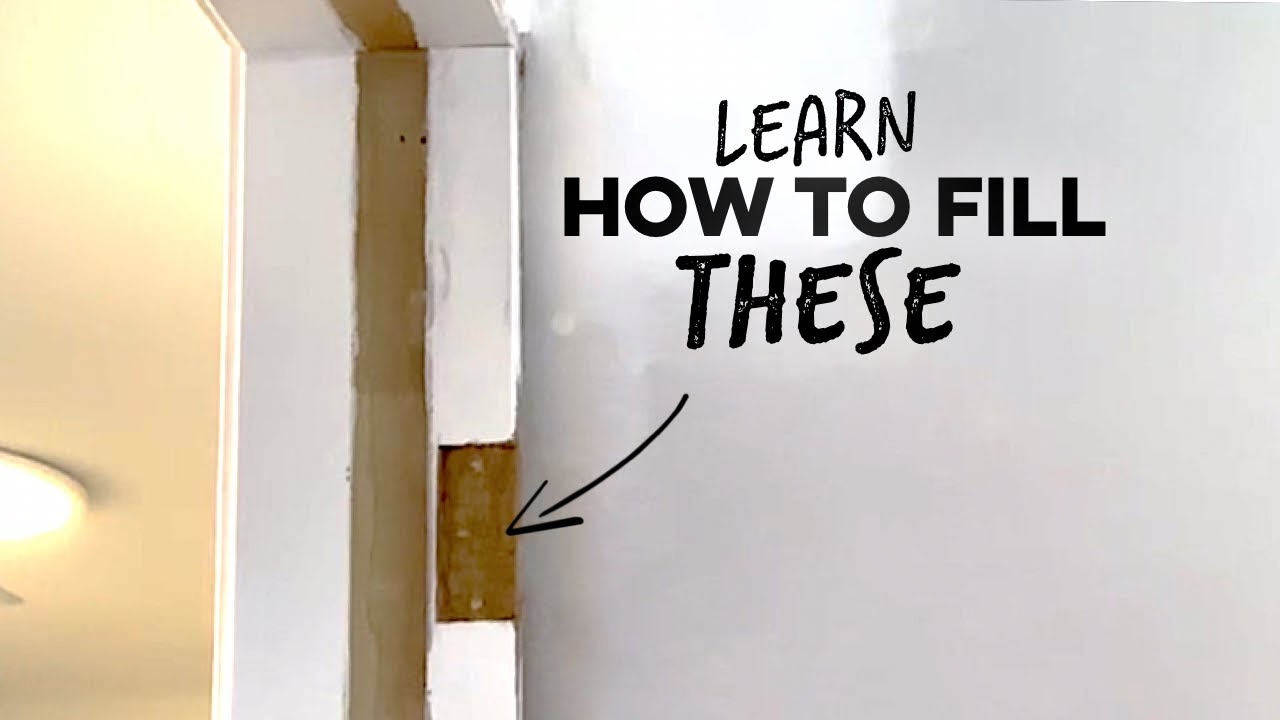
Here's the best way to eliminate hinge pocket holes/mortises, or fill large gaps, holes, or voids in any wood without relying on tons of filler products!
Are you replacing or removing a door from a doorway? Maybe your hinge pockets (mortises) are just in the wrong long location- heck, even if you tried to rout or chisel hinge pockets yourself and it went terribly wrong...we're here to help!
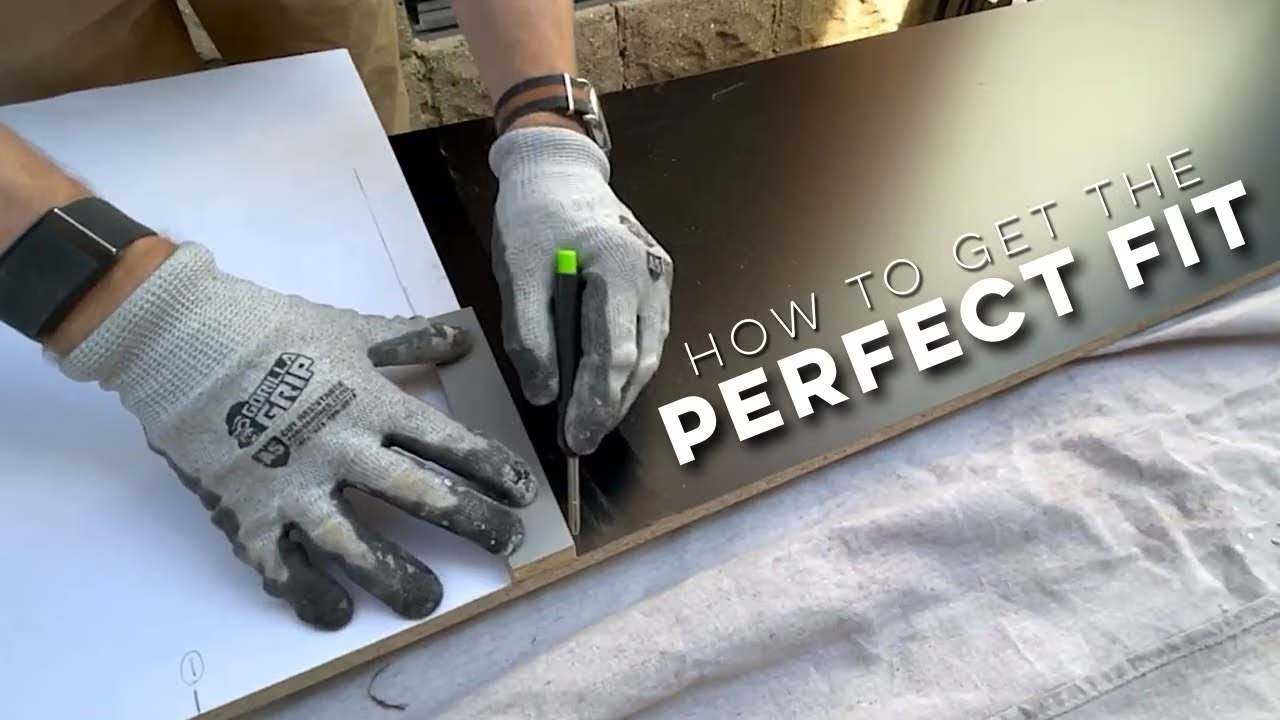
Anyone who works (or lives) in old homes knows how frustrating it can be to try and fit a perfectly square piece into a corner that is anything but- and adjusting your piece to fit the space can be equally infuriating. After all, how do you mark and measure a piece that doesn't have any right angles?
Luckily, if you've got a few basic tools hanging around you can both measure AND scribe your piece to fit perfectly AT THE SAME TIME. Oh, and the best part? Its so easy that you'll be able to do it yourself in no time.
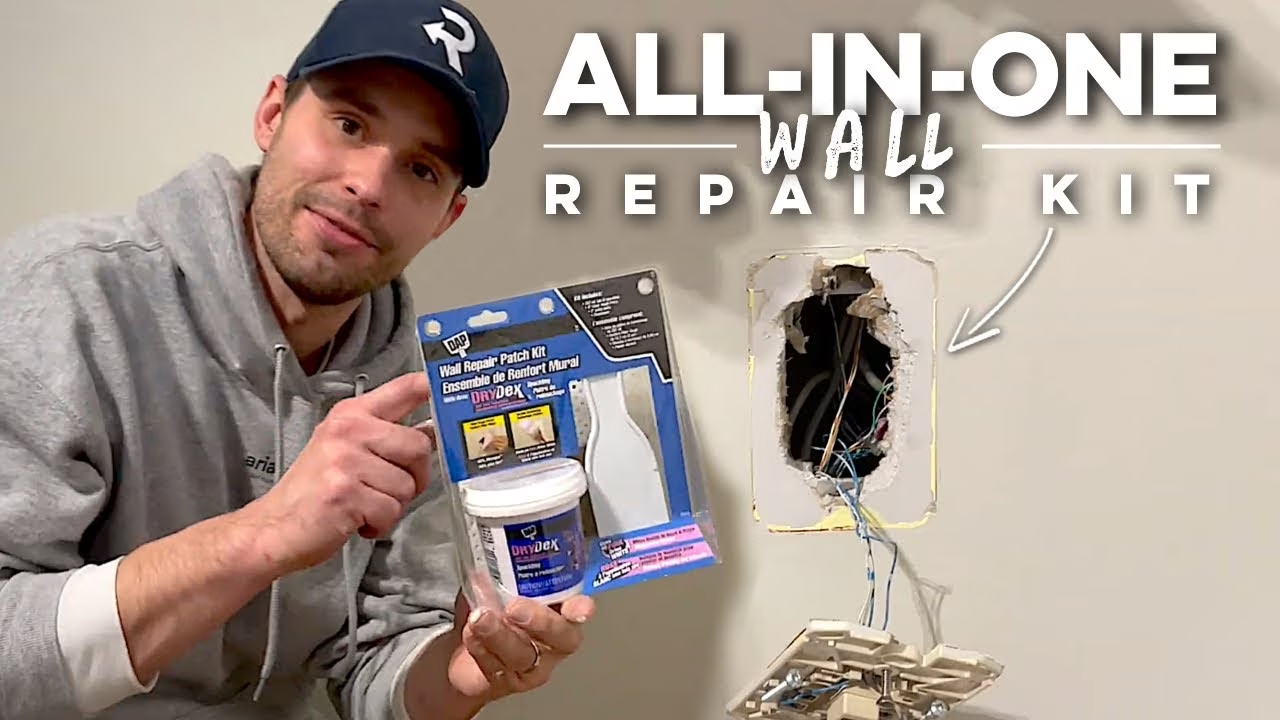
Wall Repair Kit With Everything You'll Need (DAP Patch Kit) Have a big hole in your wall, but no tools to fix it? DAP has you covered with their easy to use, all-in-one wall repair patch kit!
By far our favourite thing about DAP's wall repair patch kit, is that is comes with literally everything you need to fix a hole in the wall (knife, patch, spackle with DryDex technology, and sand paper). This means that you could have ZERO tools with you, pickup this kit from any big box store, and you're ready to take your wall from disaster to masterpiece- all with one purchase.

Breaking down the Franklin Sensors ProSensor M210 and M70!
Why are the @franklinsensors stud finders/sensors/detectors so popular? How do they work? Do you REALLY need 13 sensors, and 21 LEDs? We aim to answer these questions (and many more) as we dive deep into what makes the Franklin Sensors stud detectors better than the competition!
Franklin Sensors reliable, accurate and easy to use stud finders are designed using the latest technology. The instant stud finder can detect studs in real-time, and its accuracy is significantly higher than conventional electronic stud finders. It’s no secret that we’re huge fans. They’ve been in our tool box since day one- maybe it’s time you add one yours!
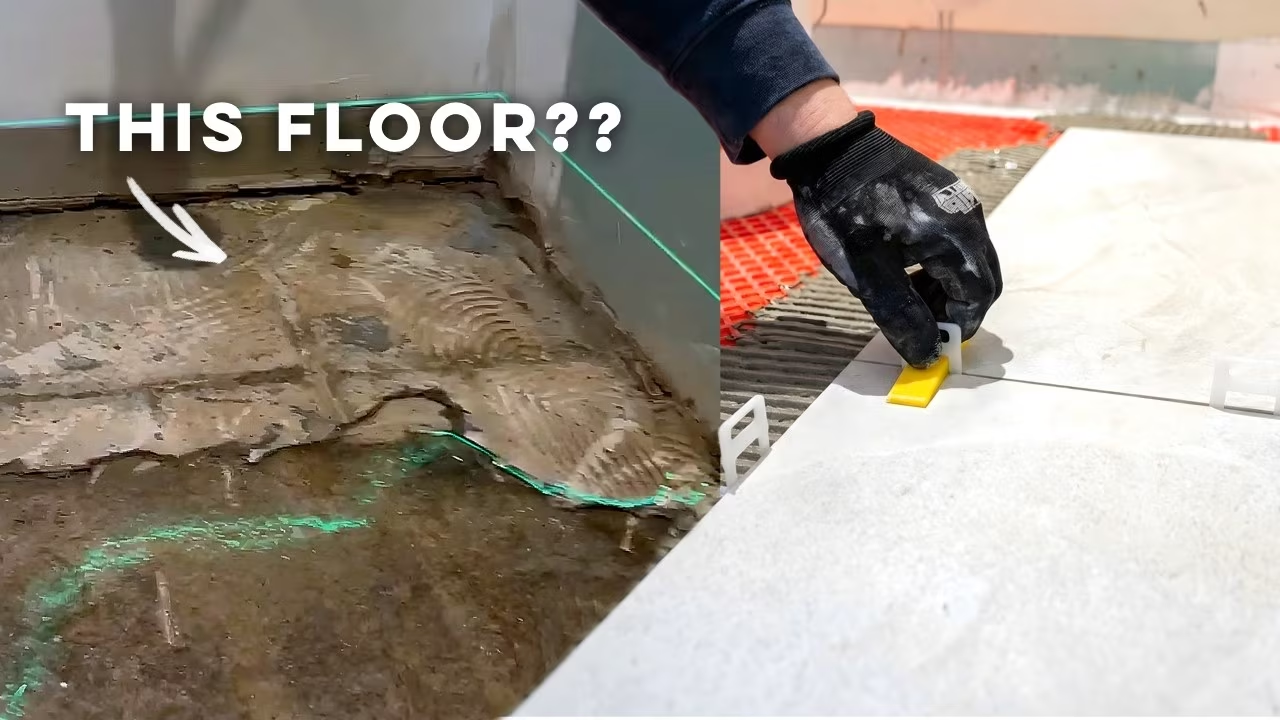
Wondering how to tile an uneven floor? In this step-by-step tutorial we show how to prepare a rough subfloor and install tile properly even when the floor is far from perfect. This video covers everything from checking for uneven spots, preparing the surface, applying mortar, and laying tile for a professional result.
A simple, easy-to-understand tiling tutorial for all skill levels designed to help teach you everything you need to know about laying your first tile floor!
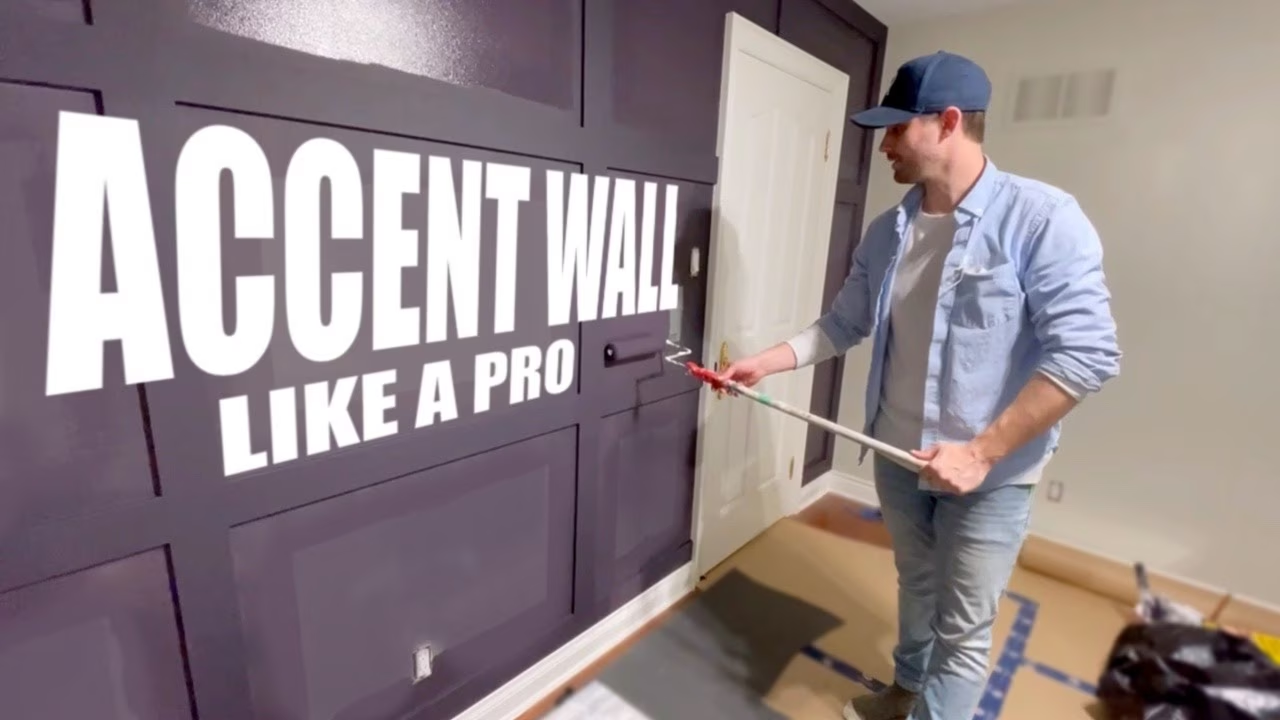
Are you ready to transform your living space with a stunning accent wall? Whether you're craving a bold statement piece or a subtle yet sophisticated backdrop, learning the art of building a better accent wall can completely elevate your room. From choosing the perfect materials and colors to incorporating unique textures and patterns, the possibilities are endless. Interested in exploring some creative and practical tips to make your accent wall a showstopper? Stick with us as we give you our best tips for making a professional looking accent wall that stands the test of time (and most importantly, won’t crack)!
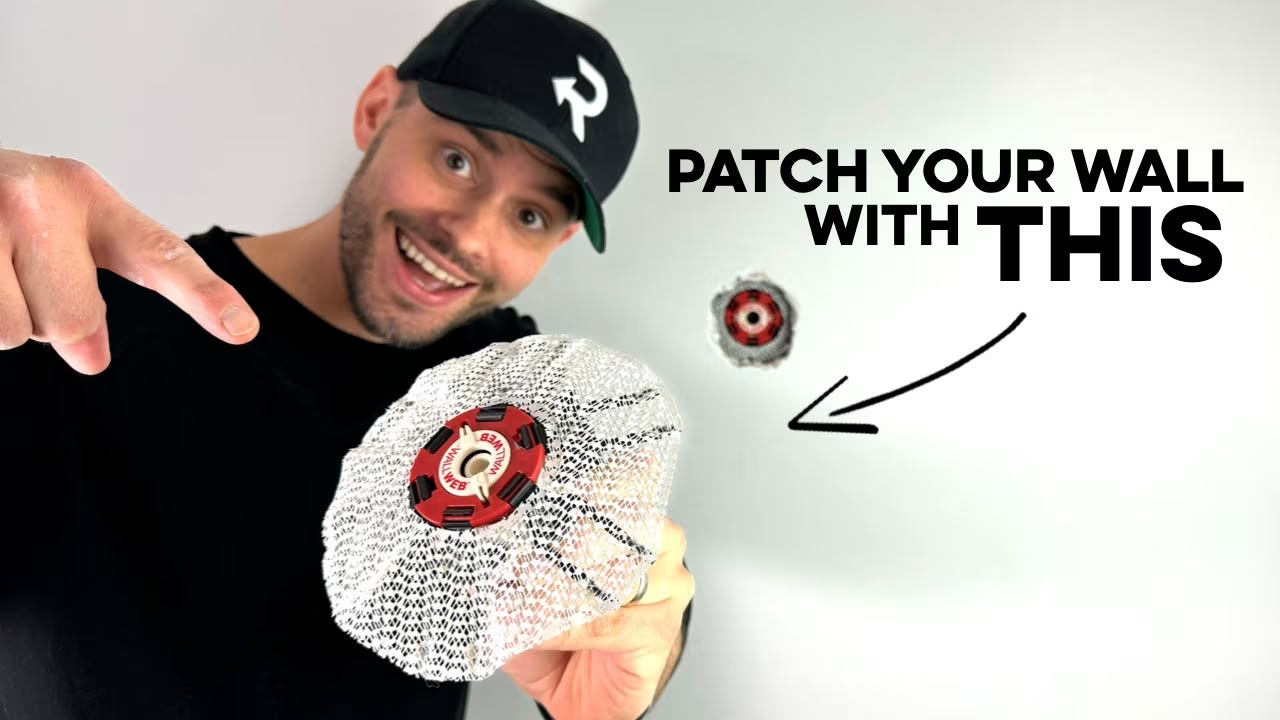
Allow us to introduce you to The Wall Web- a device that looks so advanced, you’ll have a hard time believing it was designed to be buried behind your wall! This revolutionary wall patching system is designed to simplify and expedite the repair of plaster, drywall, and gypsum board by providing an instant backer in any wall cavity. Once fully expanded, it’s webbed PVC surface expands to cover the opening of any hole less than 6 inches in diameter, and locks against the back wall to provide the perfect backing plate for your drywall/gypsum/plaster board repair. Simply mud over with the compound/spackling of your choice and make that hole disappear.
It is without a doubt the craziest, most technically advanced backing system we have ever seen- so naturally we were thrilled to get our hands on it and test it out for ourselves. Needless to say, it did not disappoint!
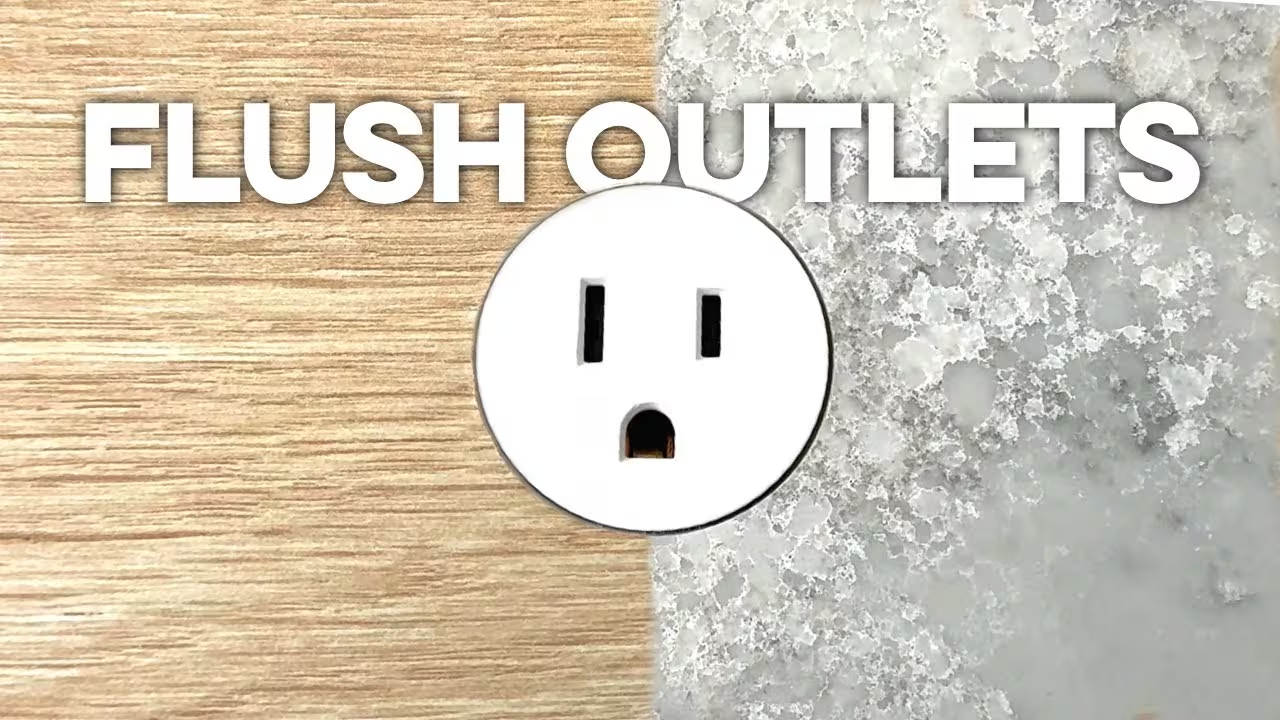
Looking to achieve that seamless, modern look with flush-mounted outlets? In this video, we’ll show you exactly how to install Prado Unifit outlets so they sit completely flush — first in wood panels or cabinetry, and then in stone surfaces like backsplashes or countertops.
Whether you’re a DIYer, designer, or professional installer, this guide walks you through every detail — from drilling measurements and recess depths, to the tools and bits you’ll need for a perfect installation every time.
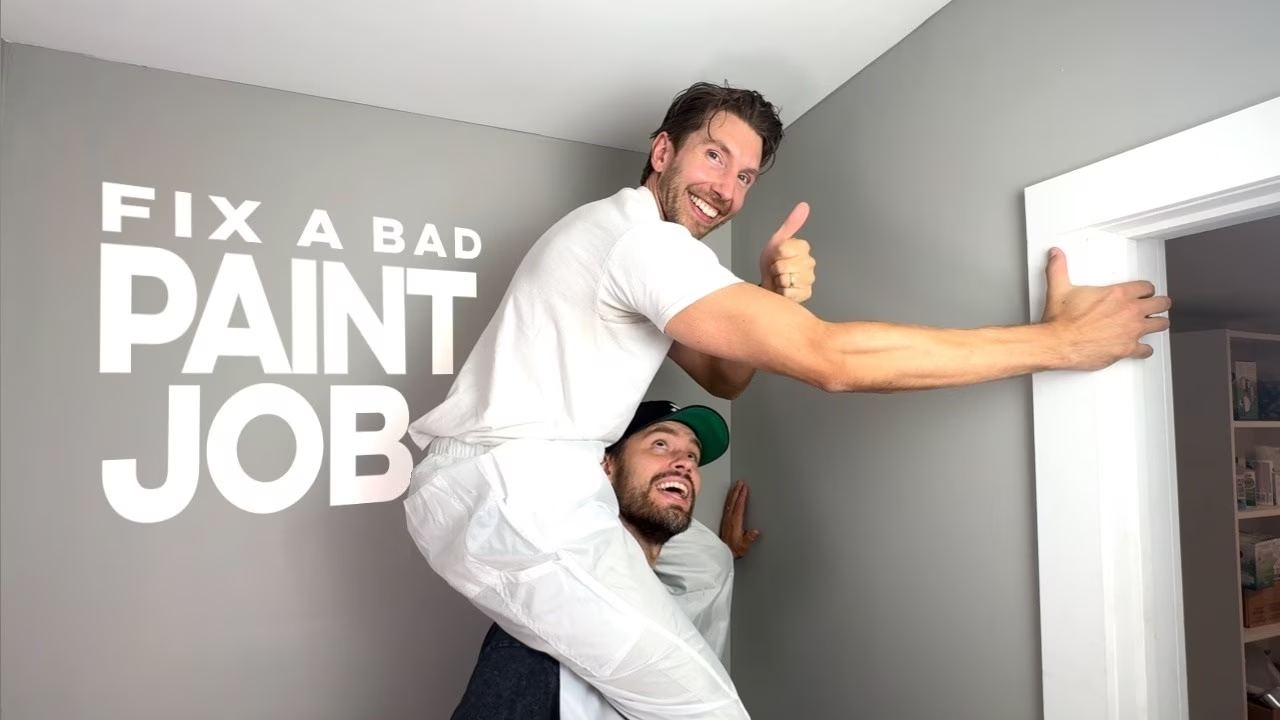
Does your ceiling cut-in line look rough, wavy, or just plain bad? Don’t worry — this video will show you how to fix a bad paint job and make your ceiling line look sharp, straight, and professional again.
Whether your wall paint bled onto the ceiling or you’re dealing with uneven edges from a rushed cut-in, we’ll walk you through simple, realistic methods to repair it — even if you’re not a pro painter. From quick “band-aid” touch-ups using leftover paint, to clever tricks with generic ceiling paint, and finally a full repaint that resets the room for a flawless finish, this guide covers every approach depending on your time, tools, and skill level.
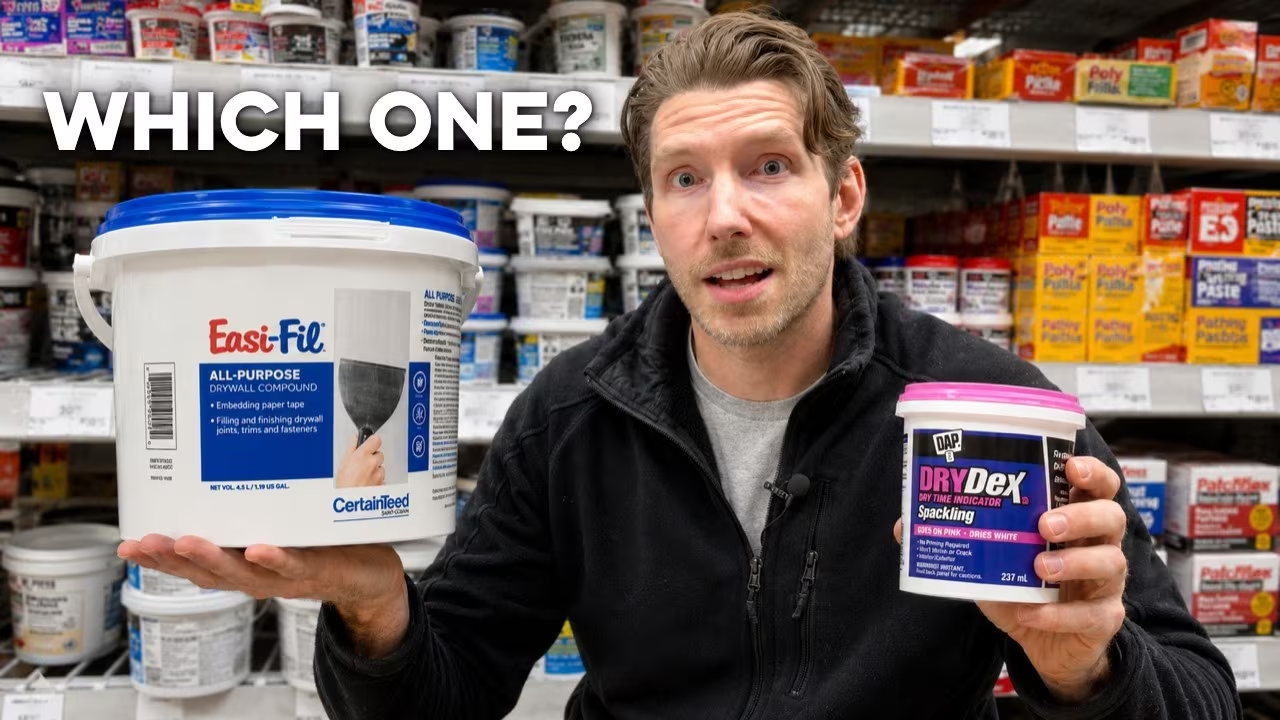
If you’ve ever stood in the drywall repair aisle wondering what the difference is between spackle, joint compound, or even hot mud (setting compound)… you’re not alone. In this video we break down the most common drywall repair products so you know exactly which one to use, as well as when to use it.
There are a lot of drywall repair compounds on the shelf, and choosing the wrong one can make your repair harder than it needs to be. In this guide, we walk through the drywall aisle and explain the difference between spackling compound (spackle), drywall joint compound, and setting compound (hot mud).
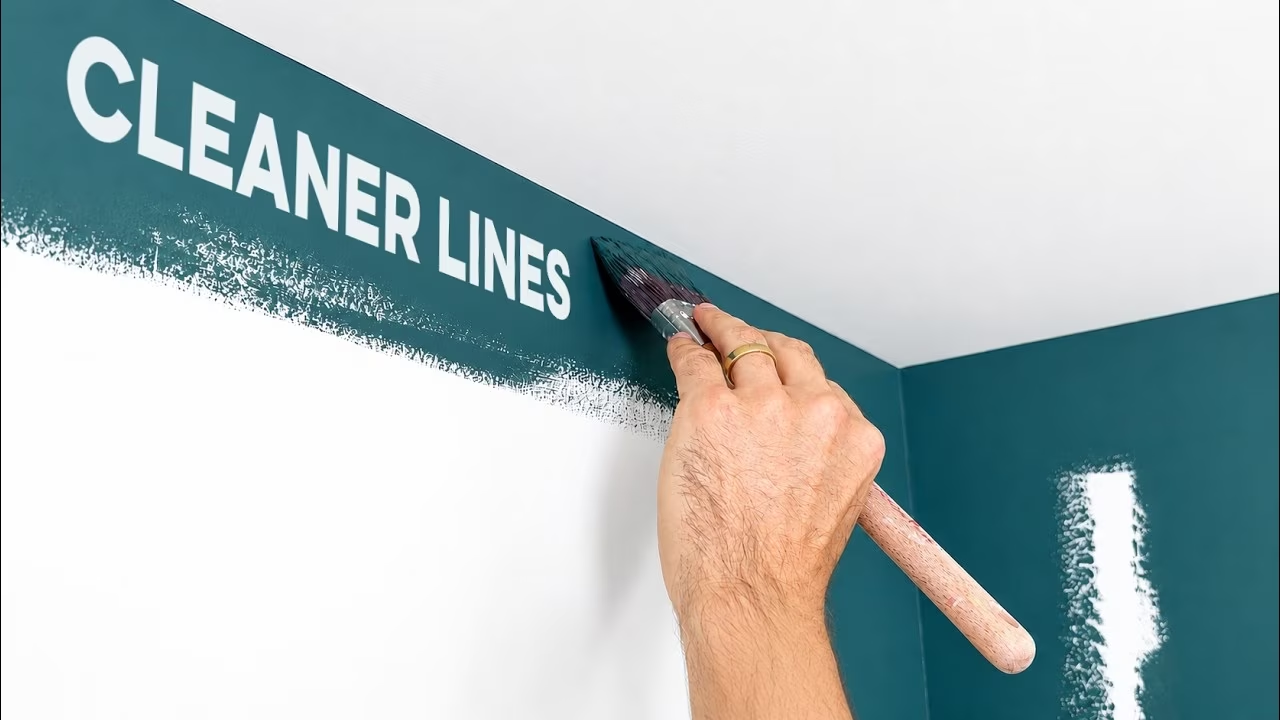
If you’ve ever struggled to get a clean line where the wall meets the ceiling, you’re not alone.
Most people think cutting in is about painting a perfectly straight line freehand, but that’s actually one of the biggest misconceptions in painting.
In this video, we show the method we use to cut in paint without relying on tape, explain why most cut lines go wrong, and demonstrate a few simple habits that can dramatically improve your results.

In this video we break down three of the most common electrical wire connectors used in residential wiring: wire nuts (also called marettes or twist-on connectors), push-in connectors (often confused with ‘backstab’ connections), and lever connectors (often called WAGO connectors or lever clips/nuts). We explain how each type of connector actually works, where each one shines, and the common mistakes that can lead to bad electrical connections, exposed copper, overheating, or failed splices over time.
Whether you’re renovating your own home, learning basic electrical skills, or just trying to understand the difference between wire nuts, push connectors, and WAGO connectors, this video is meant to make electrical connections easier to understand in a practical, approachable way.
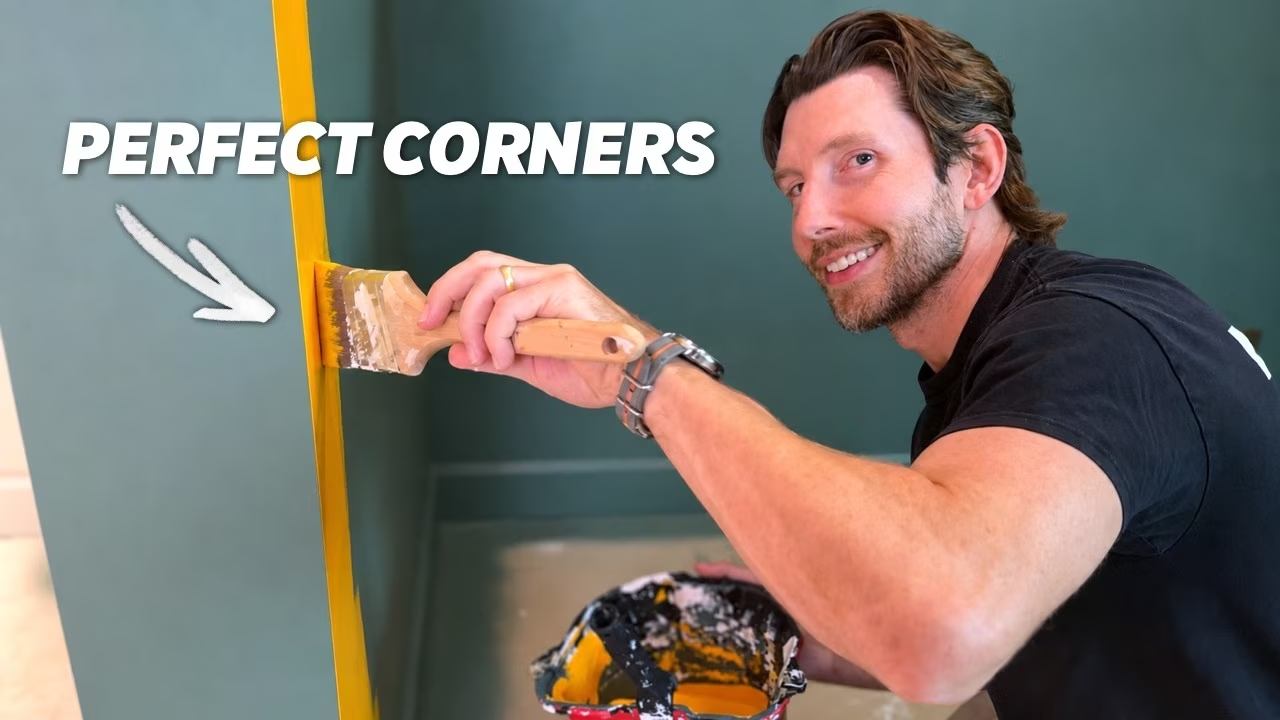
Painting an accent wall? Here’s the easiest way to get a perfectly crisp outside corner without painter’s tape, specialty tools, or complicated tricks. Most people try using a roller right up to the corner, but rollers naturally wrap paint around the edge and leave a wavy line. In this video, we show you a simple brush technique called “side strokes” that creates sharp, clean outside corners every time.
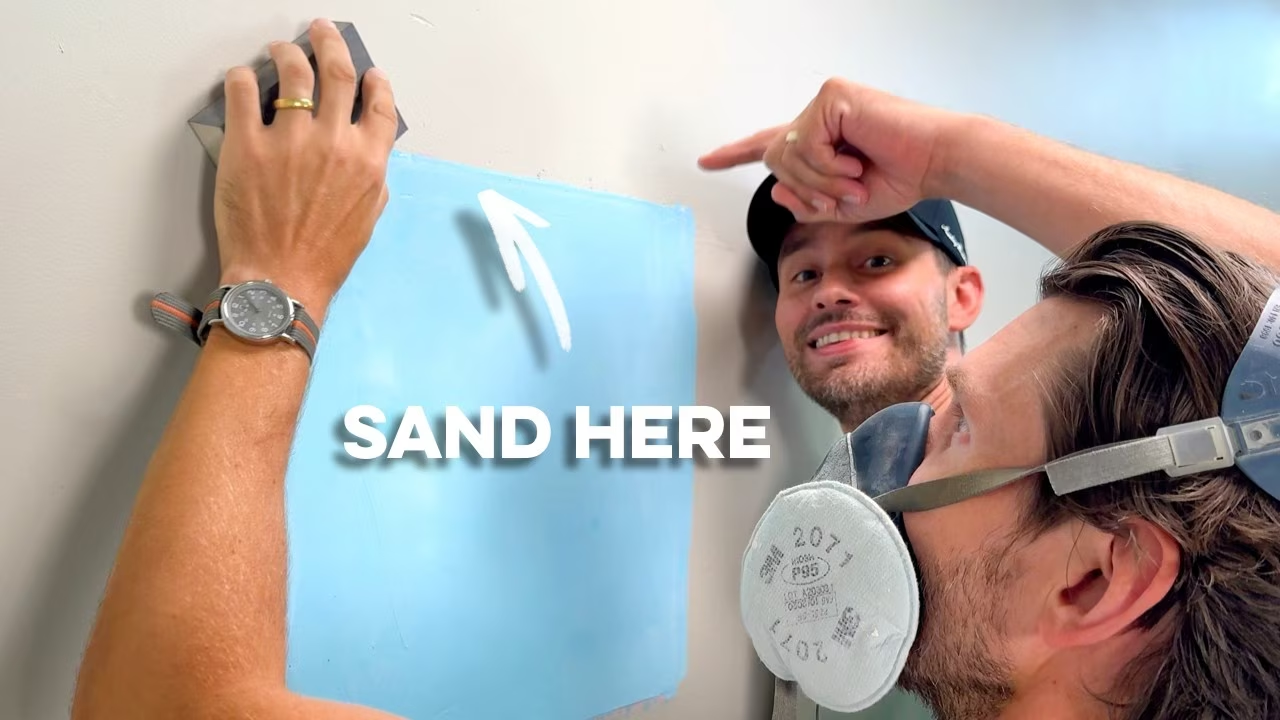
Learn how to sand drywall properly and get a smooth, seamless finish every time. In this video, we cover the right way to sand drywall compound, how to feather drywall patches, which grit sandpaper to use, and how to avoid the most common drywall sanding mistakes. If your drywall patches still show through after painting, the problem may be how you’re sanding them. We’ll show you why you should start at the perimeter of the patch, how to blend the edges into the existing wall, when to use coarse vs. fine grit, and how to tell when you’ve sanded enough.
We’ll also demonstrate wet sanding drywall as a low-dust alternative, how to deal with patches that are proud of the wall, how to match existing wall texture, how to fix small holes and imperfections in dried joint compound, and how to use a light to find problem areas before you paint.

Learn how to patch a hole in drywall from start to finish — including how to cut out the damage, install a new piece of drywall, tape and mud the repair, sand it smooth, prime it, and make the patch disappear.
In this complete drywall repair guide, we show you multiple ways to patch a hole using real drywall, including a California/butterfly patch, wood backing, and drywall repair clips.
Whether you accidentally put a hole in your wall or you’re repairing drywall after plumbing, electrical work, or renovations, this video walks through the entire process step by step.
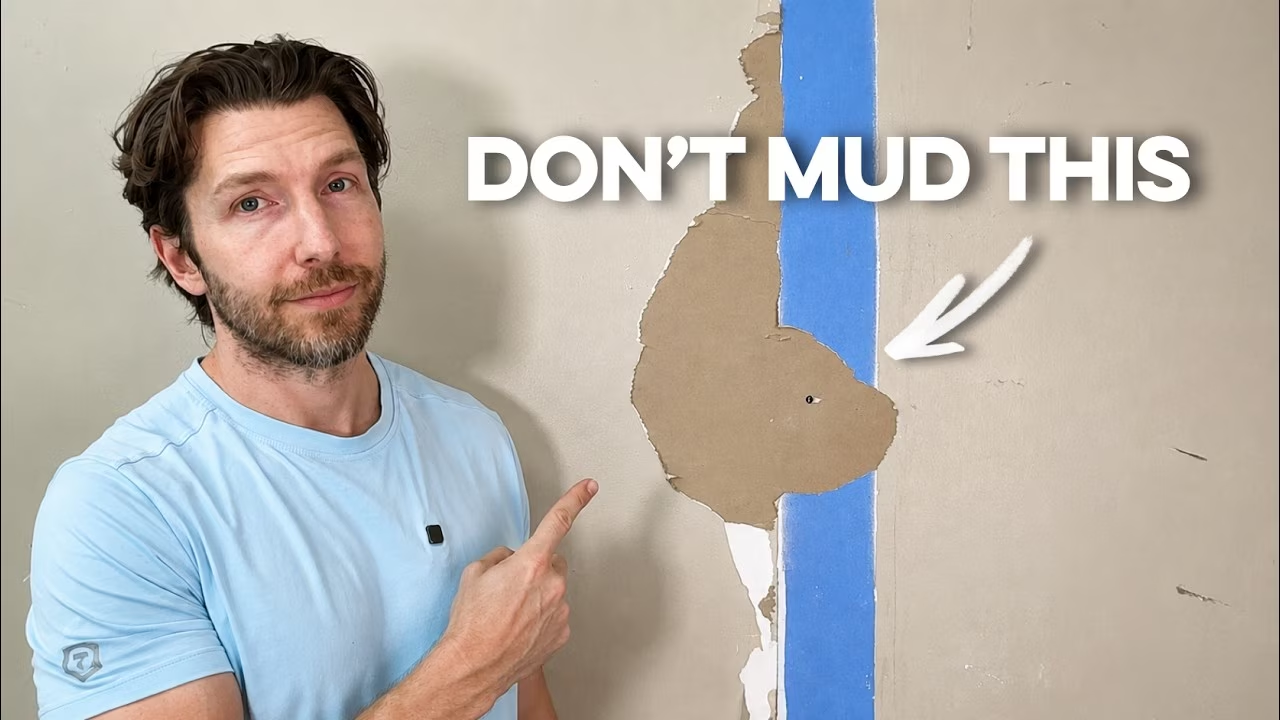
Torn drywall paper is one of the most common drywall problems, and it’s also one of the easiest to repair—if you know the correct process.
In this video, I’ll show you exactly how to repair torn drywall paper so it won’t bubble, blister, or fail after painting. We’ll cover why drywall paper peels, what products actually work, and the step-by-step method we use to get professional results.
Whether you damaged the wall removing wallpaper, peeling paint, old adhesive, or just scraped the drywall, this repair method will leave the wall ready for primer and paint.
.avif)
Tired of fixing the same plaster wall cracks over and over, only to have them reappear? You’re not alone. Many older homes—especially here in Toronto—still have beautiful plaster and lath walls, but they come with one frustrating flaw: hairline cracks that just won’t quit.
In this guide, we’ll show you a permanent repair method that actually works, reattaching loose plaster to the lath beneath and restoring your walls for good. If you’d like to give it a try, here’s a link to the Plaster Magic kit with everything you’ll need
.webp)
If you’ve spent any time researching dryer vent solutions, chances are you’ve heard of MagVent—the magnetic dryer vent coupling system that makes dryer installation safer, cleaner, and dramatically more convenient. We’ve talked a lot about why we love MagVent, but until now we’ve never created a full step-by-step installation tutorial.
In this guide, we walk you through exactly how to install a MagVent MV-180 or MV-90, why rigid ducting is so important, and what makes this magnetic connection such a game-changer for homeowners.
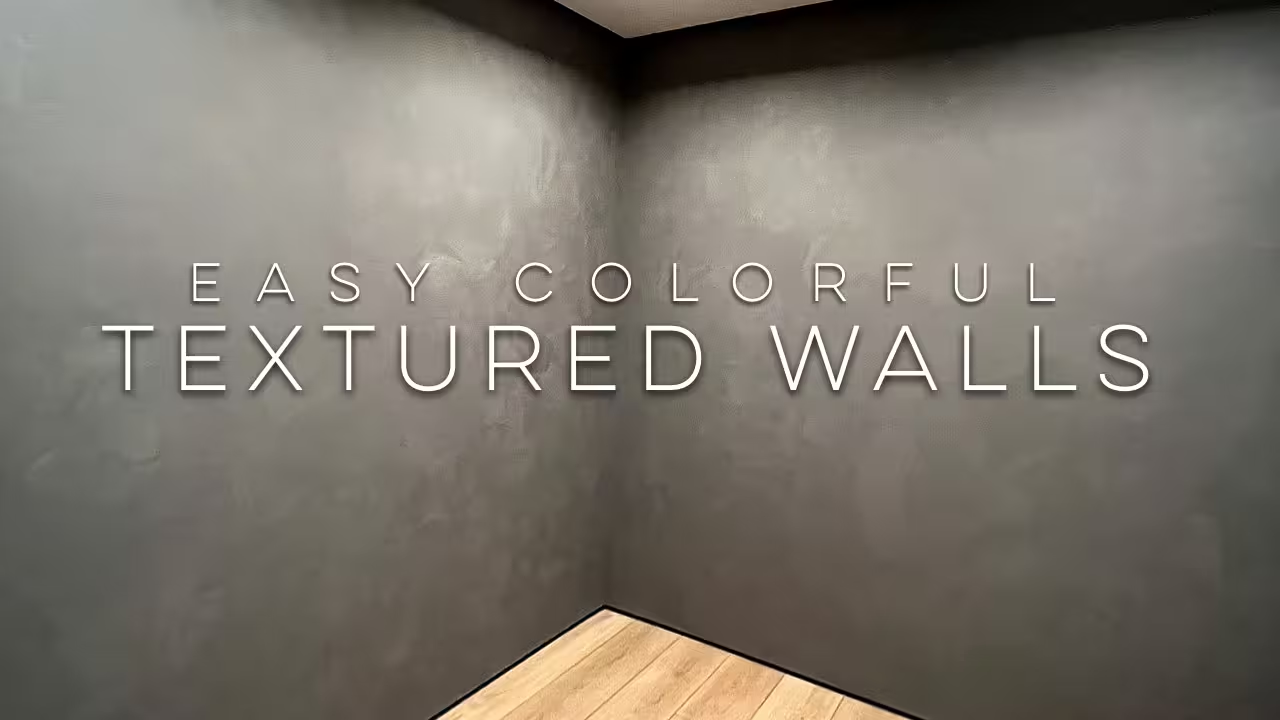
Looking for a wall treatment that’s bold, modern, and easy to do yourself? Forget popcorn ceilings, orange peel textures, or knockdown finishes. With just two simple ingredients—paint and drywall compound—you can create a stunning troweled plaster wall finish that looks professional, even if it’s your first try.
In this tutorial, we’ll walk you through the process from start to finish so you can upgrade your walls with texture and color at the same time.
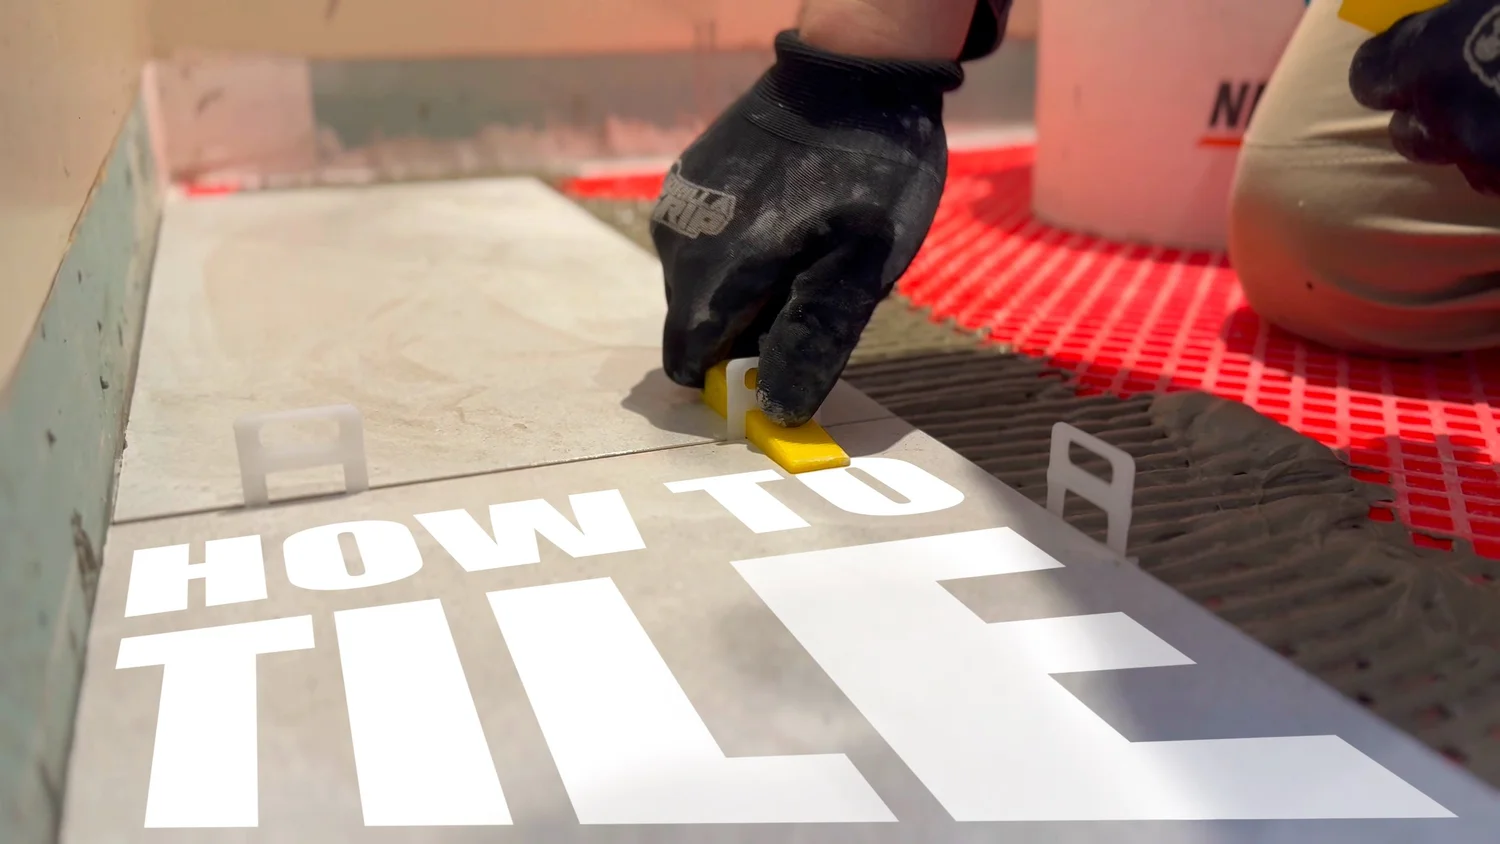
Tiling a floor can feel like an intimidating project if you’ve never done it before, but with the right tools, techniques, and a little patience, anyone can achieve professional-looking results. In our latest YouTube tutorial, “How to Tile a Floor: Beginner’s Guide to Tiling Like a Pro!” we break down every step of the process so you can transform an outdated floor into a beautiful, durable surface. From removing old tile and preparing the subfloor, to laying tile, grouting, and finishing, this guide is designed to give you the confidence and know-how to take on your first tiling project with ease.

Drywall damage happens—whether it’s small holes, cracks, or larger patches—but fixing it doesn’t have to be stressful. With the right tools and techniques, you can restore your walls to look as good as new. In this guide, we’ll walk you through 12 different drywall repair methods, perfect for DIY enthusiasts or anyone looking to save on home repair costs.
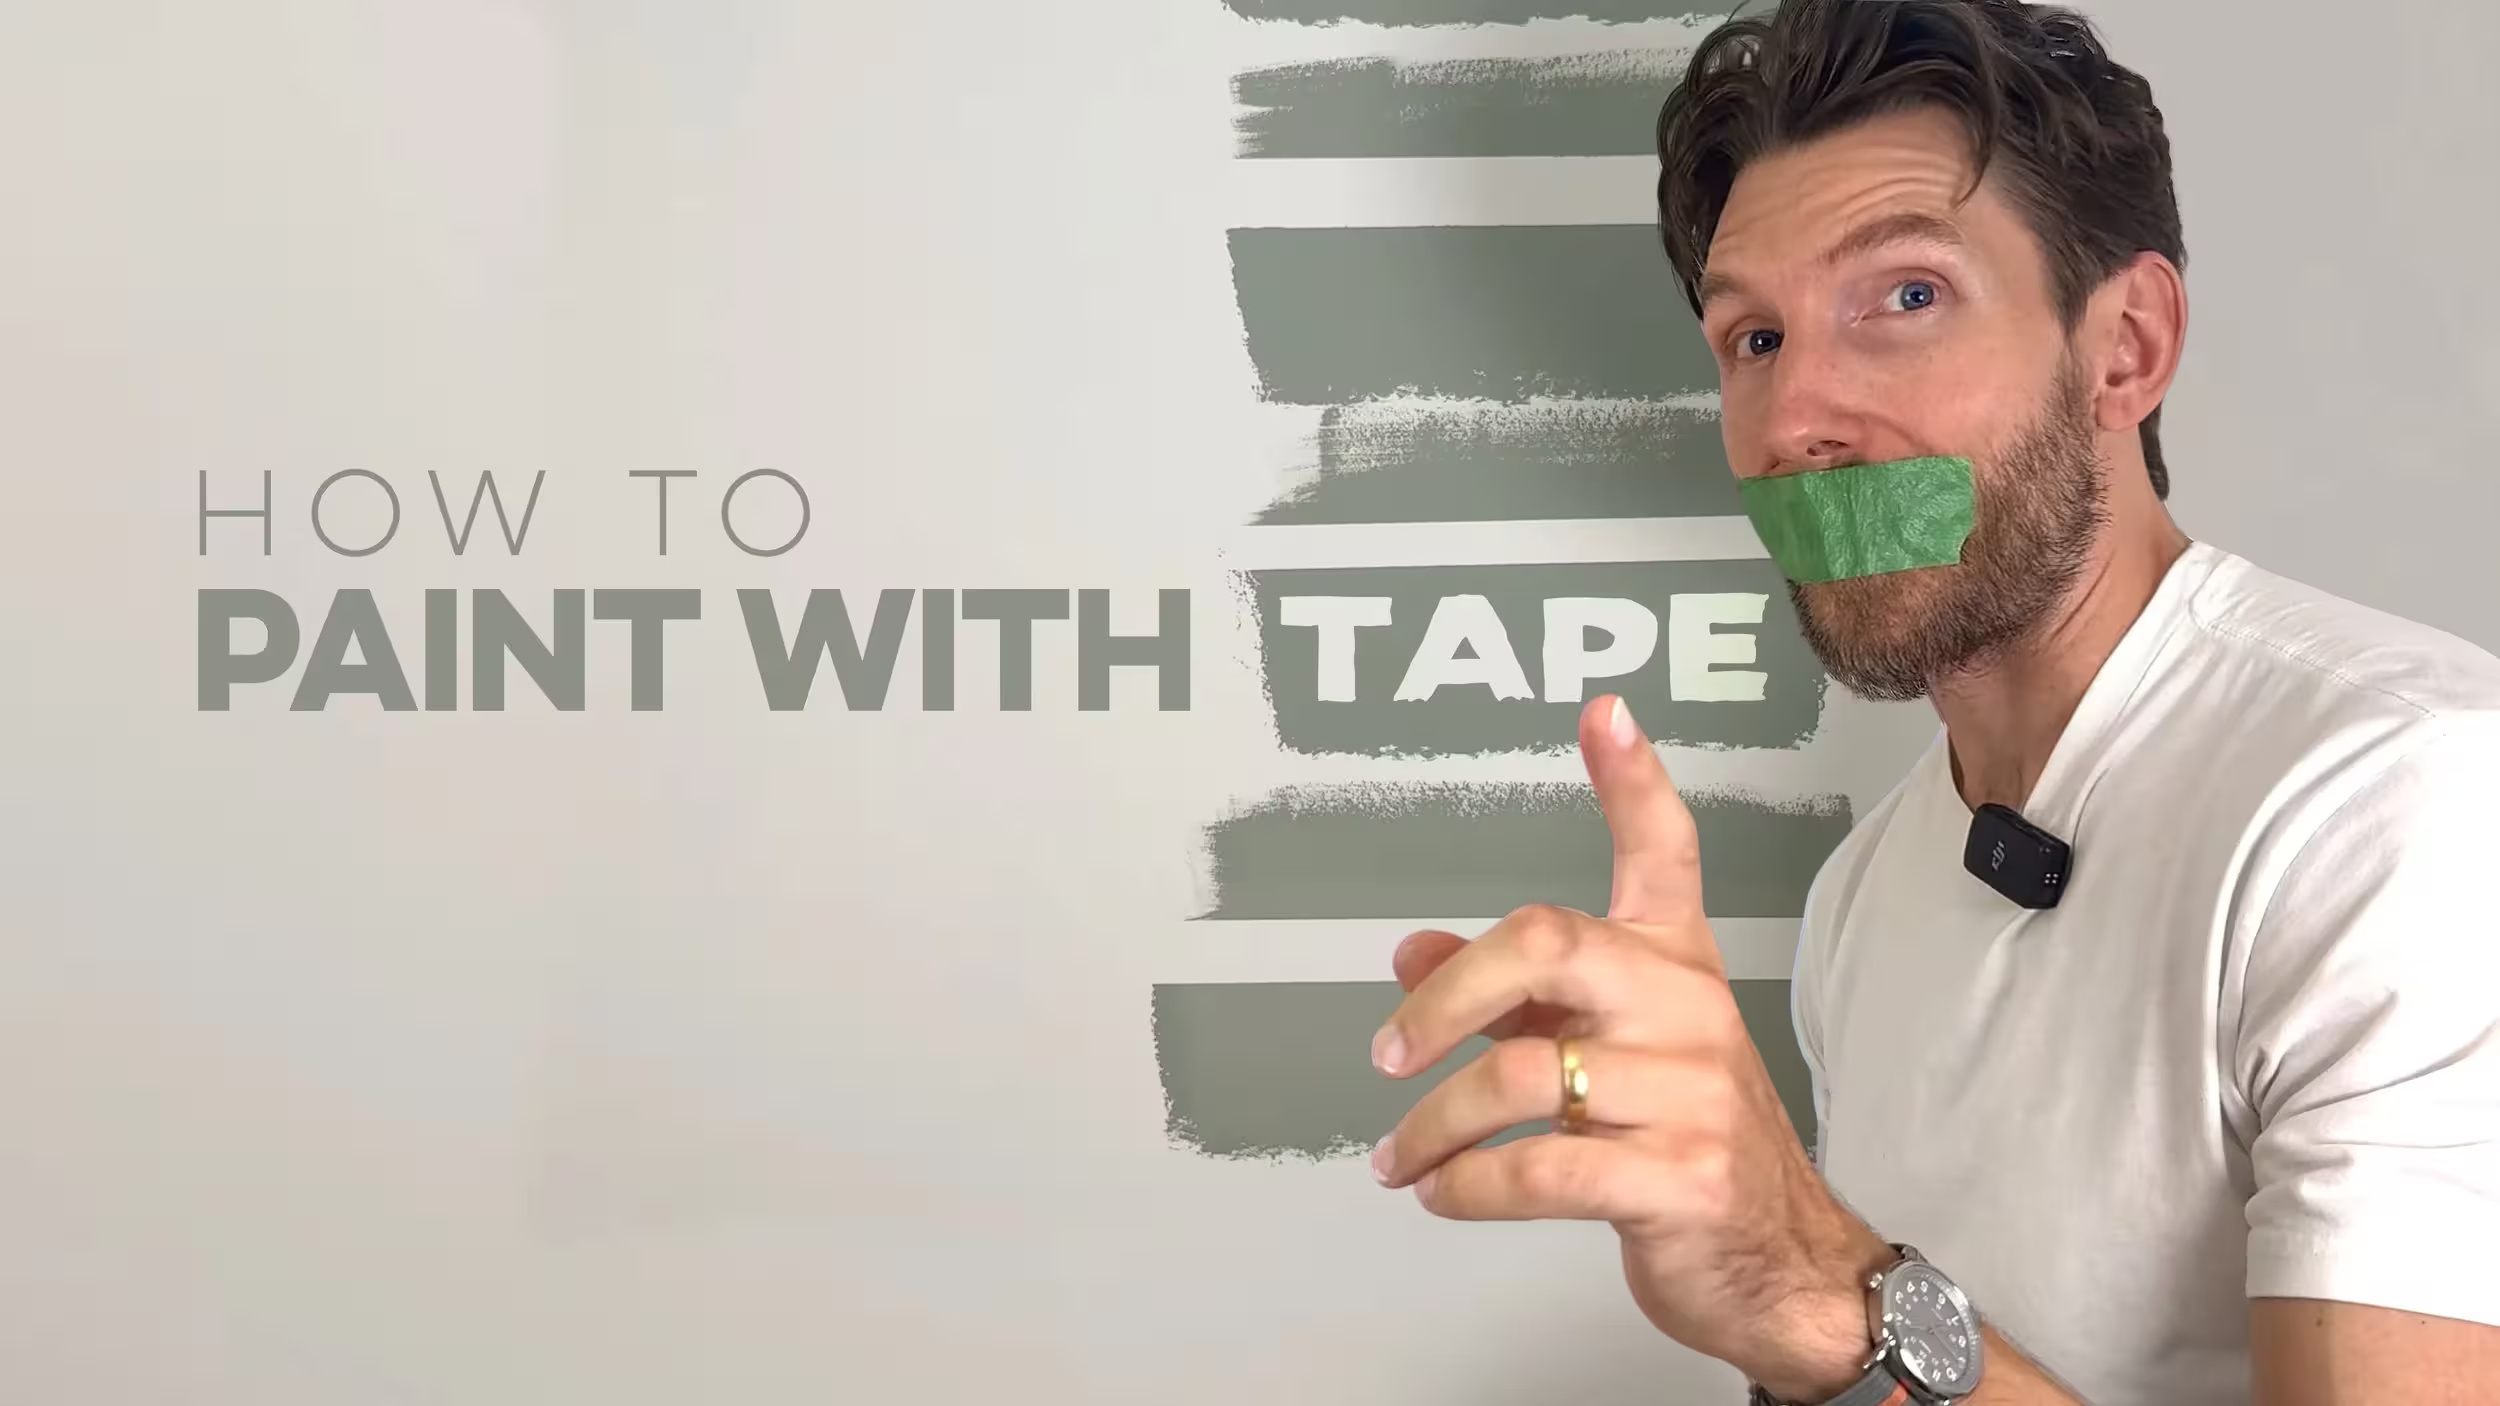
Getting perfect paint lines doesn’t have to be frustrating. With the right painter’s tape and a few simple techniques, you can achieve crisp, professional-looking edges on every painting project. In this blog post, we break down tested methods from our latest YouTube video, so you can see which painter’s tape tricks really work — and which ones to avoid.
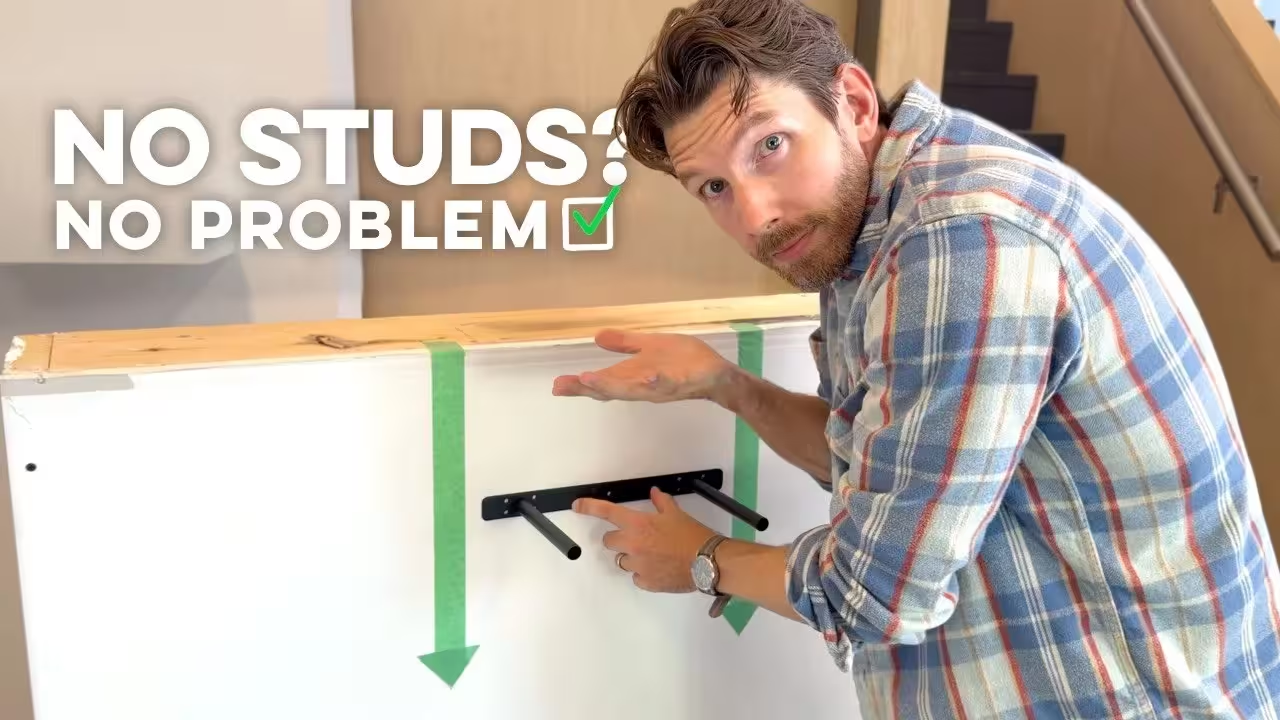
Trying to hang something (ie. a floating shelf) only to realize that the studs aren’t where you need them is a common DIY moment that most of us have experienced. The good news: you can mount a shelf securely in drywall—if you choose the right drywall anchors and install them properly.
In this guide, we’ll cover the most common drywall anchor types, what they’re best for, and the exact step-by-step process we used to hang a floating shelf bracket when no studs lined up. If you’ve been searching for the best drywall anchors for floating shelves, you’re in the right place.
*We feel that it’s important to note that we always recommend you try and find a solution that allows you to attach whatever you’re mounting directly into a stud (or some form of structural backing), before resorting to only using hollow wall anchors. This is the best way to ensure strong, lasting results.

When you walk into a room covered in outdated wallpaper, one question comes quickly to mind: Do you remove the wallpaper… or can you simply paint over it?
If you're watching our video on this topic or landing here after a desperate Google search, you’re probably weighing the time, effort, and potential disaster of wallpaper removal. Good news: you can paint over wallpaper — but only if you do it the right way.
At Refresh Home Improvements, we’ve tackled countless wallpapered rooms. Below, we break down when painting is a viable option, what tools and primers you need, and exactly how to prep the walls so your finished paint job looks seamless (literally!).
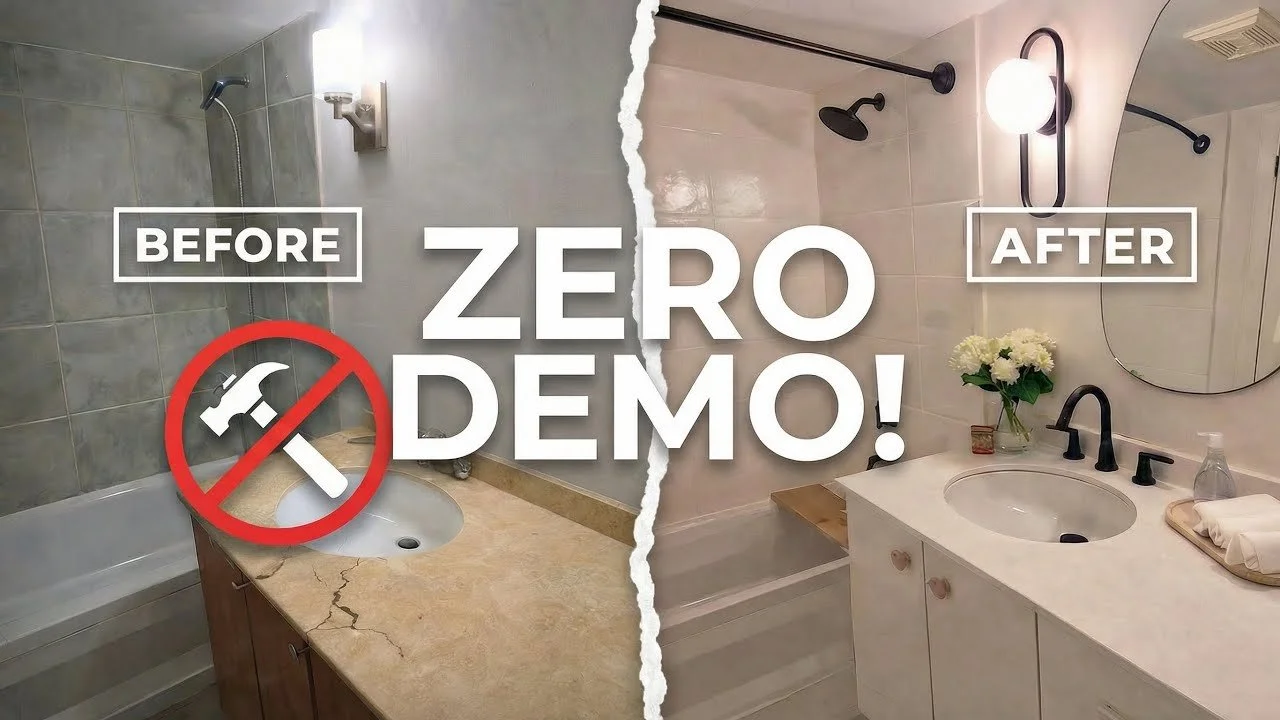
What if you could take a dated, cracked, borderline gross bathroom and turn it into something modern and beautiful—without ripping anything out?
Believe it or not, that’s exactly what we did with this project. Instead of demolition, new tile, and a full rebuild, we used a combination of DIY-friendly microcement resurfacing, strategic painting (yes, even tub and tile), and simple fixture upgrades to create a bathroom that looks completely different—while keeping the existing bones in place.
If you want the biggest visual transformation for the least mess (and the least ‘going backwards’), this approach is worth considering.
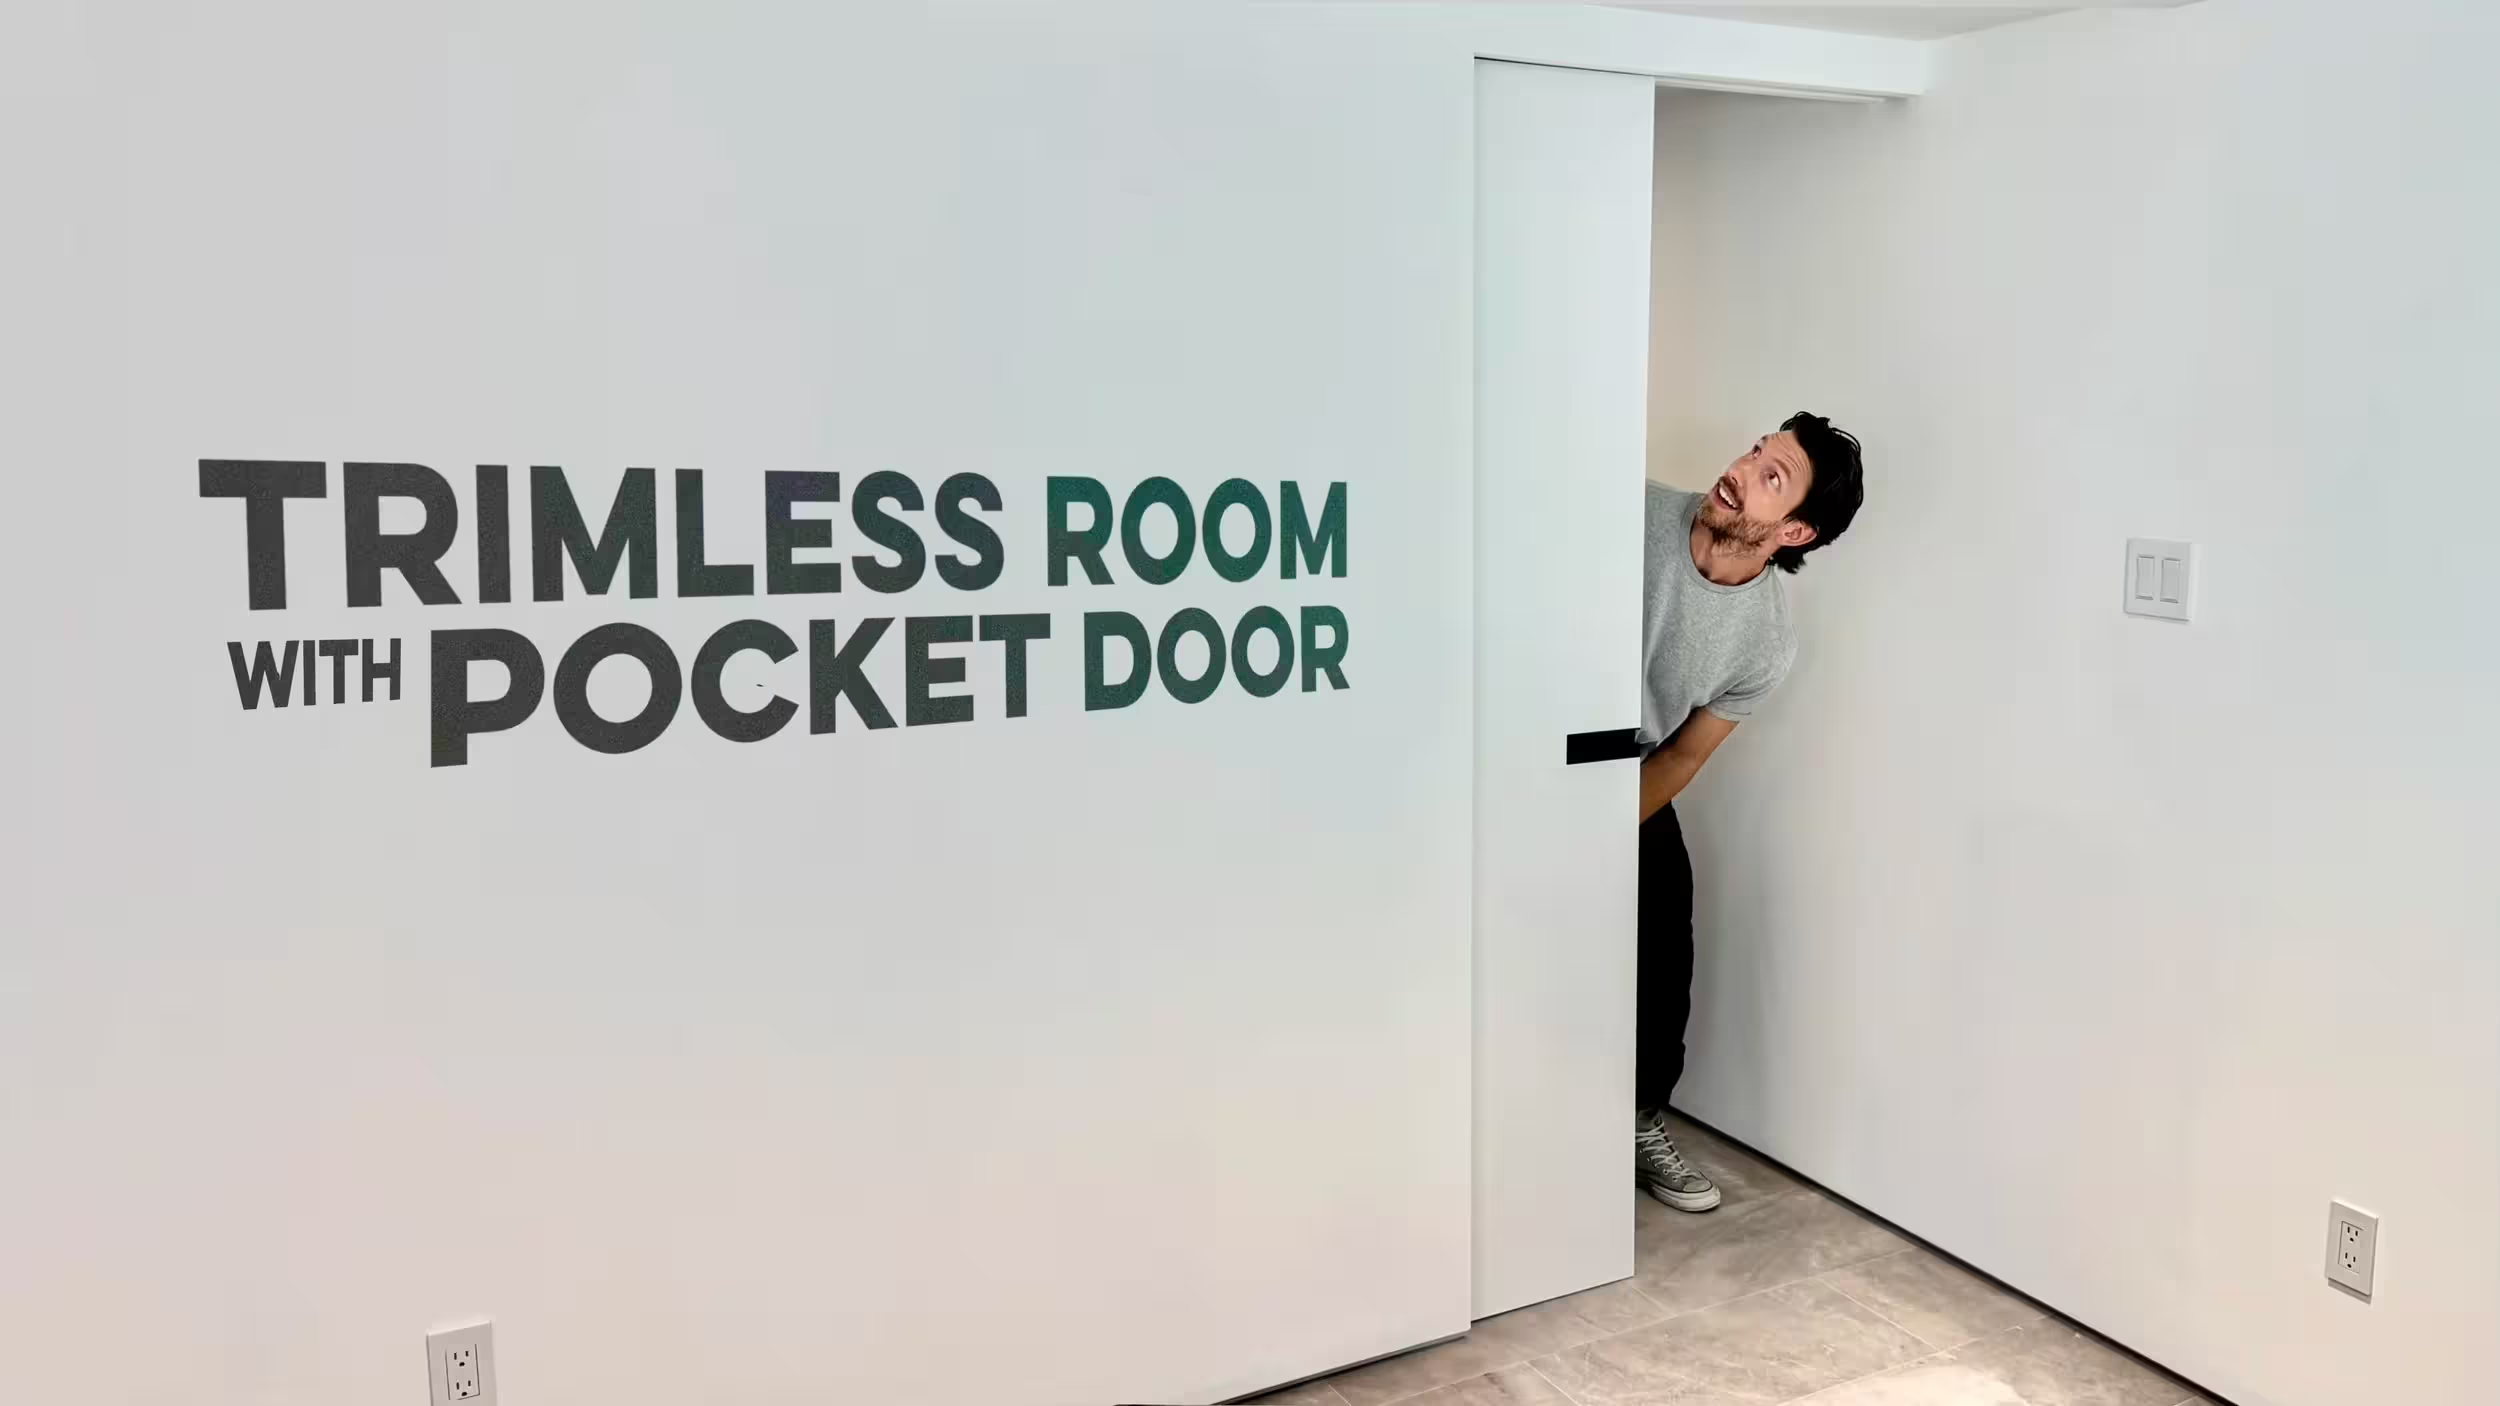
For more than a century, trim has been the quiet backbone of residential interiors. Baseboards, casings, mouldings—all practical, all decorative, all expected. They hide imperfections, bridge transitions, and frame the room like punctuation marks. But what happens when you remove them altogether?
You get a space that feels stripped back, precise, and unapologetically modern. You get a room where surfaces meet in silence, where shadows become the only ornamentation. You get the trimless aesthetic.

Imagine a creating a wall that magnets can stick to. Now imagine painting that same wall any color you like. With Rust-Oleum Magnetic Primer, that’s exactly what you can do! This step-by-step guide will show you how to create a functional magnetic wall while keeping it stylish and DIY-friendly.
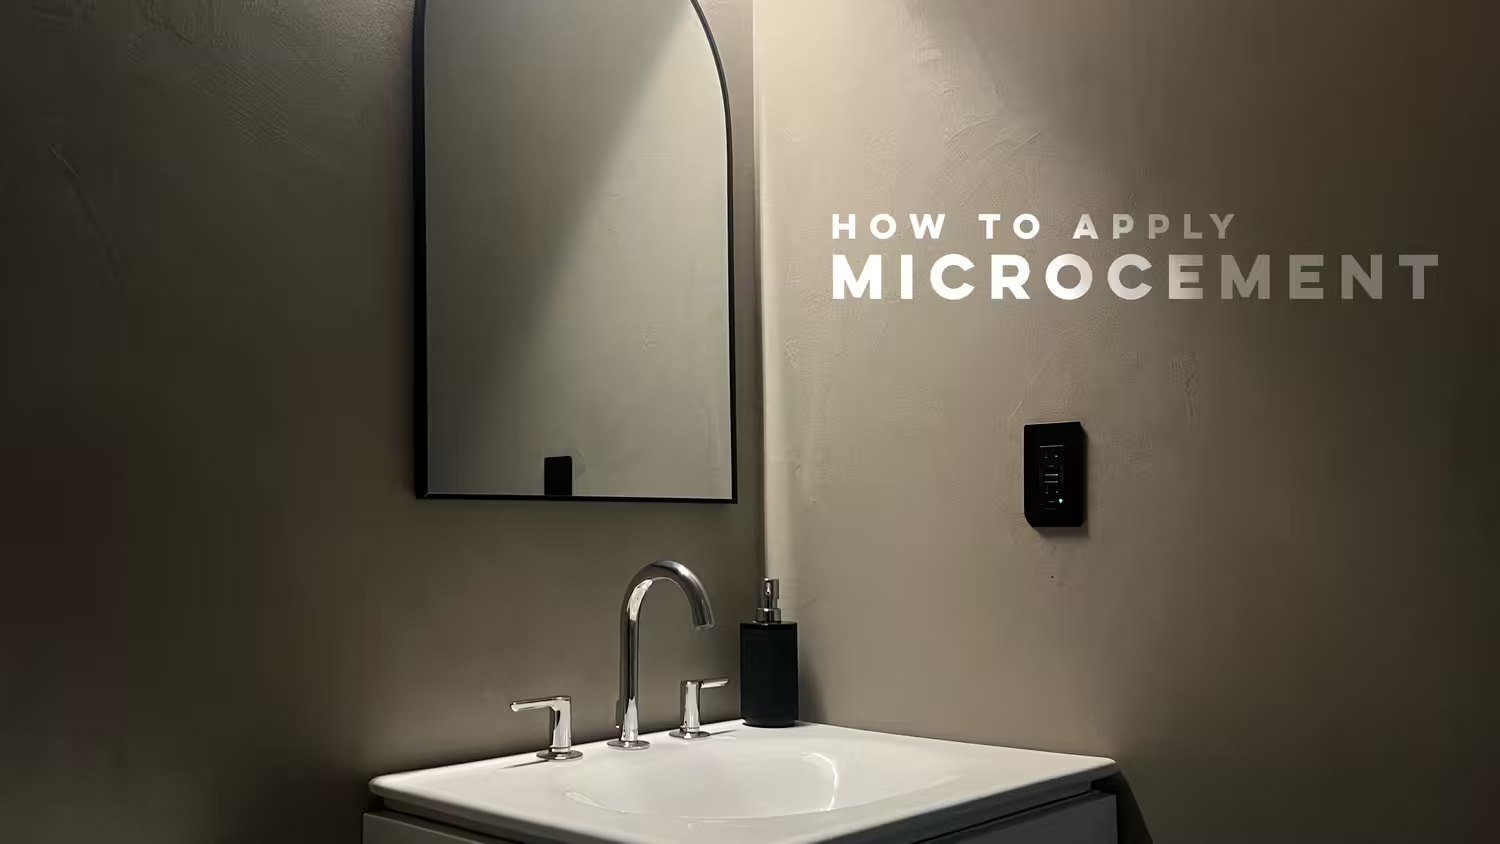
Limewash walls are everywhere right now—soft, cloudy, and perfectly imperfect in that modern/designer way. The only annoying part? Buying real limewash paint can be expensive or hard to find, depending on where you live. So we did what we always do: we made our own. In this guide (based on our video “How to Make Your Own DIY Limewash!”), you’ll learn the simple DIY limewash recipe, what each ingredient does, and the best way to apply limewash so you get that signature textured look—without panicking halfway through the first coat.
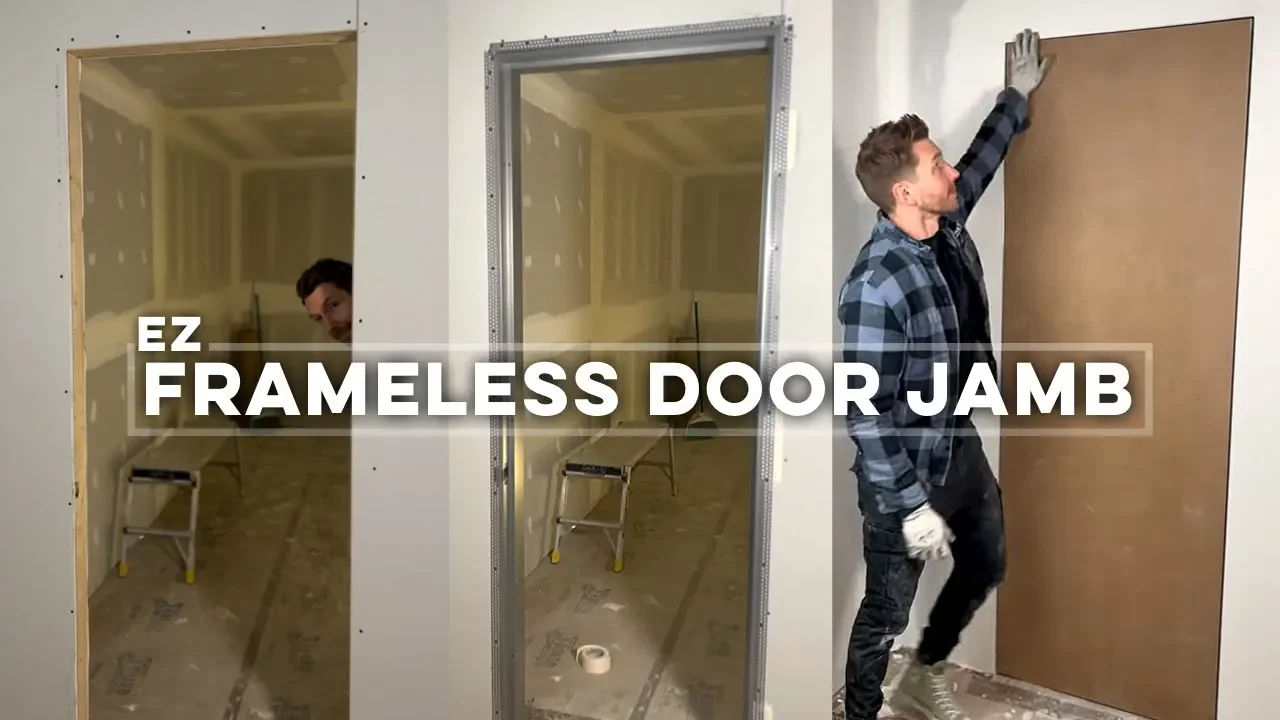
Trimless interiors are having a serious moment — and for good reason. Removing casings, trims, and bulky moldings around doorways is one of the easiest ways to create a sleek, modern, minimalist home that looks architect-designed. But for builders and installers, achieving that ultra-clean look comes with a major technical challenge:
How do you transition drywall cleanly into a doorway without casing… while keeping everything strong, square, and long-lasting?
Enter @EZConcepts and their brilliant solution:
The EzyJamb — an all-in-one frameless metal door jamb system that integrates seamlessly into drywall.
In our video, “Frameless Door Jamb Solution | EZ Concepts EzyJamb,” we walk through exactly how we install the system and why it’s now one of our favourite ways to achieve a trimless, contemporary finish.