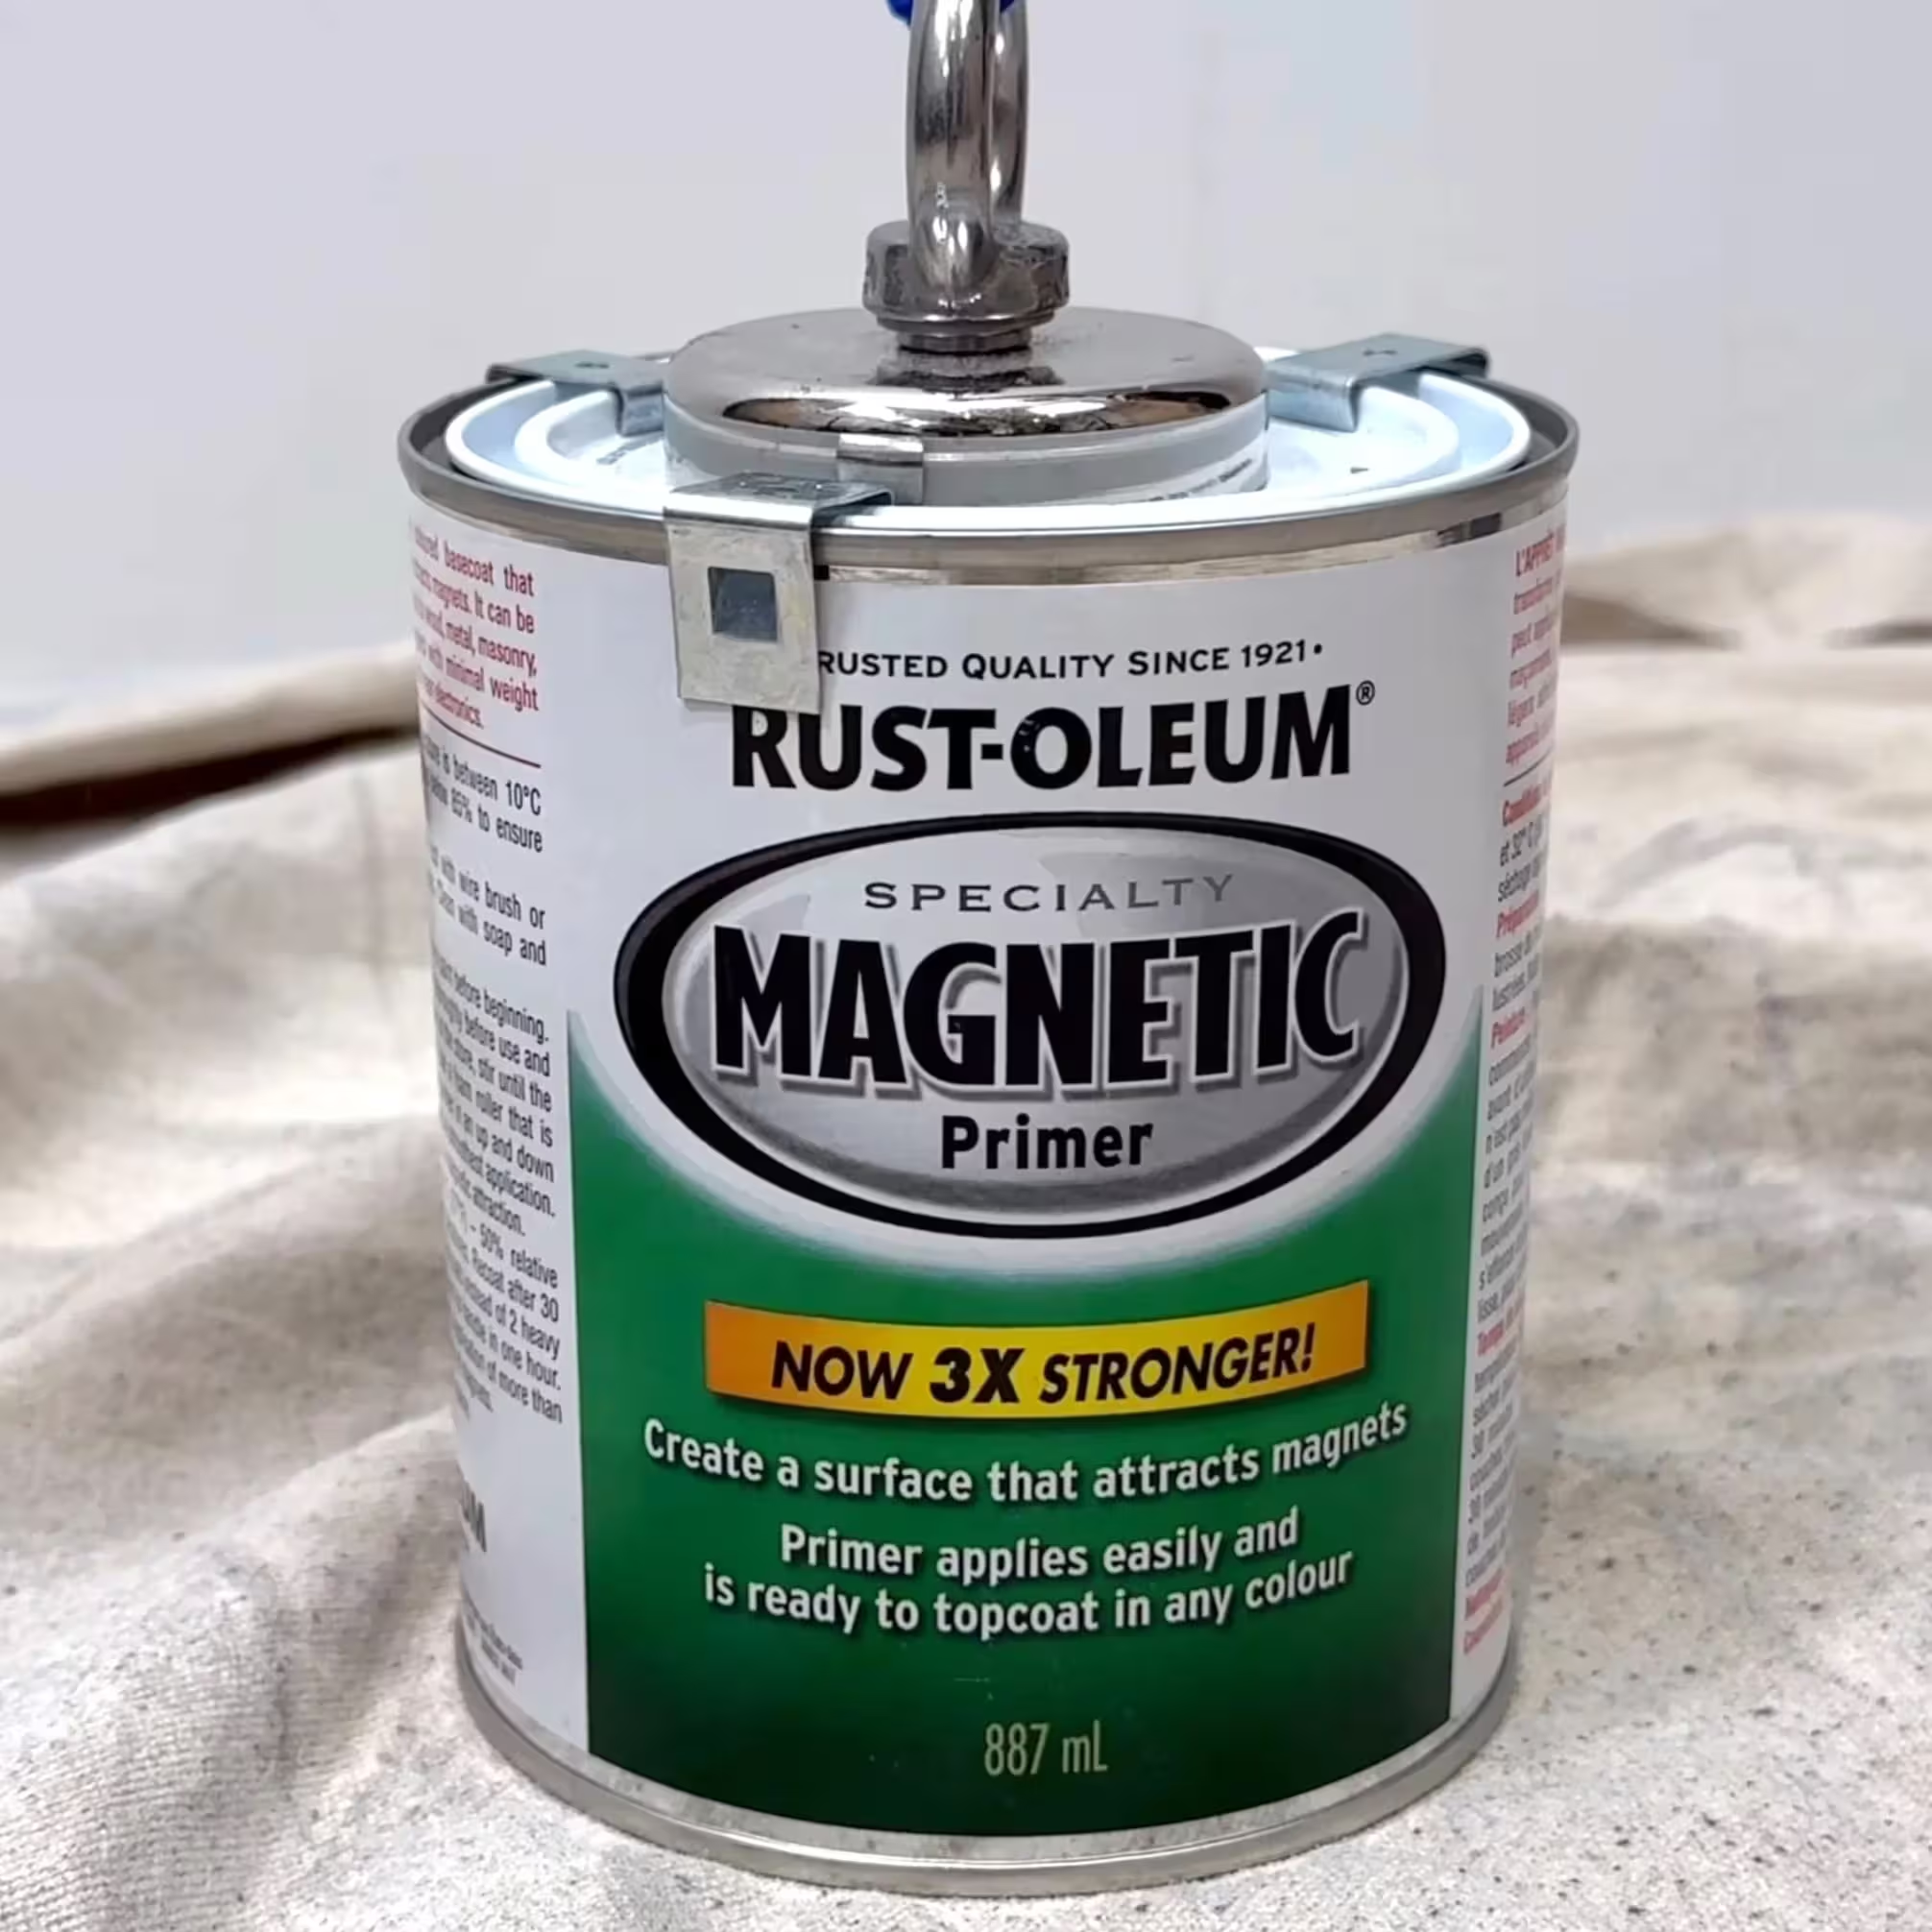
Quick Steps
For the “Just Tell Me How” Crowd
- Mix 1 part water to 4 parts hydrated lime until milky.
- Add alum salts, mix until dissolved.
- Add pigment (1:1 with alum), mix well.
- Apply in small X/crosshatch strokes — not long strokes.
- Don’t panic: It goes on dark, dries much lighter.
- Second coat if needed.
title
lorem ipsum dolor sis amet
Why Choose Magnetic Wall Paint?
Why Choose Magnetic Wall Paint?
Magnetic walls aren’t just for kids’ rooms—they’re practical, fun, and highly customizable:
- Interactive spaces: Hang notes, photos, or art without nails.
- Customizable: Paint over the magnetic primer with any latex color.
- Strong hold: Rust-Oleum’s primer is now three times stronger than previous versions.
- DIY-friendly: Easy to apply with minimal tools.
Perfect for kitchens, offices, playrooms, or feature walls, this product combines functionality with creativity.
Step 1: Prep Your Wall
Step 1: Prep Your Wall
- Clean your wall to remove dust, dirt, or grease.
- Repair any cracks or holes so the wall is smooth.
- Lightly sand if necessary for better adhesion.

Step 2: Apply Magnetic Primer
Step 2: Apply Magnetic Primer
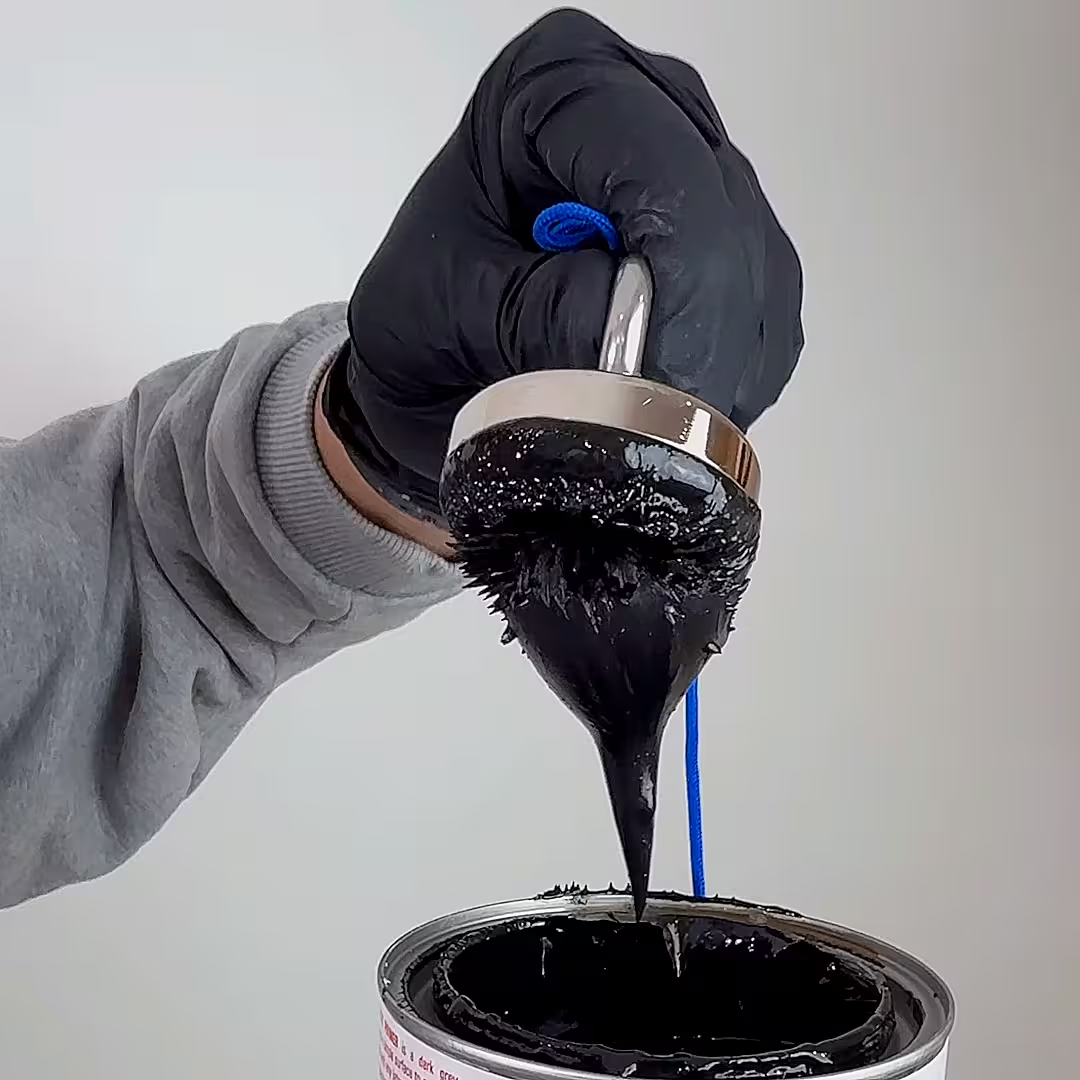
- Stir the Rust-Oleum Magnetic Primer thoroughly.
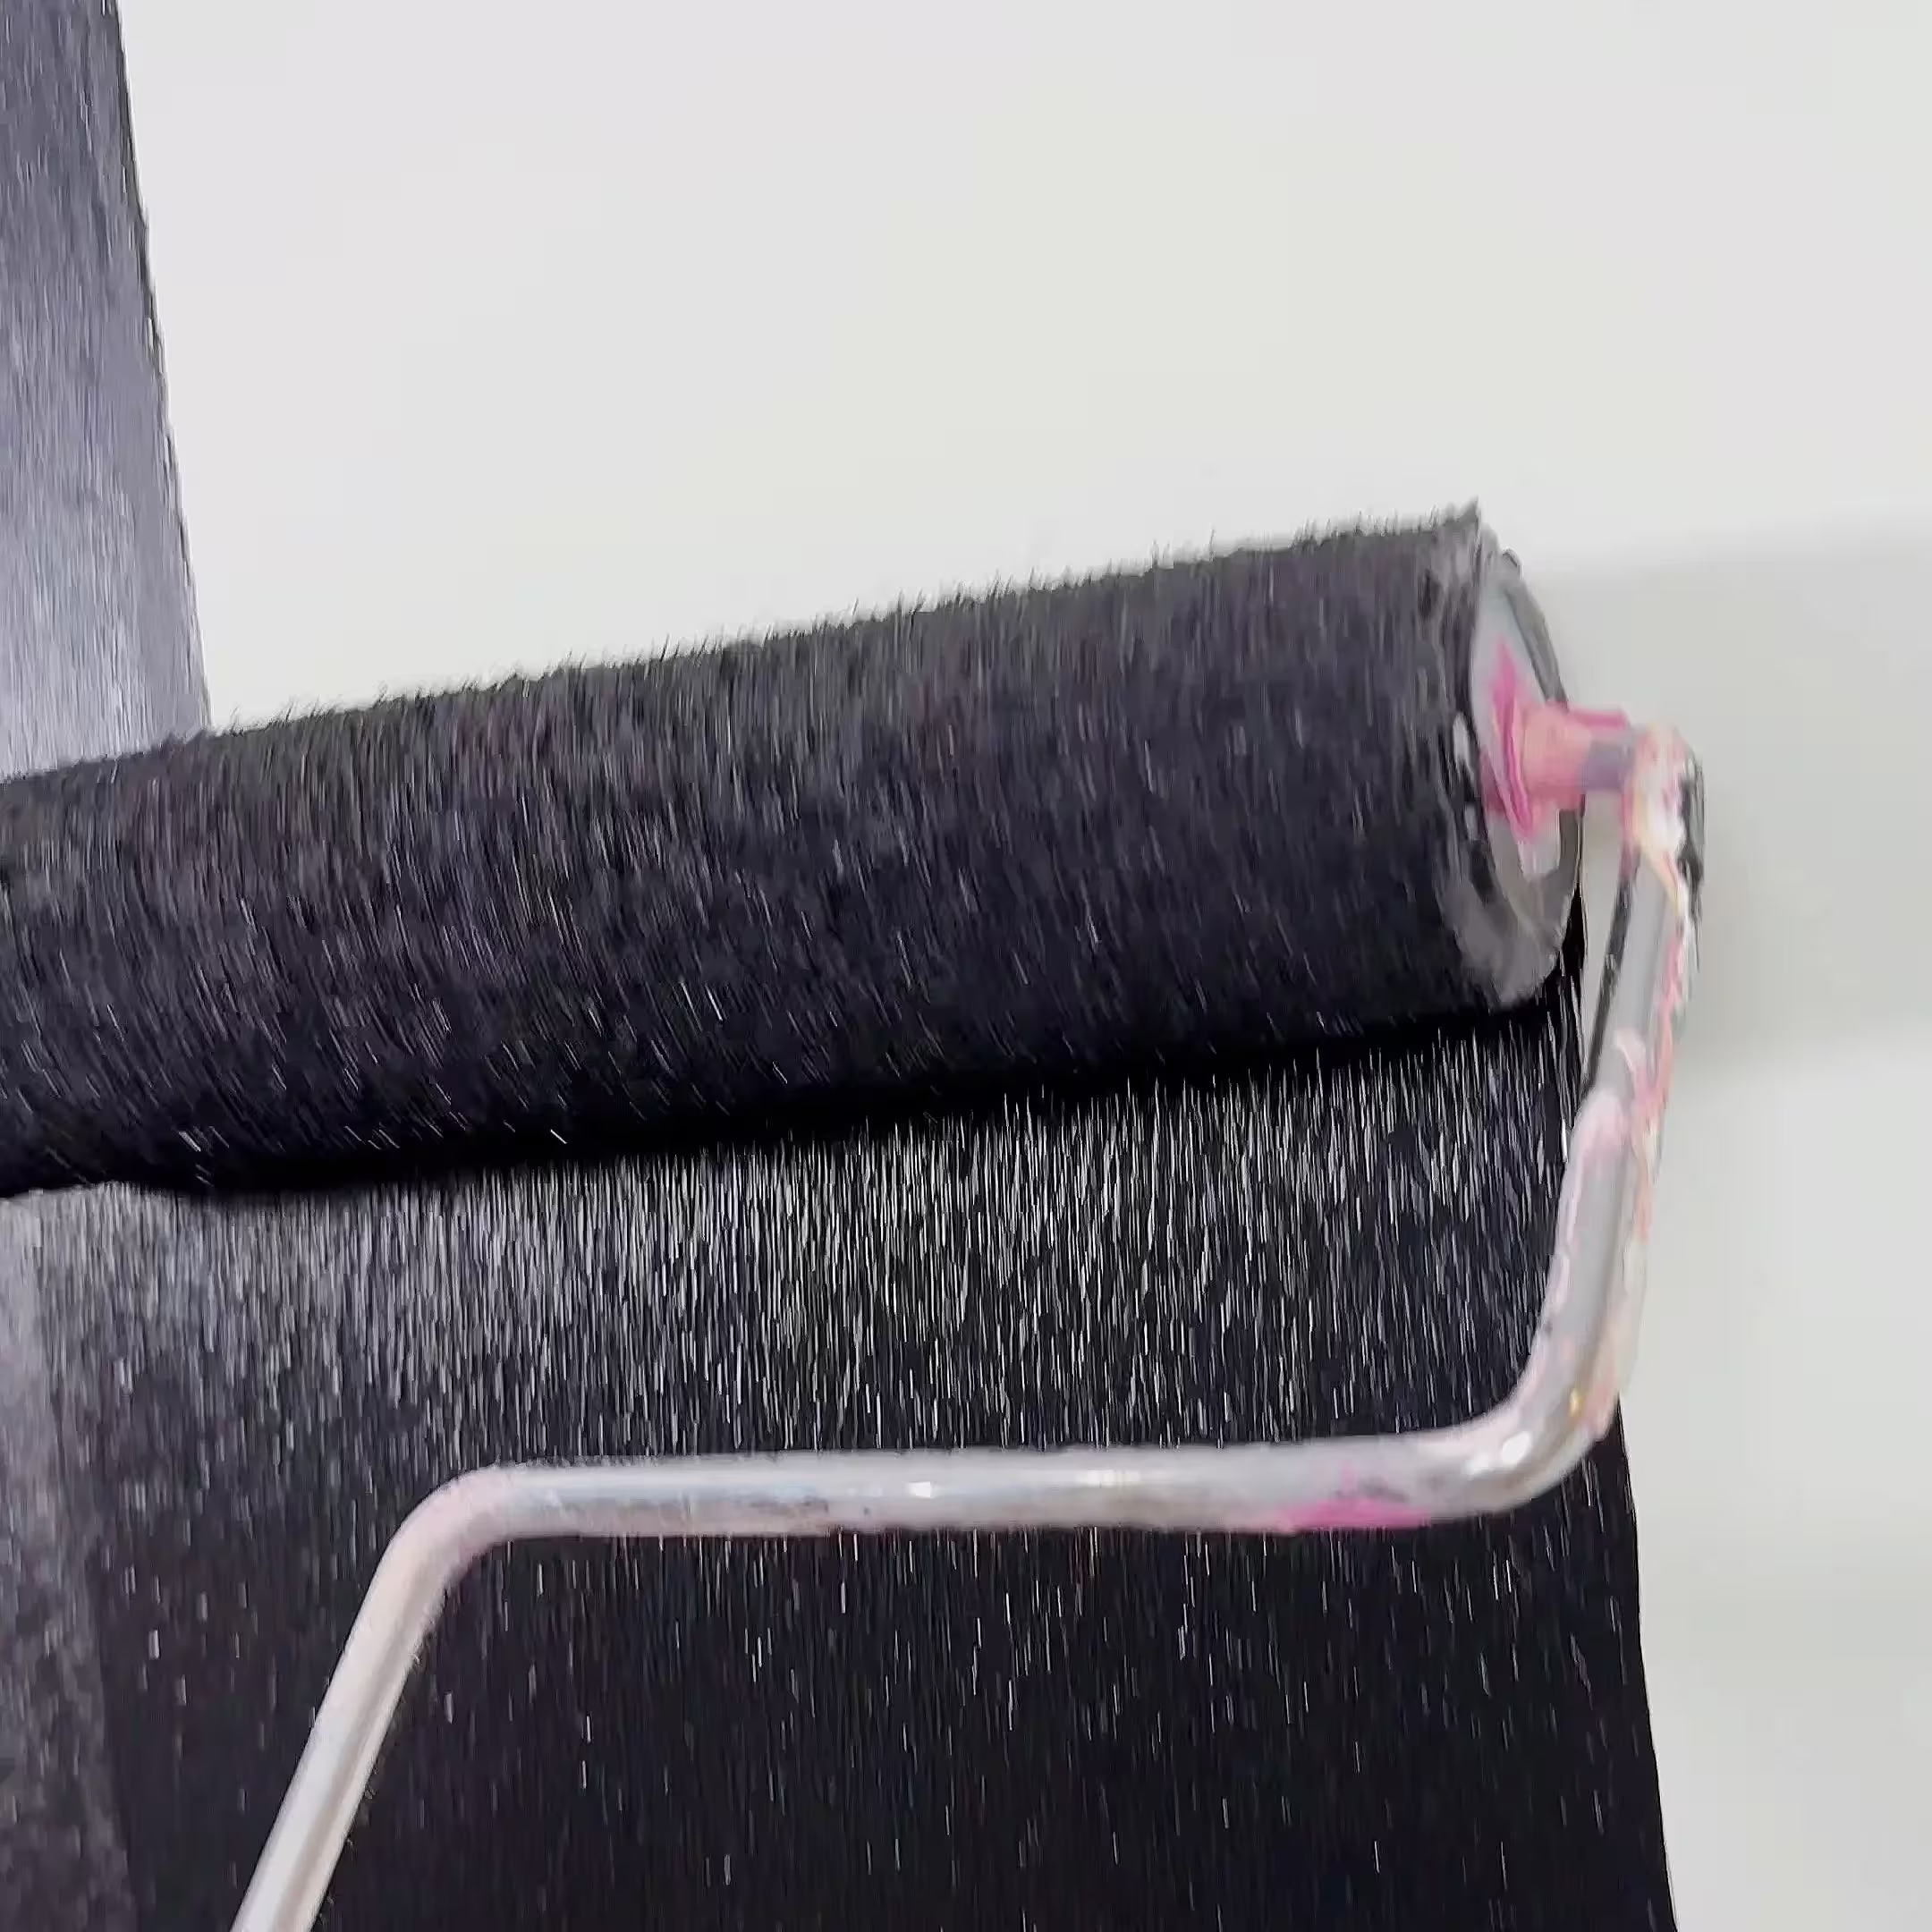
- Apply (at least) two coats evenly across the wall using a roller or brush.
- Allow the first coat to dry fully before applying the second.
Note: This primer is nearly black, but it will be completely covered by your topcoat later.
Step 3: Test Your Wall
optional…but fun
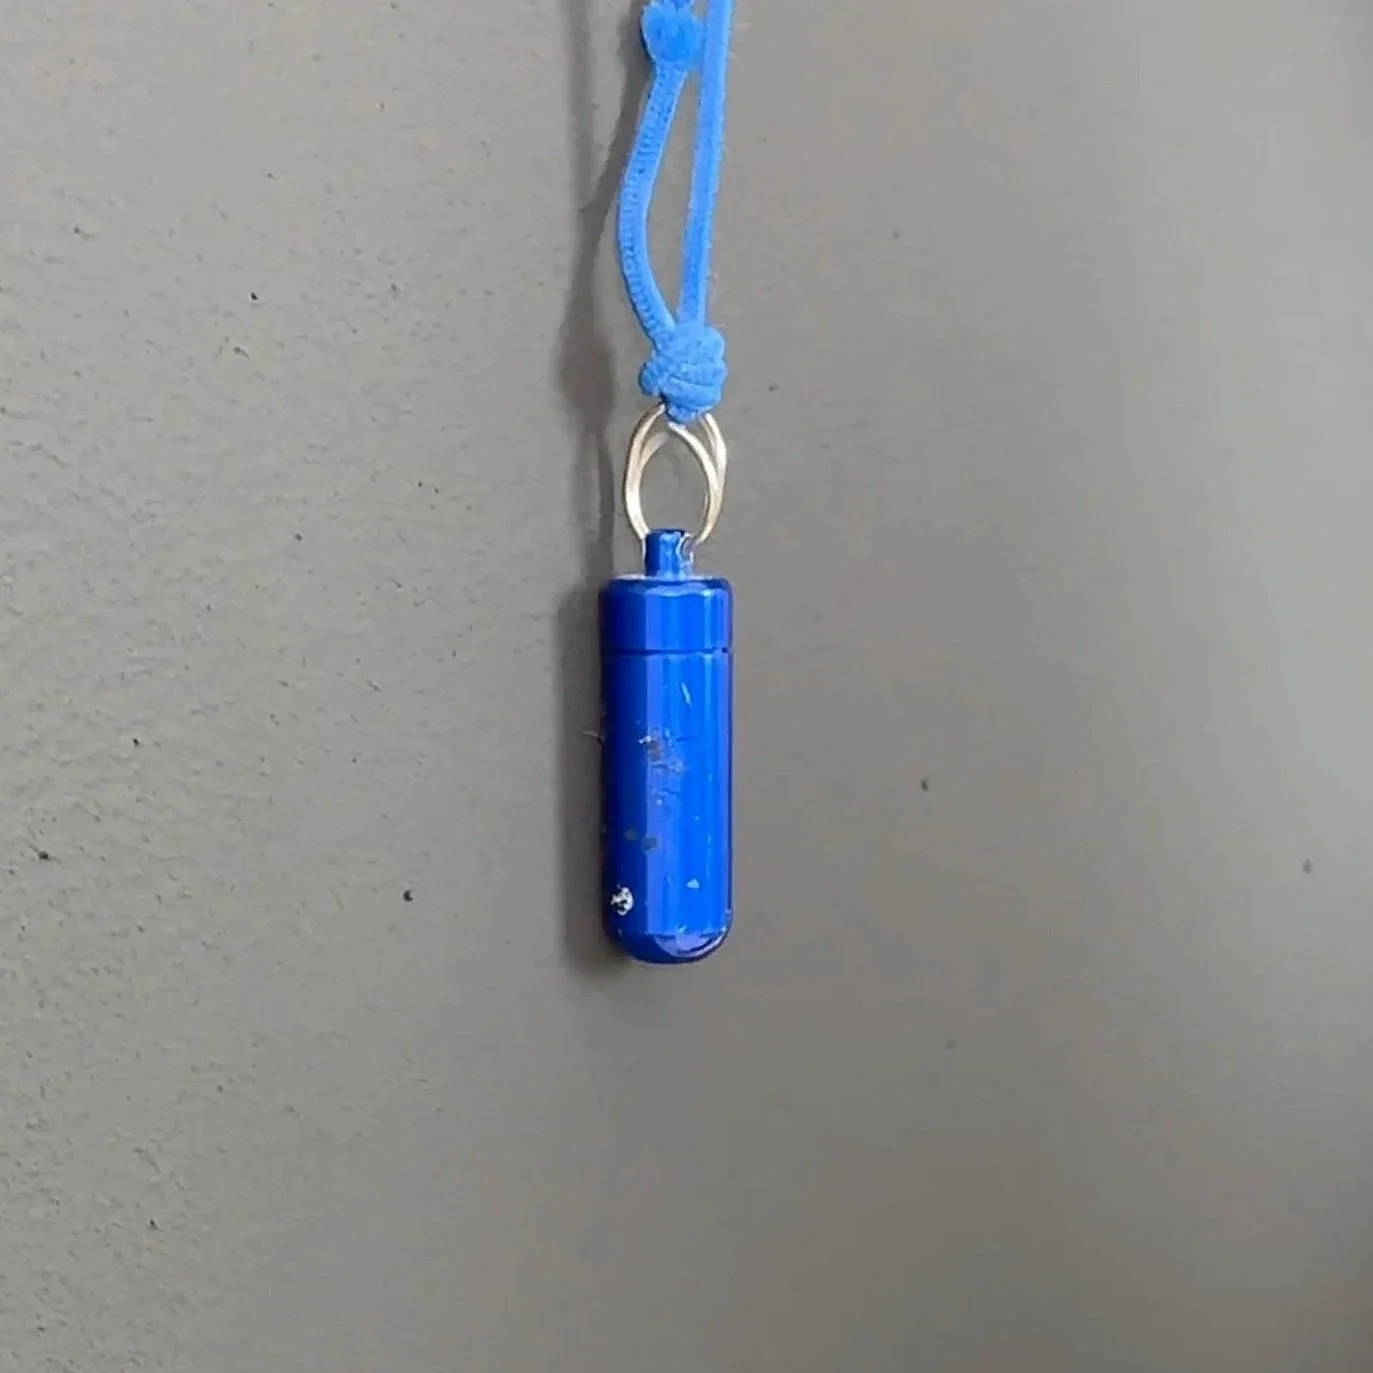
- Once the primer is dry, try sticking magnets to see if they hold (spoiler alert: they do).
- Rust-Oleum’s primer is three times stronger than before, so even heavier magnets should stay in place.
Step 4: Paint Over the Magnetic Primer
Paint Over the Magnetic Primer
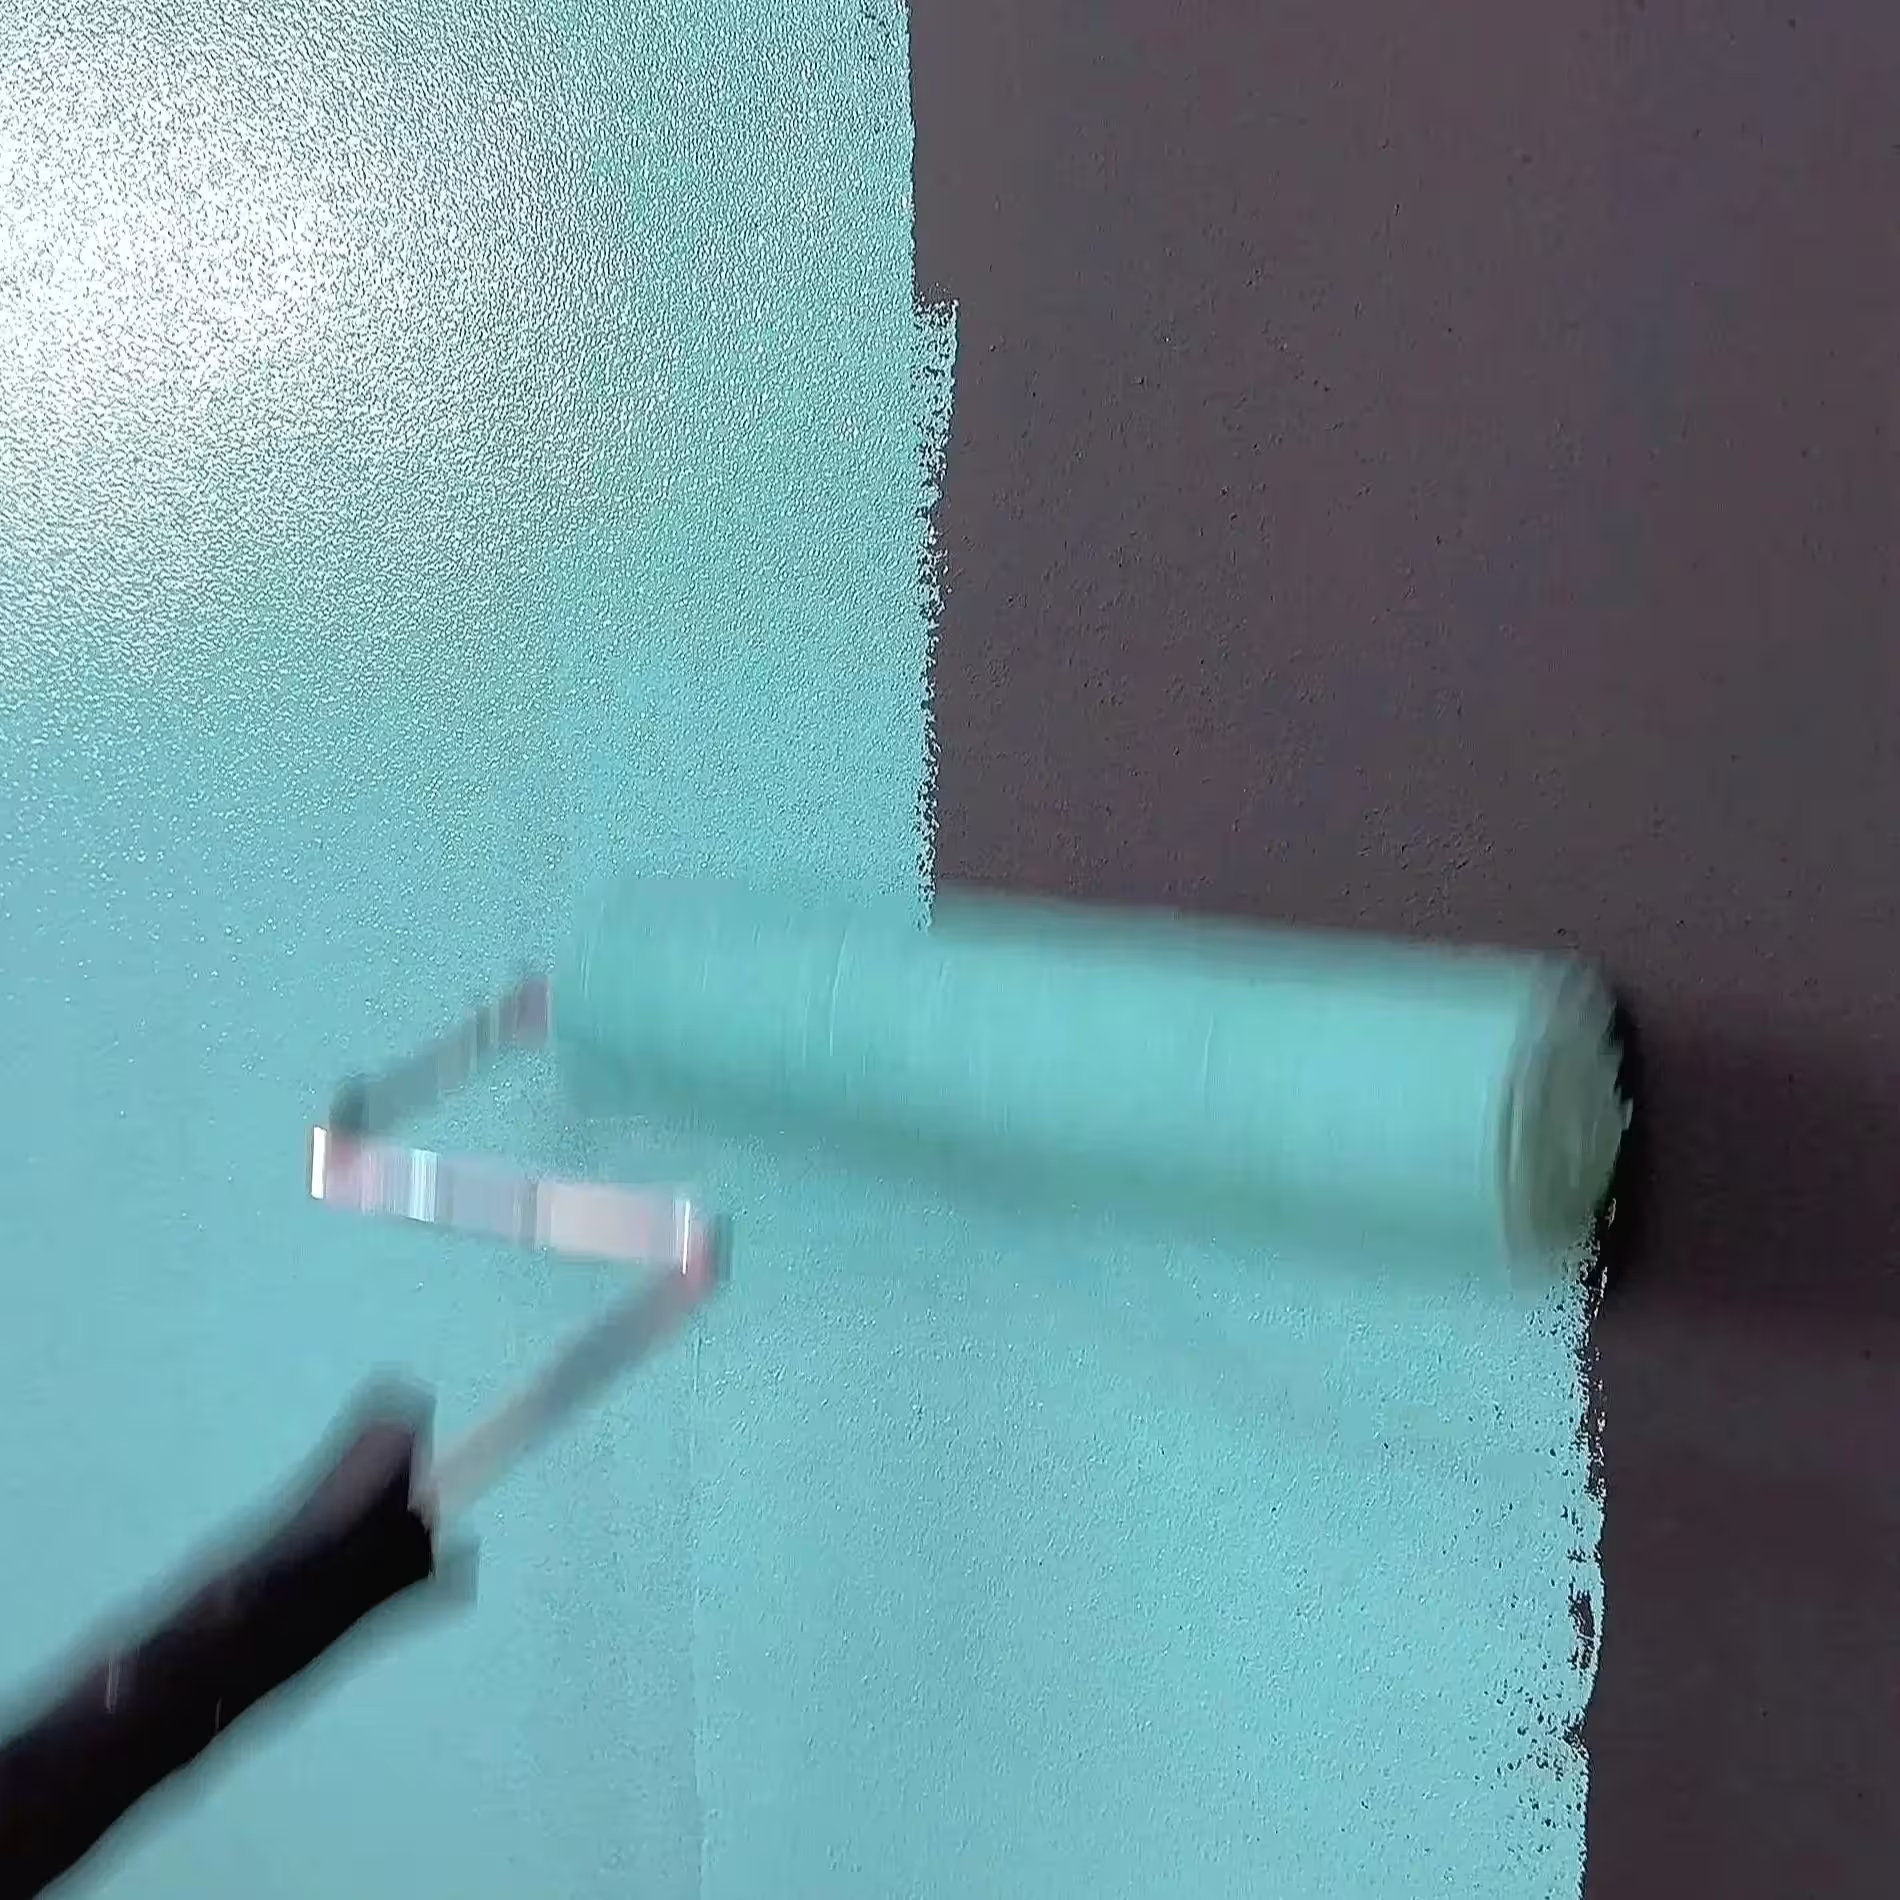
- Apply any latex paint color over the magnetic primer.
- Choose your favorite color to match your room design.
- Two coats of paint usually suffice, but allow the primer to fully cure before painting.
- Note: applying more than 2 coats of a top coat will lessen the strength of the magnetic connection.
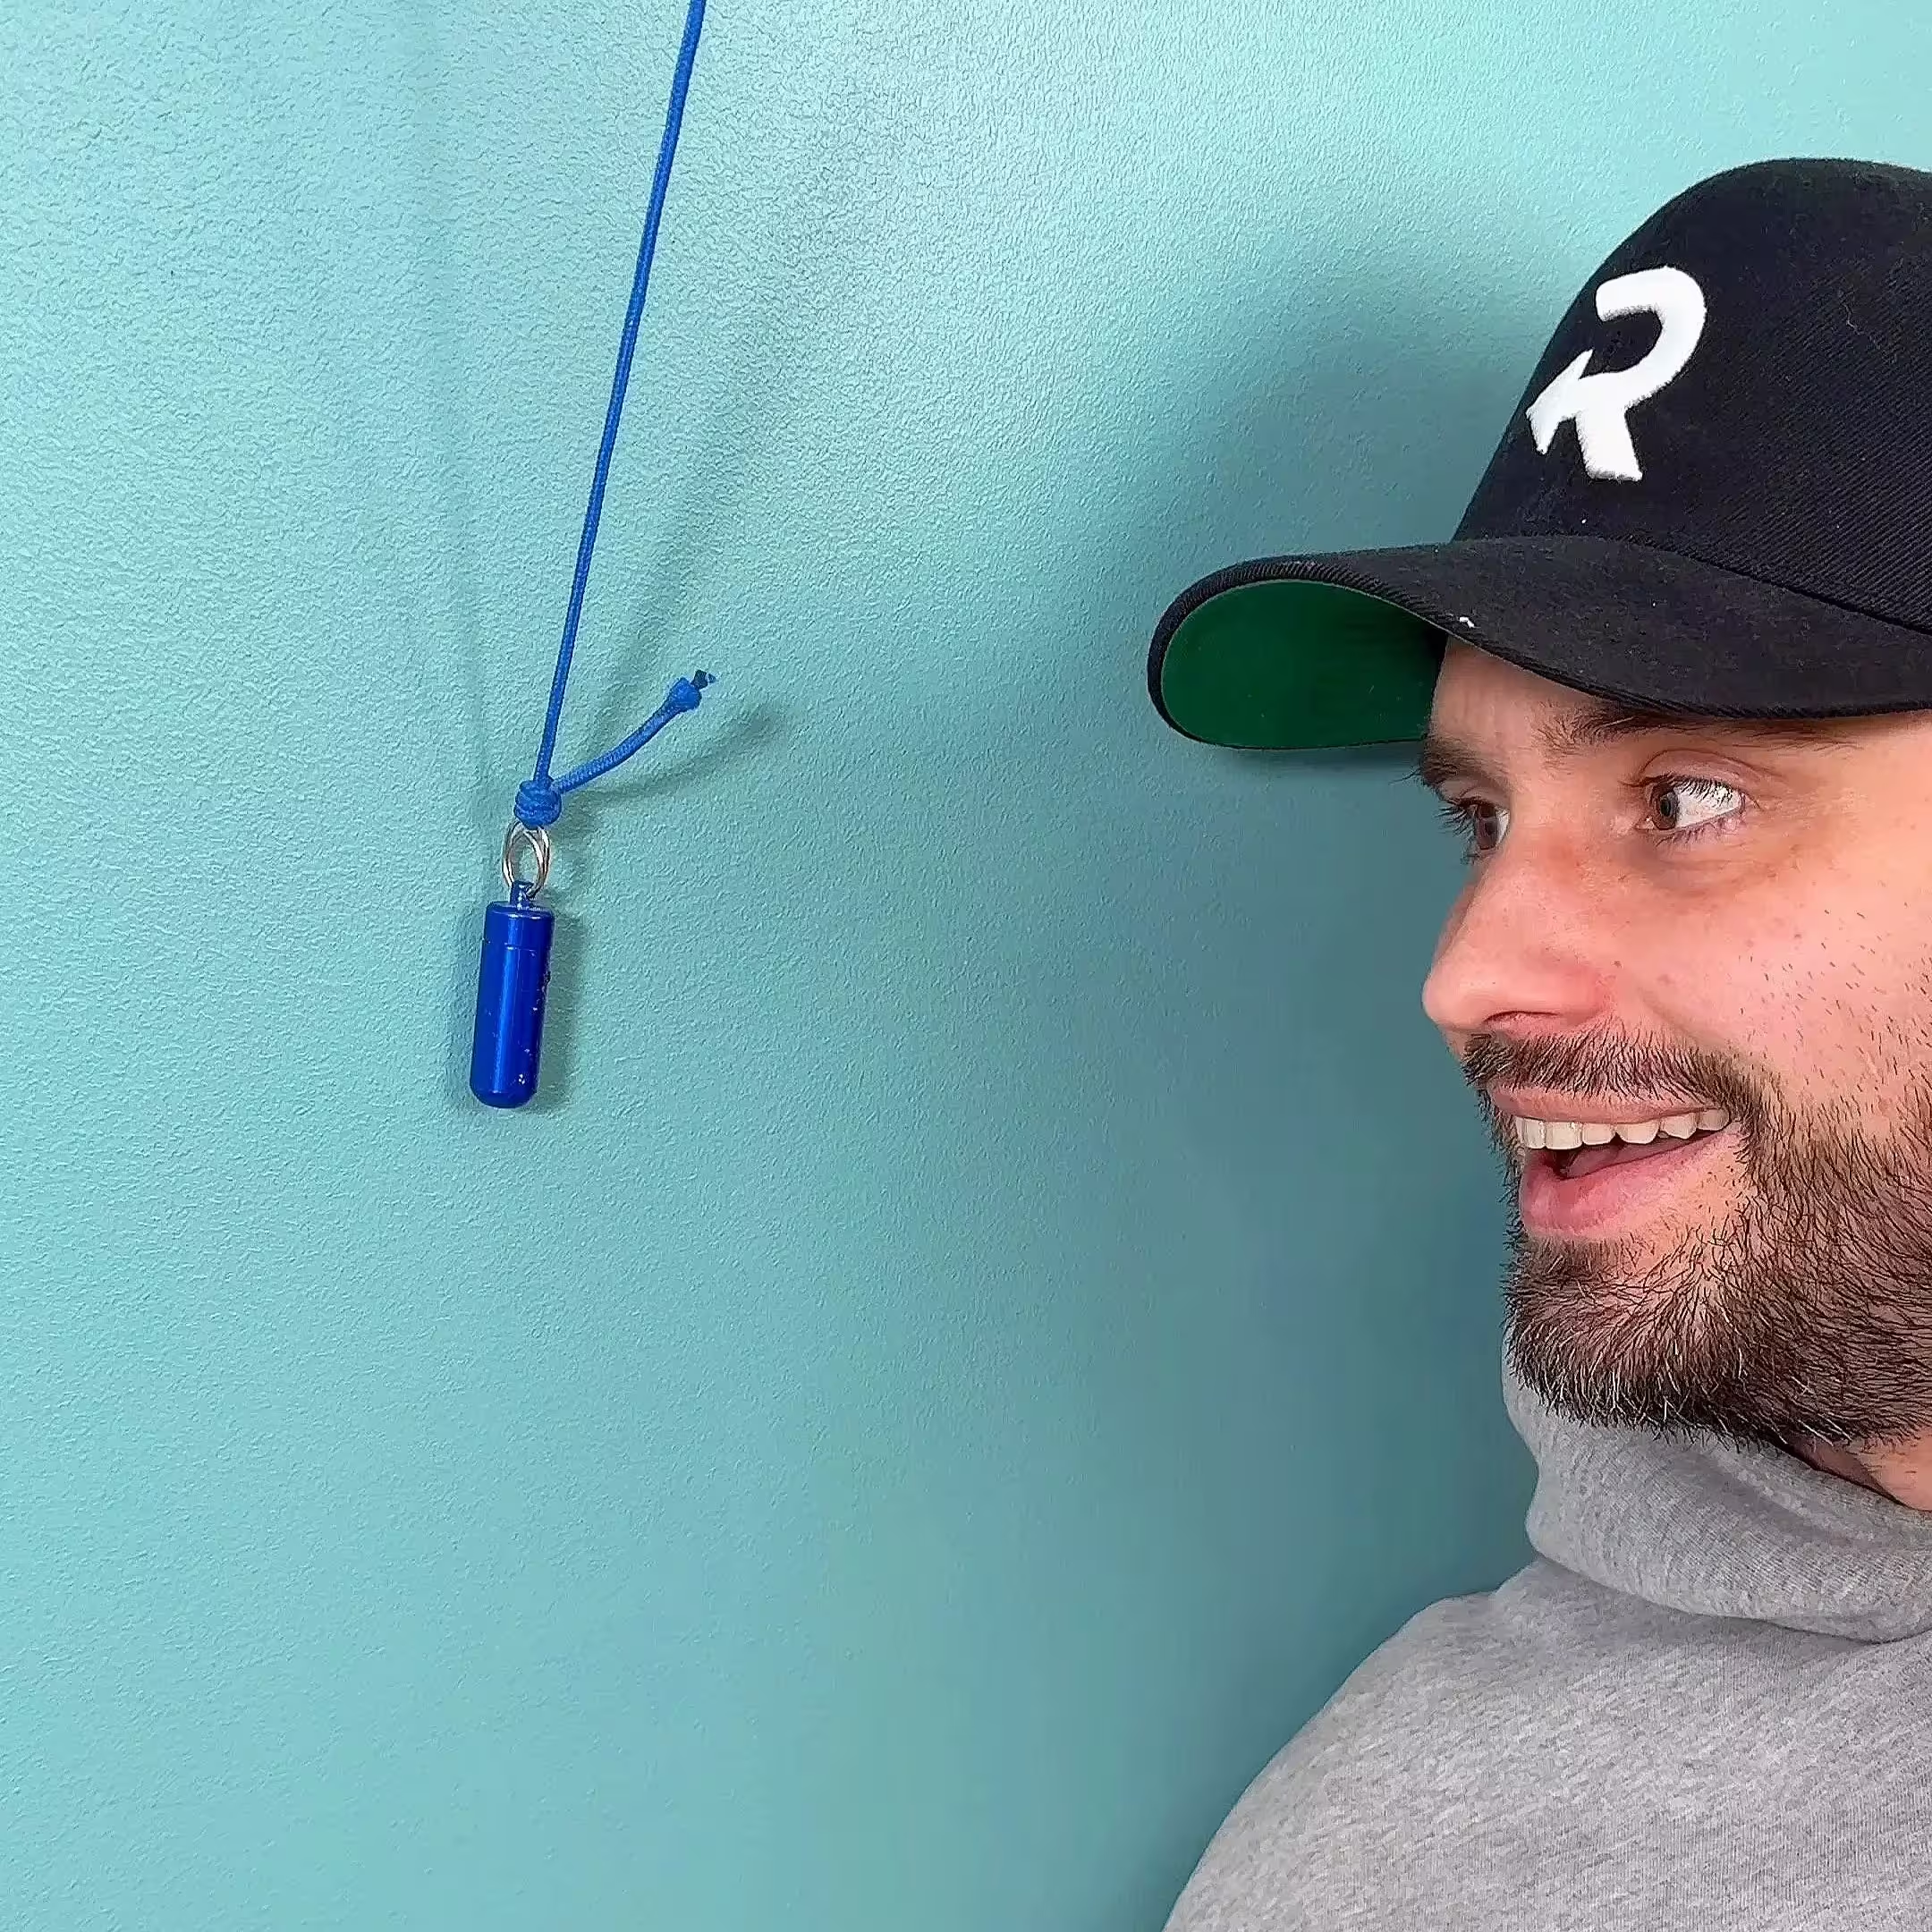
At this point, not only will your wall look gorgeous, it will attract any magnets you have lying around!
Step 5: Enjoy Your Magnetic Wall
Enjoy Your Magnetic Wall
- Use it to hang notes, photos, or decorative magnets.
- Great for offices, kitchens, classrooms, or kids’ play areas.
- Combine creativity with practicality for a functional, interactive space.
Pro Tips
Pro Tips
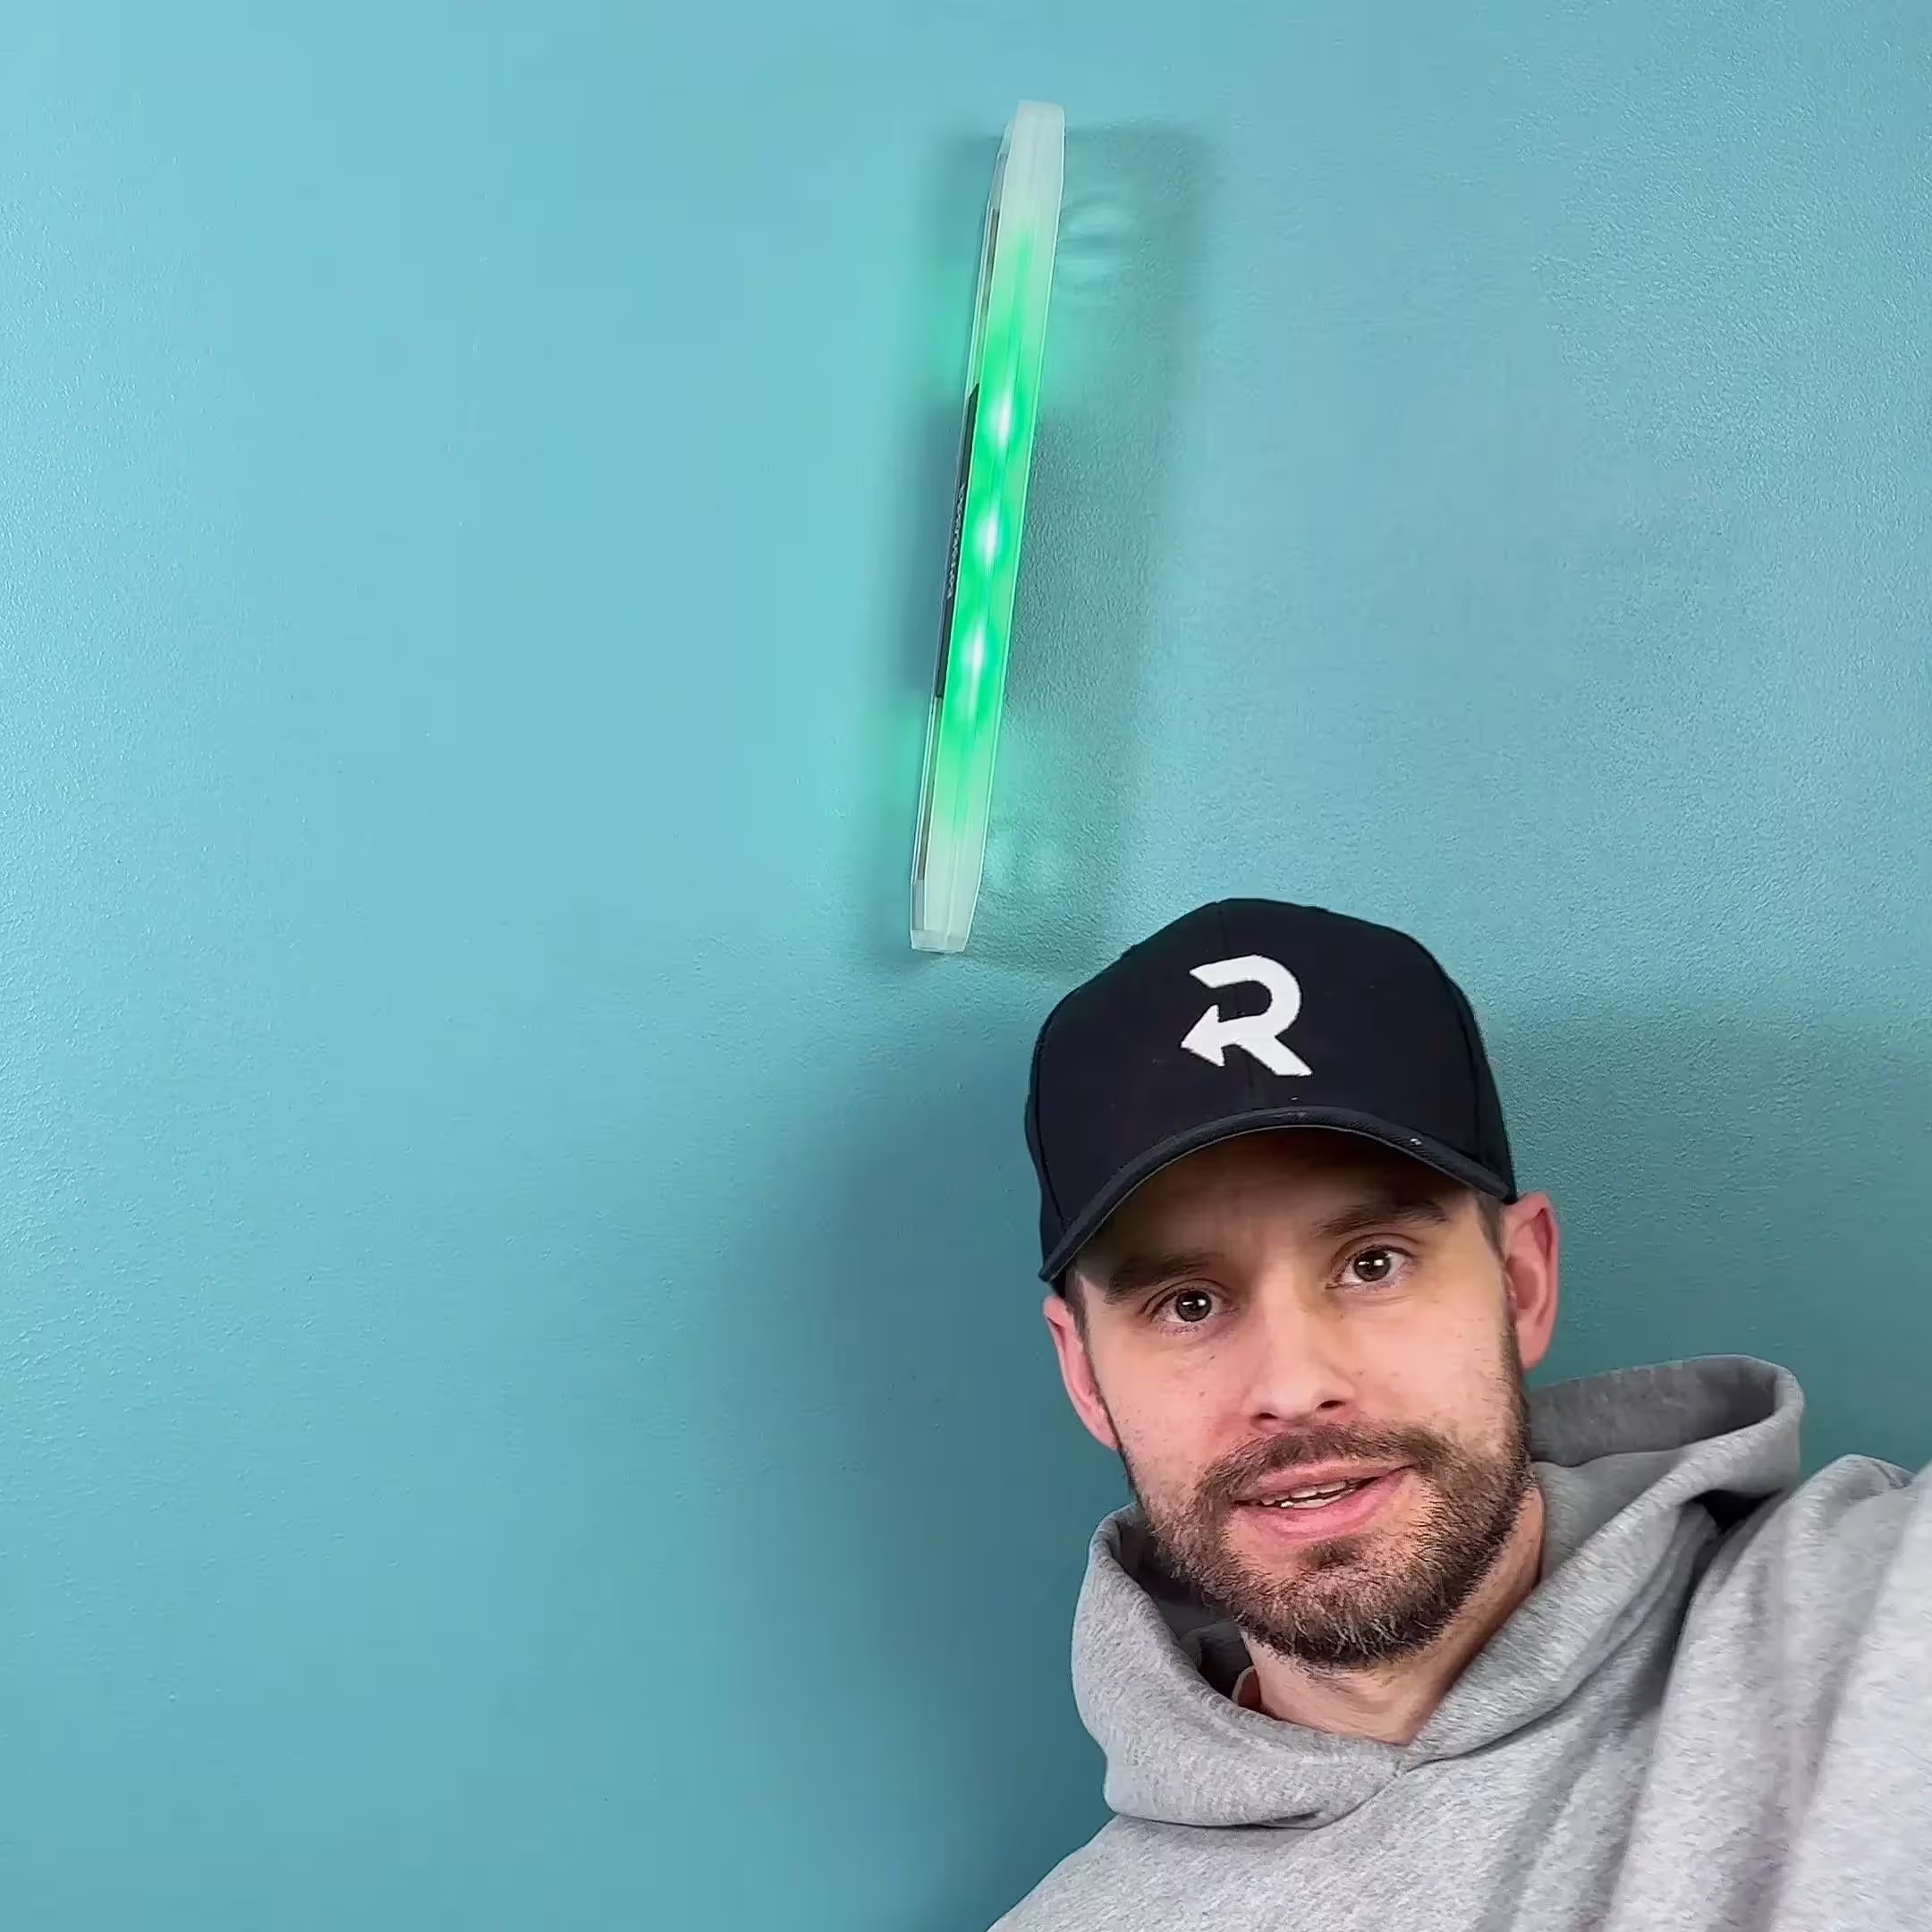
- Test the strength of your magnets and the connection with the wall before hanging anything heavy, or delicate.
- Plan your wall layout before hanging magnets to keep it organized.
- Let the primer cure fully before painting to maximize magnetic strength.
Why We Love Rust-Oleum Magnetic Primer
Why We Love Rust-Oleum Magnetic Primer
This magnetic primer is a game-changer for home DIY projects. It allows you to create a functional wall without sacrificing style. Two coats of primer plus your choice of latex paint transforms any space into a magnetic hub for notes, photos, and creativity.
Ready to Make Your Wall Magnetic?
Watch the full tutorial here: Magnetic Wall Paint – That’s Right! and see how easy it is to combine function, style, and fun in your home.