
Quick Steps
For the “Just Tell Me How” Crowd
- Mix 1 part water to 4 parts hydrated lime until milky.
- Add alum salts, mix until dissolved.
- Add pigment (1:1 with alum), mix well.
- Apply in small X/crosshatch strokes — not long strokes.
- Don’t panic: It goes on dark, dries much lighter.
- Second coat if needed.
watch out
Limewash needs something porous to bite into. On bare plaster, brick or lime render it works straight off. On painted drywall it will sit on top and rub away, so prime with a mineral primer first.
What Is Limewash Paint?
And why it’s trending again
Limewash is an old-school wall finish made from lime and water that creates a matte, mineral-looking surface with natural variation—lighter and darker areas that shift depending on how you apply it. That movement is the whole point. And unlike standard paint, limewash has a different feel:
- slightly watery but thick
- a bit grainy
- more like a “wash” than a coating
That’s why application technique matters so much.
kit
Buy more pigment than the job needs and mix the whole wall in one batch. Matching a second batch by eye is close to impossible once the first one has dried.
DIY Limewash Ingredients
Only 3 ingredients
To make your own limewash paint, you only need:
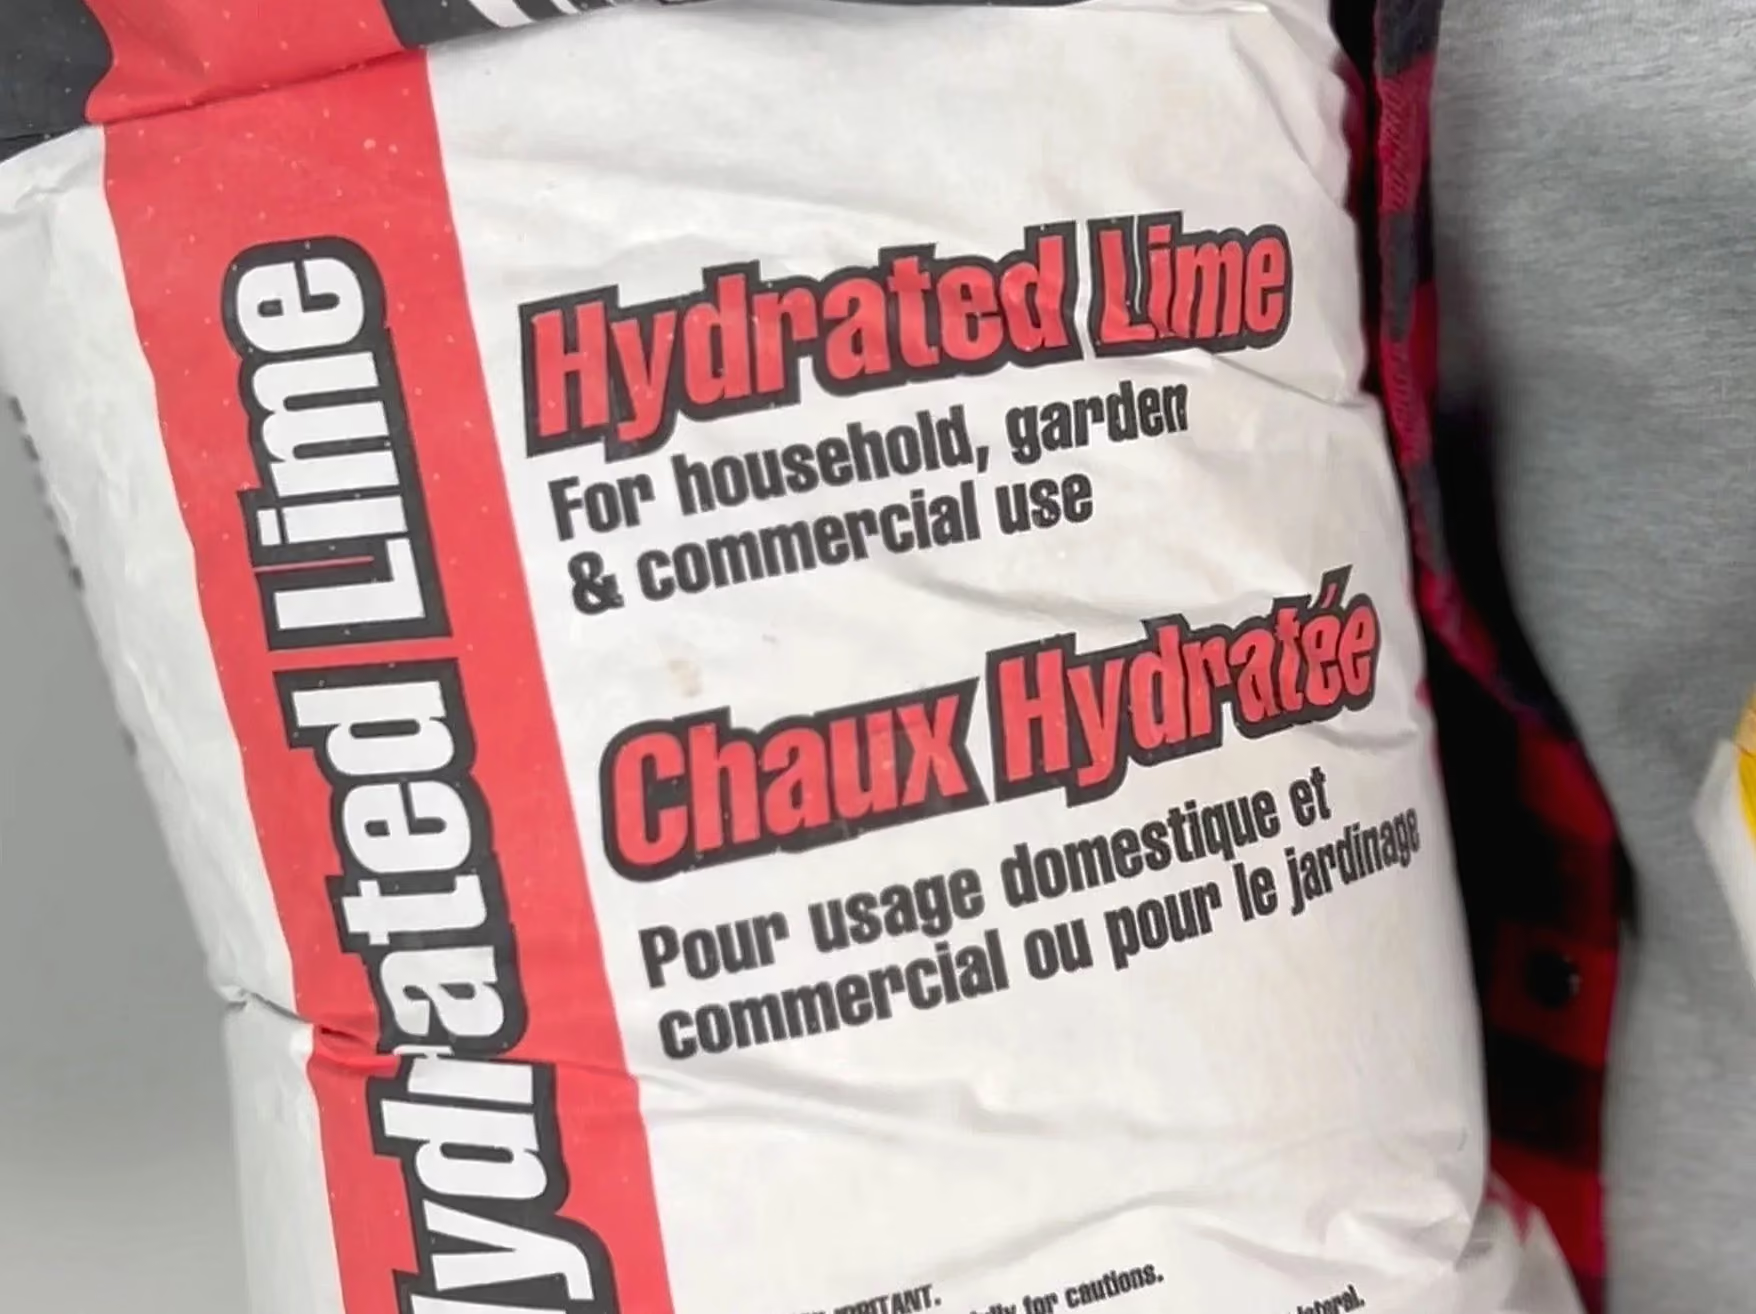
- Hydrated lime powder (we used DAP Hydrated Lime Powder in the video)
- Pigment (for color)
- Alum salts (a binder that helps the pigment bond to the limewash)
That’s it—no complicated chemistry required (we’re keeping it “Refresh style”).
tip
Trust the consistency over themeasuring cup. Lime powder varies in how much water it takes, so add water until it pours like milk rather than counting parts.
DIY Limewash Recipe Ratio
The Refresh Method
Here’s the exact ratio shared in the video:
1 part water : 4 parts hydrated lime powder
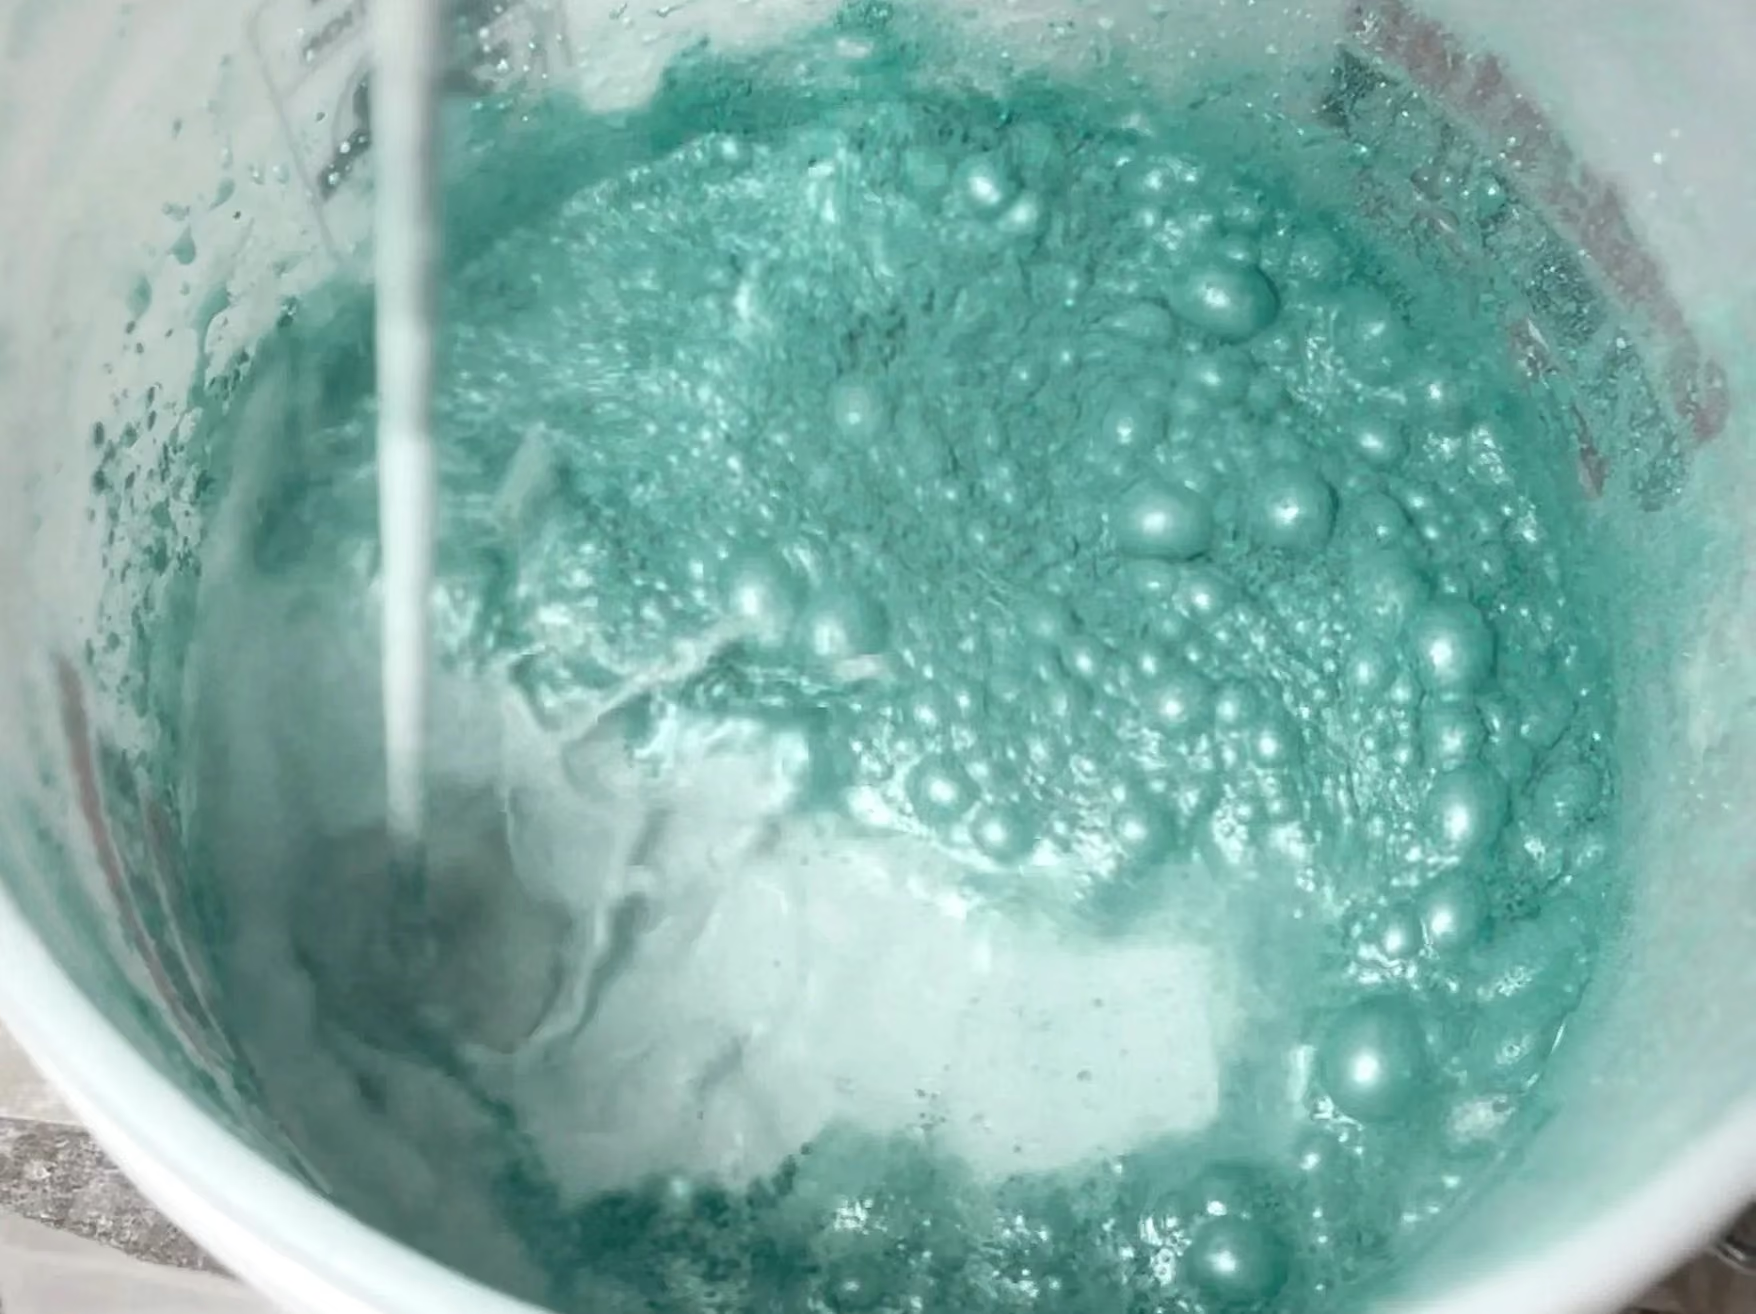
Mix until you get a milky consistency—anywhere from skim milk to whole milk vibes. That “milkiness” is your visual cue that it’s ready to use.
Then:
- add alum salts and mix until fully dissolved
- add pigment and mix thoroughly
Alum salts + pigment (quick ratio)
In the video, we describe it as roughly a 1:1 ratio of alum salts to pigment, but also emphasize this is a DIY-friendly process where you may adjust based on your color and consistency goals.
timing
Mix it, then leave it ten minutes and stir again. Lime keeps drinking water after it looks done, and a batch that thickened in the bucket goes on patchy.
How to Mix Limewash
Without Making a Mess
A few practical tips from the tutorial vibe:
- Have everything ready before you start mixing
- Mix until smooth and milky, then stop—don’t overthink it
- Make sure the alum salts dissolve fully before you start painting (they’re doing important behind-the-scenes work)
And yes, basic safety matters: hydrated lime is dusty and irritating—don’t breathe it in, and don’t get it on your skin/eyes.
kit
The brush does most of the workhere. A wide, coarse masonry orlimewash brush is what makes the crosshatch read as texture. A roller flattens it into a plain matte wall.
How to Apply Limewash Paint
X pattern = the look
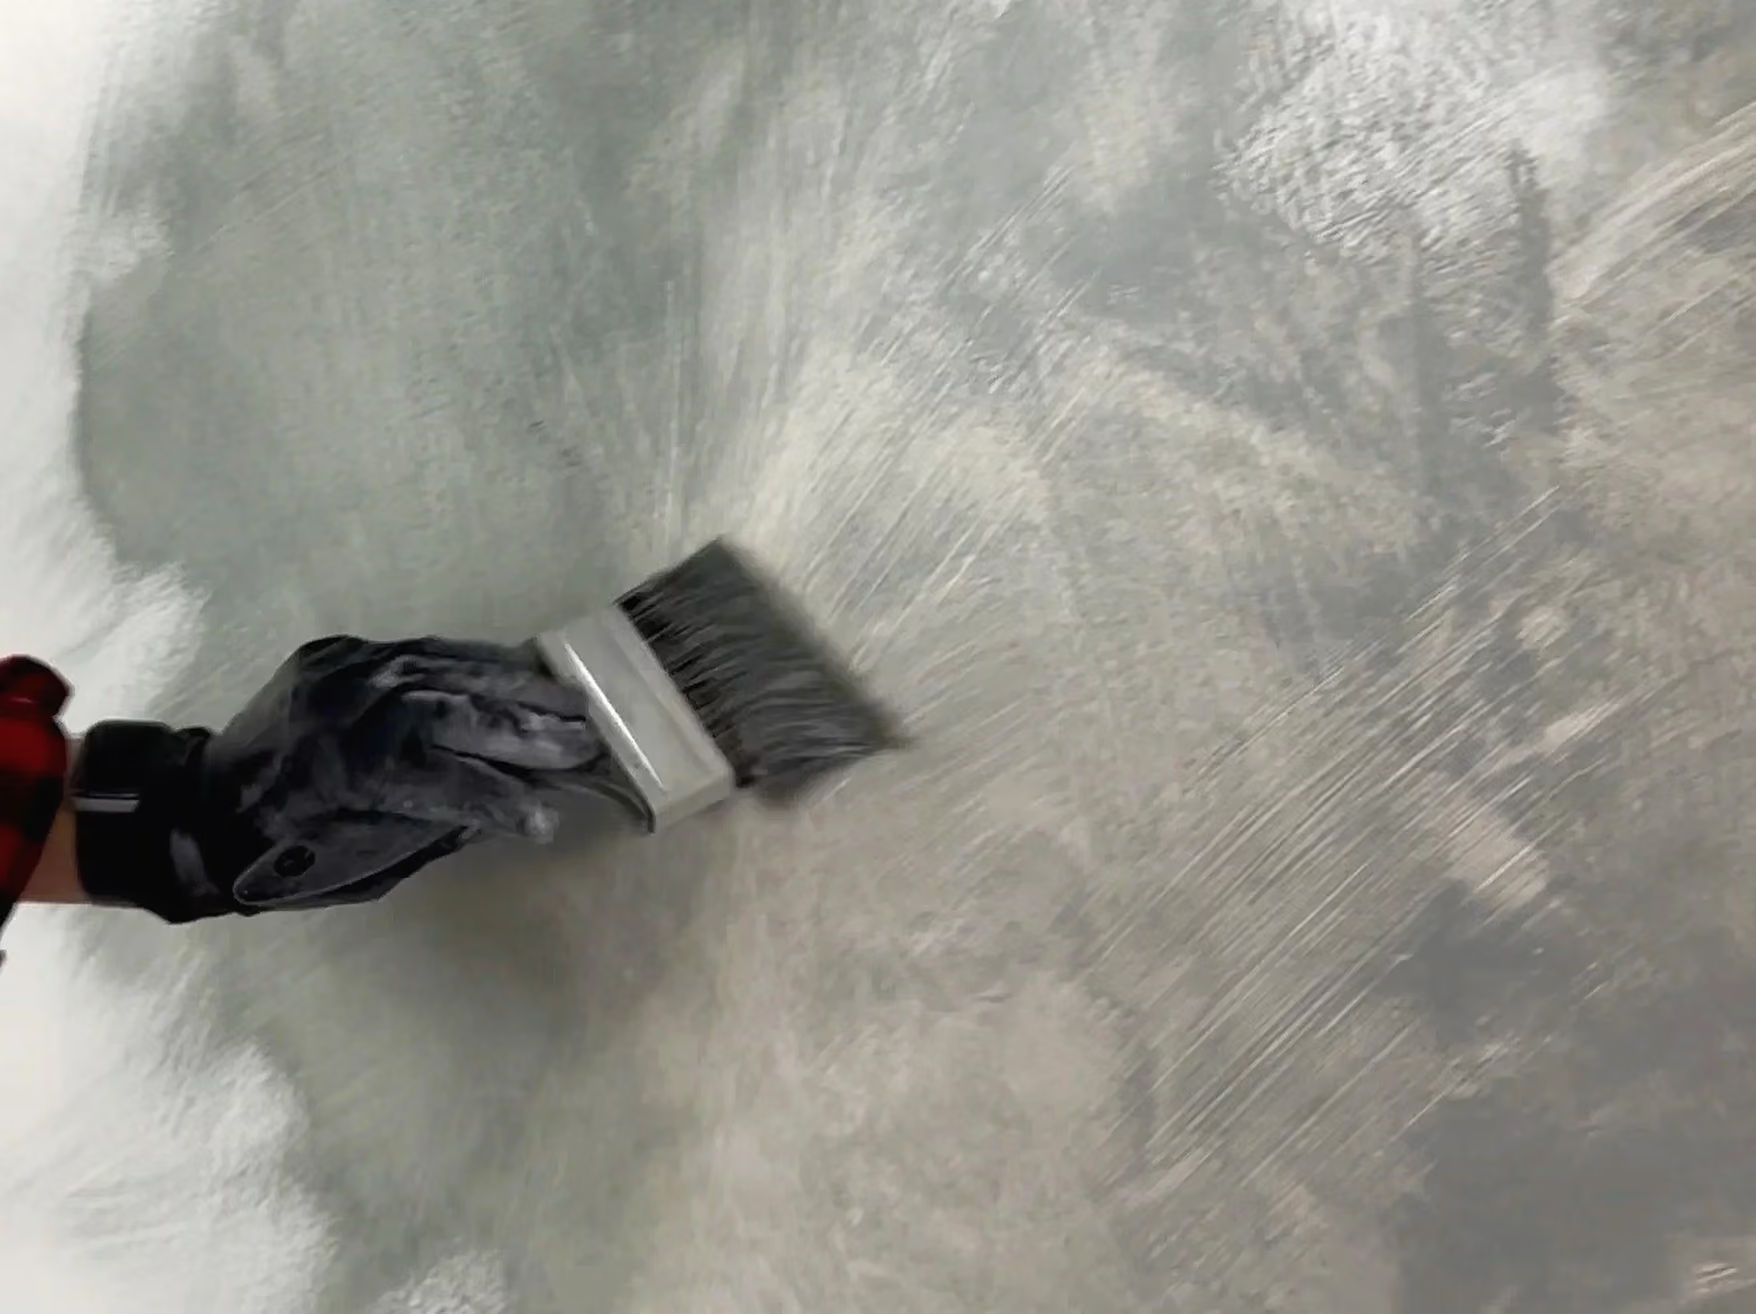
This is the biggest difference between limewash and regular paint. Use crosshatching “X” strokes, Instead of long, straight strokes like normal painting, apply limewash using small crisscross motions. This technique creates:
- texture variation
- tonal variation (dark and light patches)
- that signature limewash “movement”
If you paint it on like standard wall paint, you’ll lose the effect you’re doing this for in the first place.
timing
Give it a full day before you judgethe colour, and look at it under thelamp you actually use at night.Limewash reads completelydifferently wet, dry and lit.
First Coat Limewash: Don’t Panic
Lorem ipsum
This is the most important mental part of limewashing:It goes on dark, then dries much lighter.So the first coat often looks like a mistake while it’s wet. Step back, breathe, and let it dry before judging it.Also—expect a different feel than paint:it may look streakyit may feel watery/thick/grainythat’s normal
test first
Put a coat on a square about thesize of a tea towel and let it dry allthe way before you decide. Asecond coat evens the wall out but also quiets the movement you did this for.
Do You Need Two Coats of Limewash?
Lorem ipsum
In our application, two coats worked best:
better overall coveragere
duced the “light spot” effect
more finished, consistent look while still keeping texture
That said, limewash is personal. Test a small area, see what you like, and adjust—some people love higher contrast, others want it more subtle.
tip
Expect a light chalky dust for thefirst week or so - that is the limecuring. Wipe it with a dry cloth,never scrub it, and only seal it if the wall takes real traffic.
Final Results: Modern, Textured, Designer Wall Finish (DIY)
Lorem ipsum dolor is amet
Once it dries, limewash gives you that soft, natural, matte finish that looks high-end and intentional—without needing a specialty paint product.
If you’ve been wanting to try the limewash trend, this is a simple way to do it with accessible materials. Hydrated lime + pigment + alum salts, mix it milky, crosshatch it on, and trust the dry-down.