Quick Steps
For the “Just Tell Me How” Crowd
- Mix 1 part water to 4 parts hydrated lime until milky.
- Add alum salts, mix until dissolved.
- Add pigment (1:1 with alum), mix well.
- Apply in small X/crosshatch strokes — not long strokes.
- Don’t panic: It goes on dark, dries much lighter.
- Second coat if needed.
Why Choose Microcement?
Why Choose Microcement?
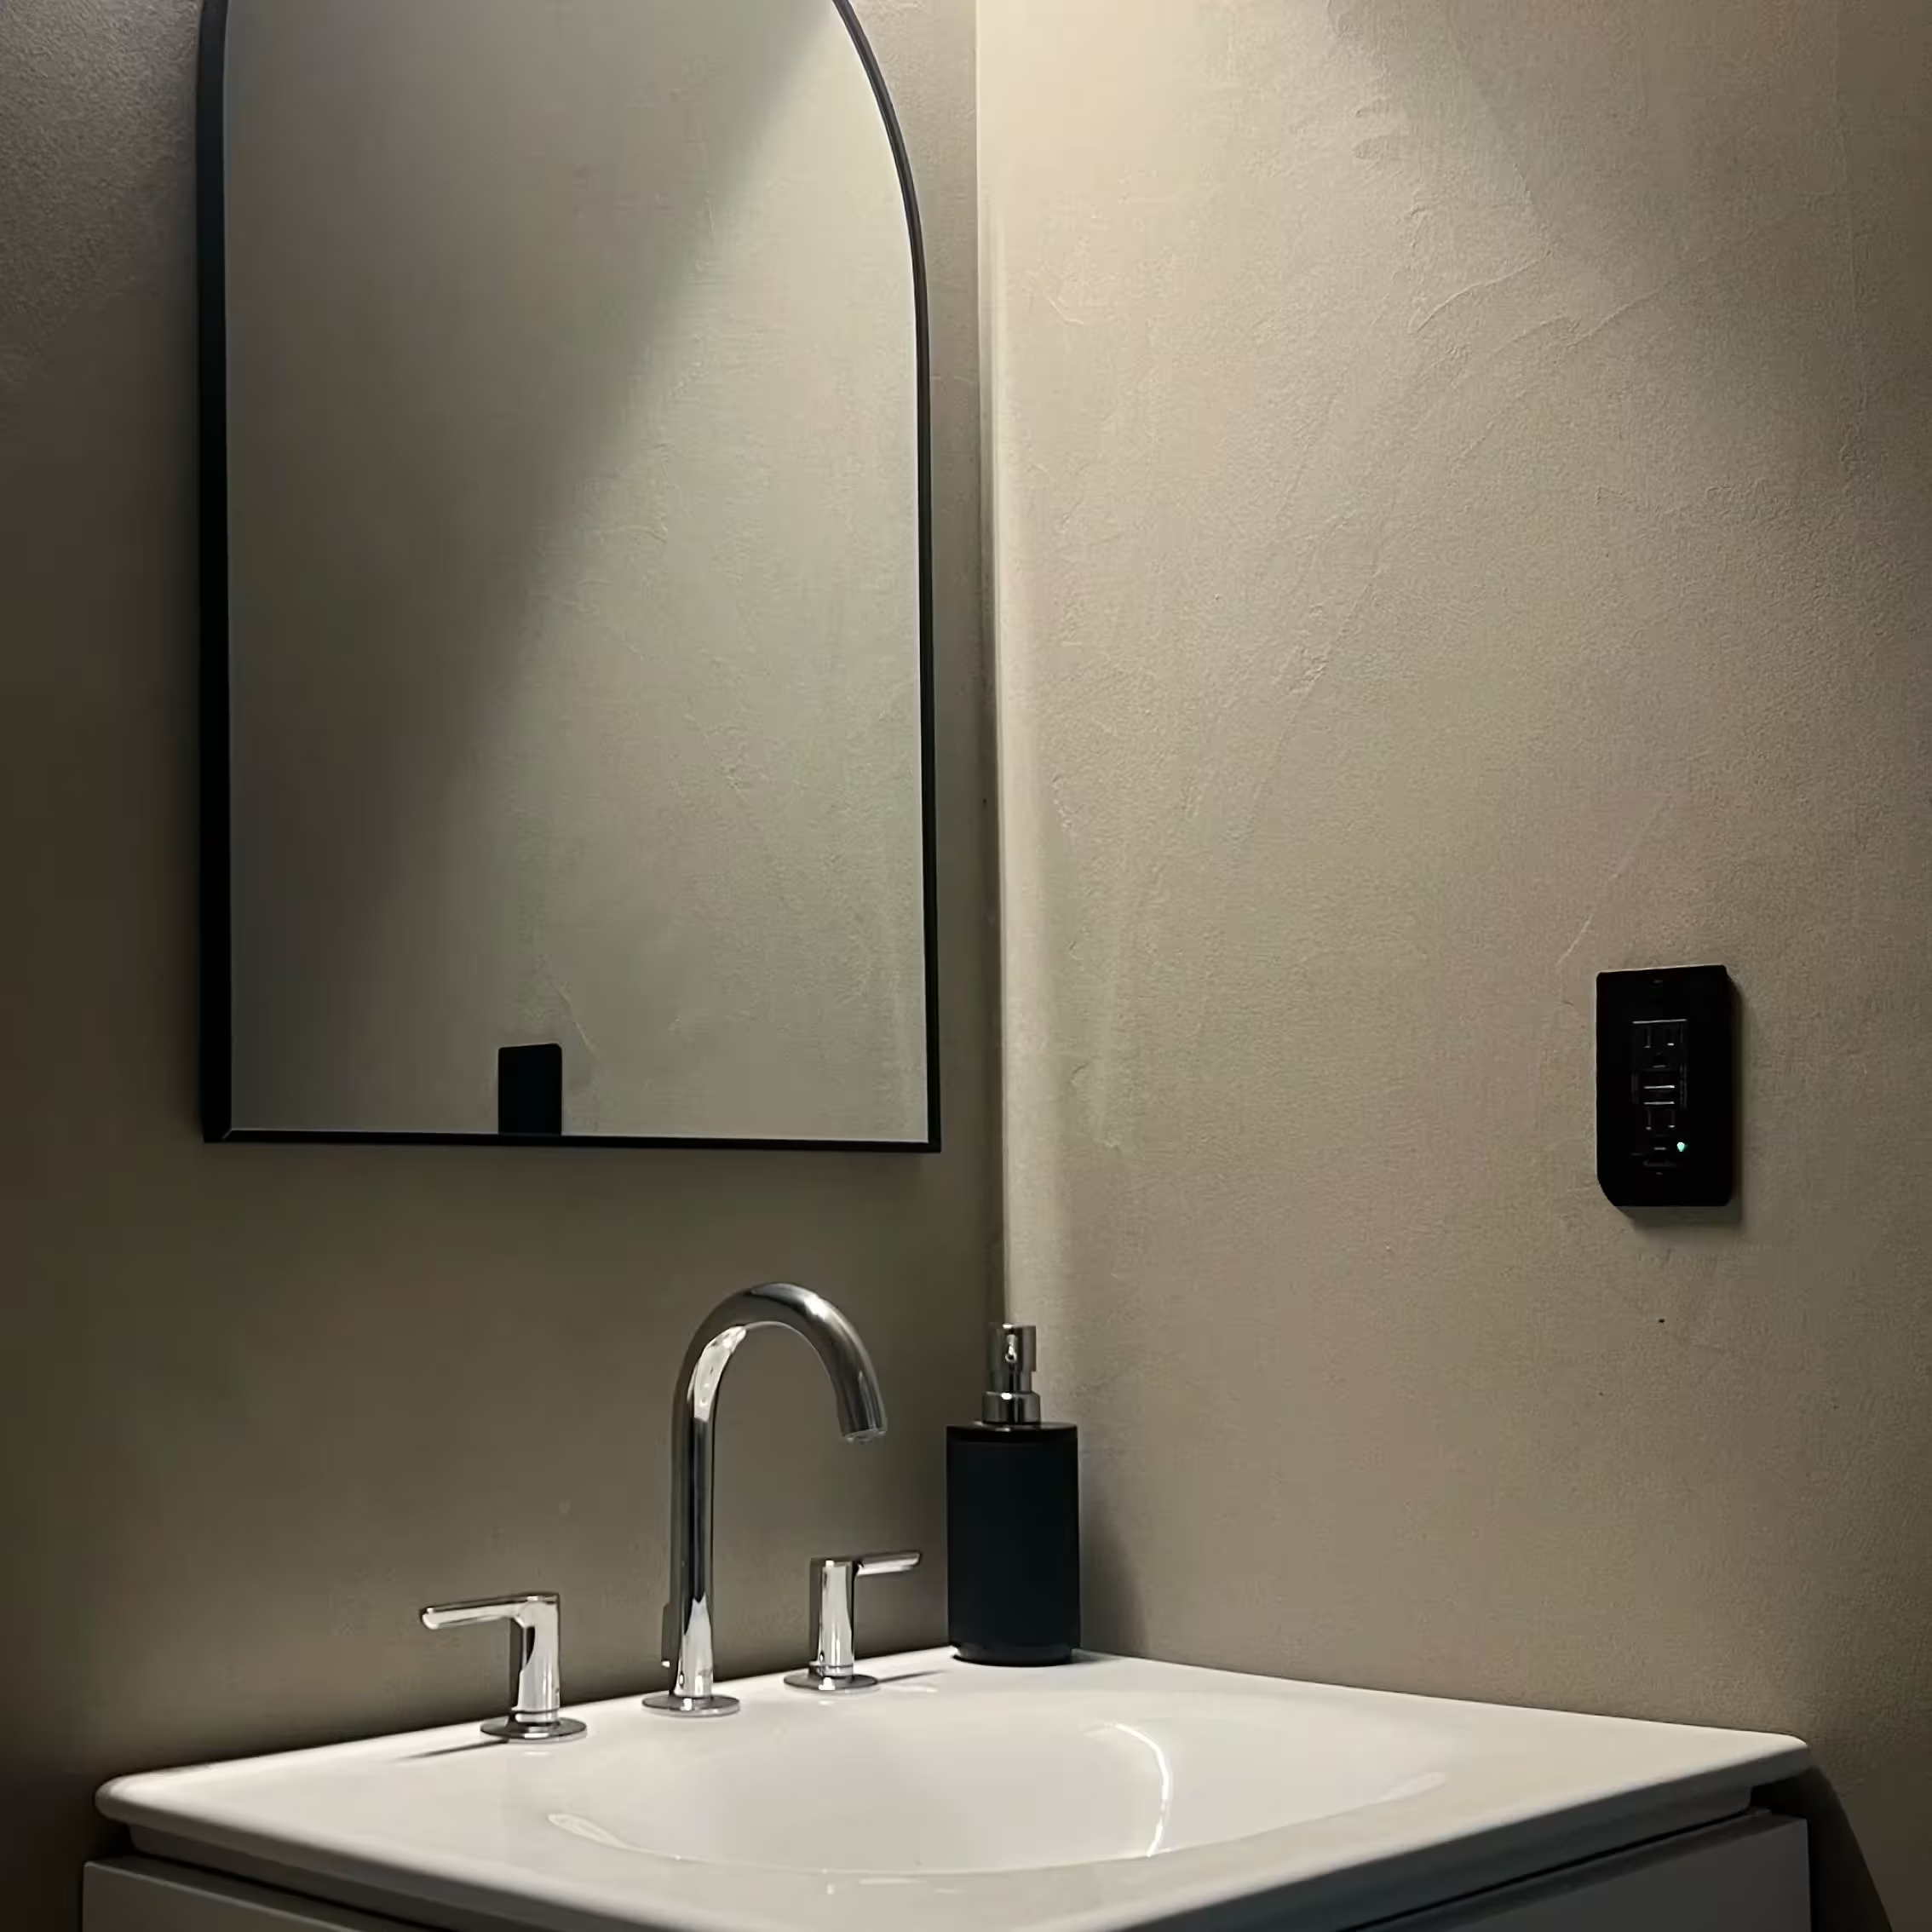
Microcement is a versatile finishing material that has become increasingly popular in modern interiors. Its benefits include:
- Seamless finish: No grout lines or visible seams.
- Durability: Once sealed, it’s scratch and water-resistant.
- Quick installation: Can be applied over existing surfaces like tile, drywall, and cement.
- Eco-friendly: Reduces waste by applying over existing materials instead of removing them.
With Smartcret, you get a complete DIY kit that includes primers, fillers, and base/top coats, making it easy to achieve professional results at home.
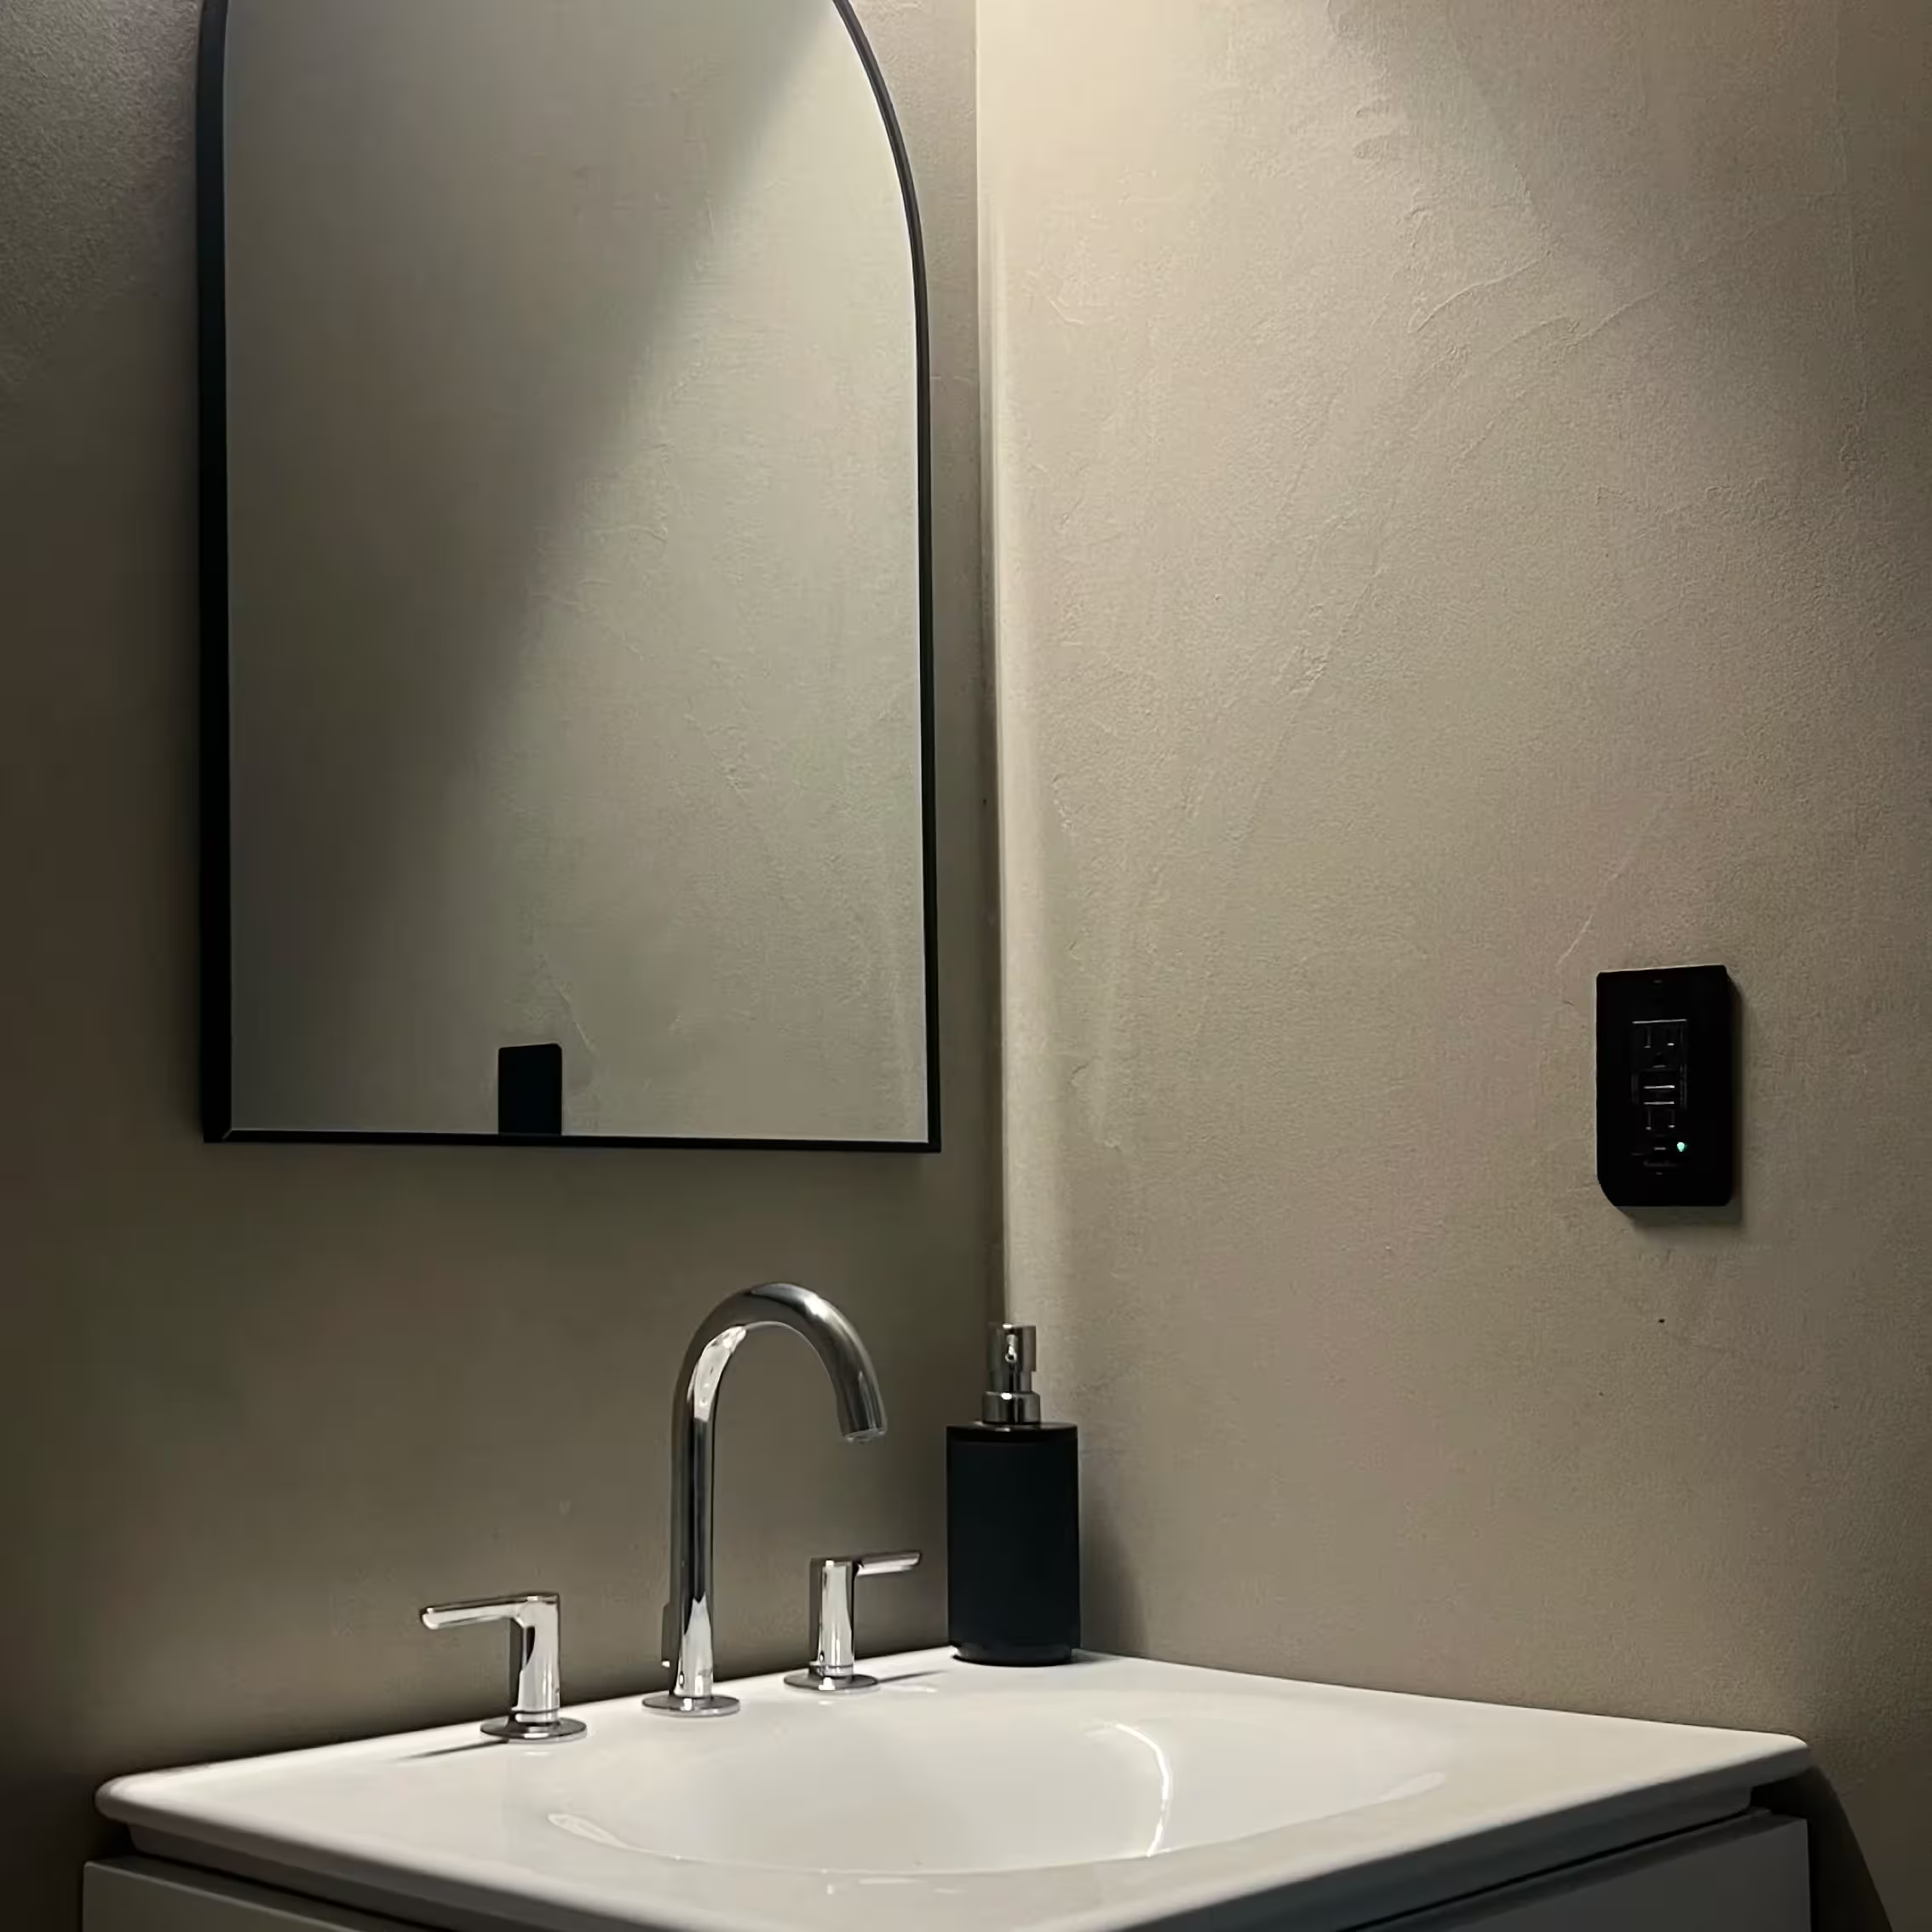
Step 1: Clean Your Surfaces
Clean Your Surfaces
Before starting, thoroughly clean your surfaces to remove any dust, grease, or residue. This ensures proper adhesion for primers and microcement.
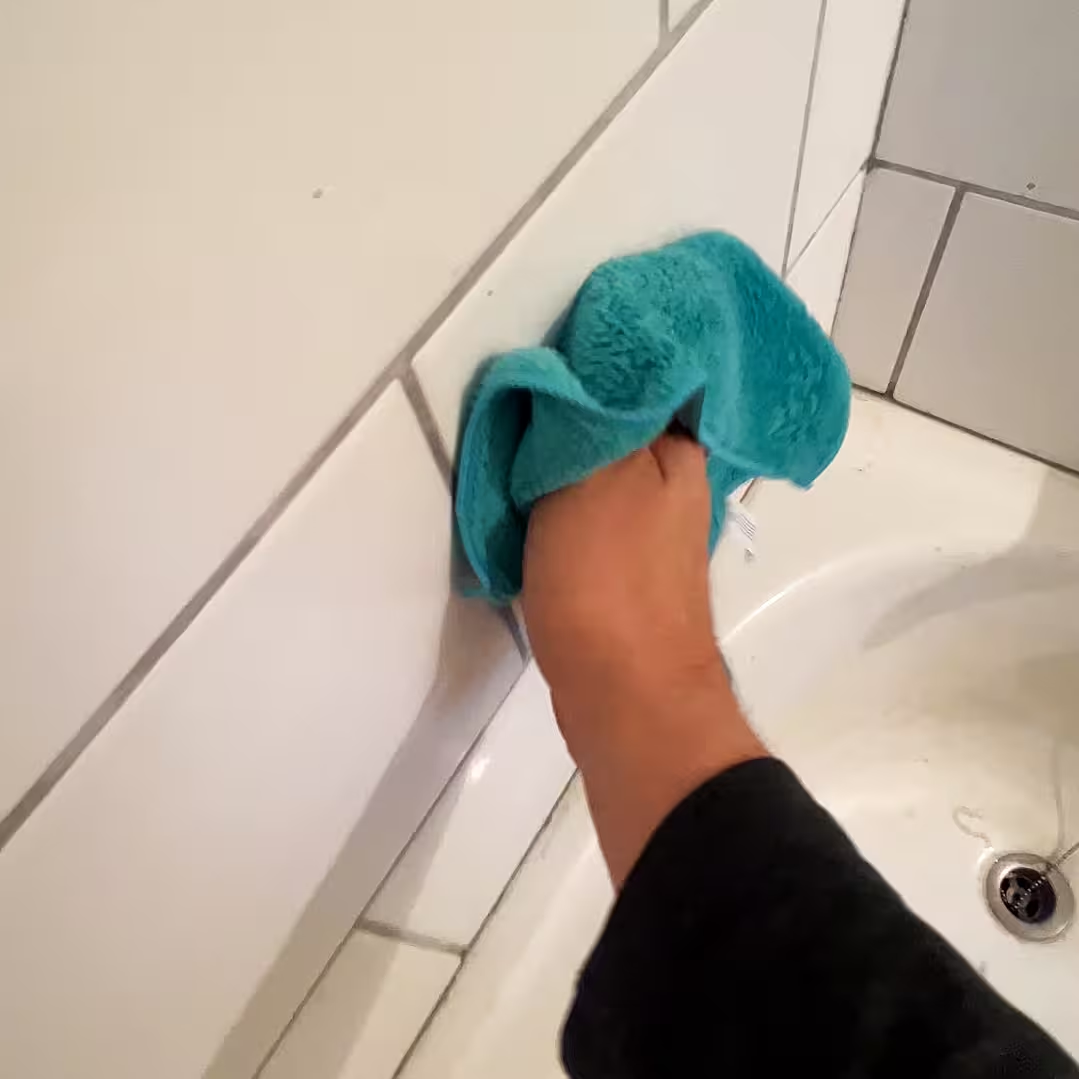
Step 2: Fill Grout Lines
for Tiles
If you’re applying microcement over existing tile:
- Use the Smartcret filler to fill grout lines.
- Smooth it out so the surface is even and ready for microcement.
This step ensures a completely smooth, seamless finish.
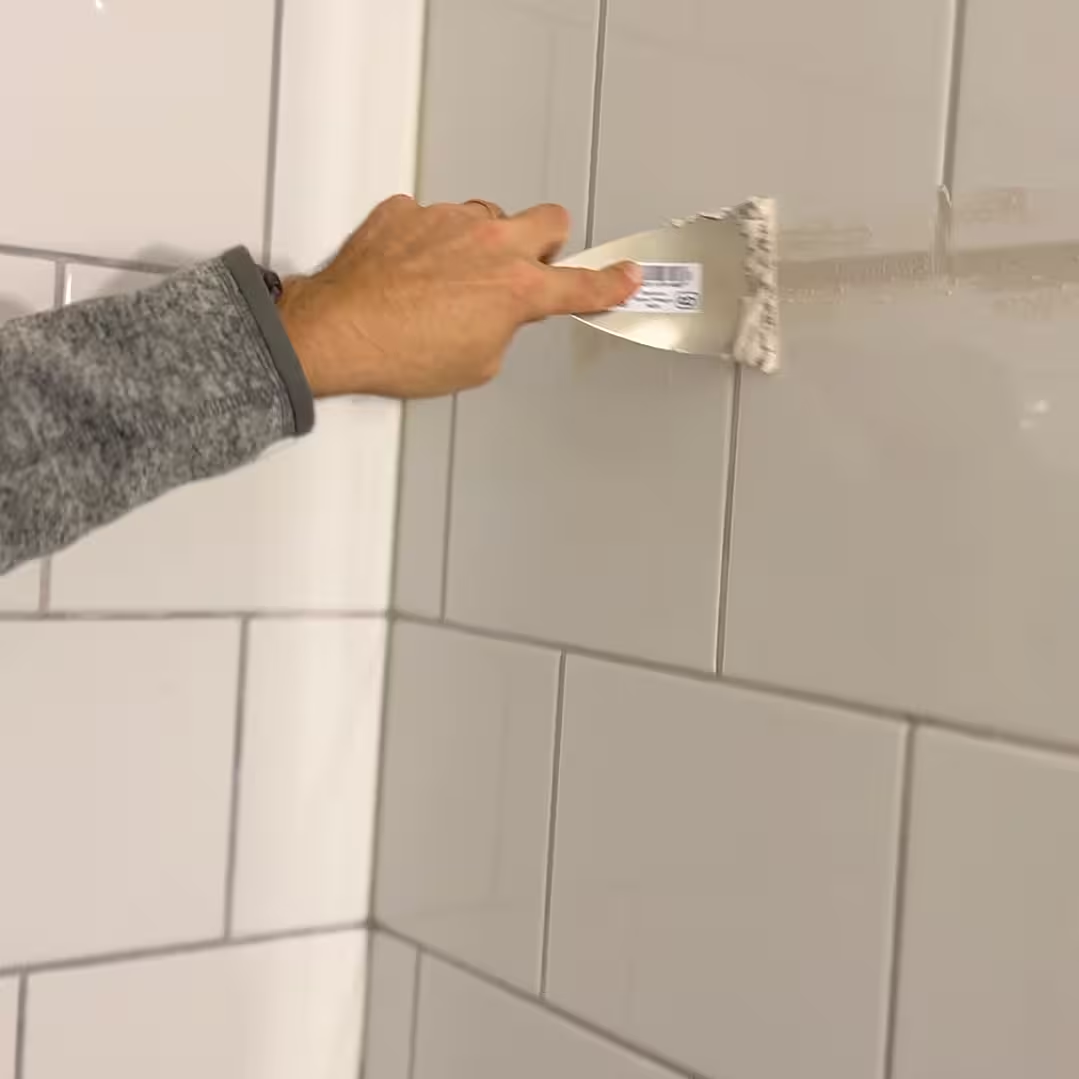
Step 3: Prime Your Surfaces
Prime Your Surfaces
Smartcret provides two primers for different surfaces:
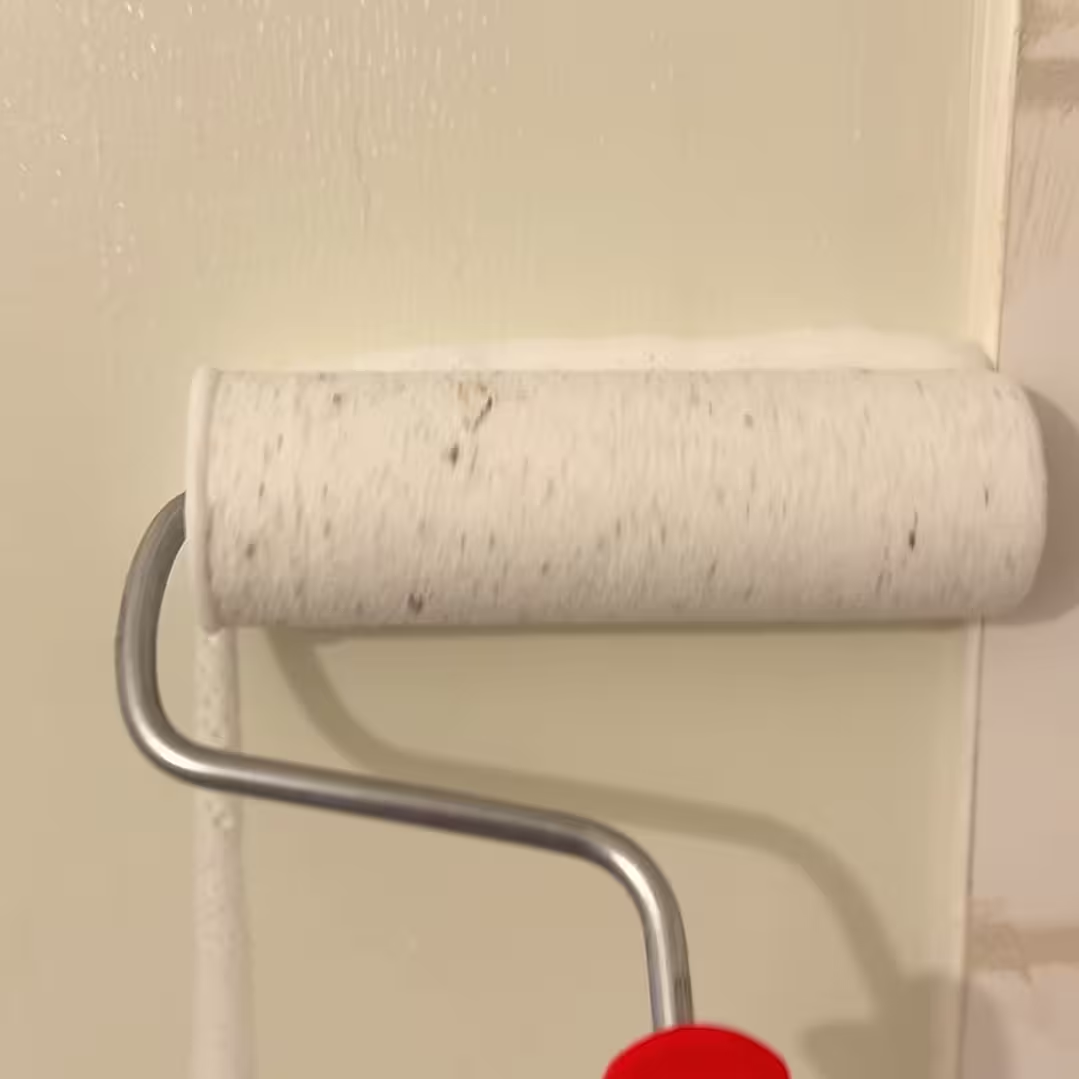
- Porous surfaces (like drywall): Apply the milky, tacky primer that helps the microcement stick.
- Non-porous surfaces (like tile): Use the grippy primer designed to adhere to slick surfaces.
Let the primer dry and lightly sand it to prepare for the base coat.
Step 4: Apply the Smart Base
Apply the Smart Base
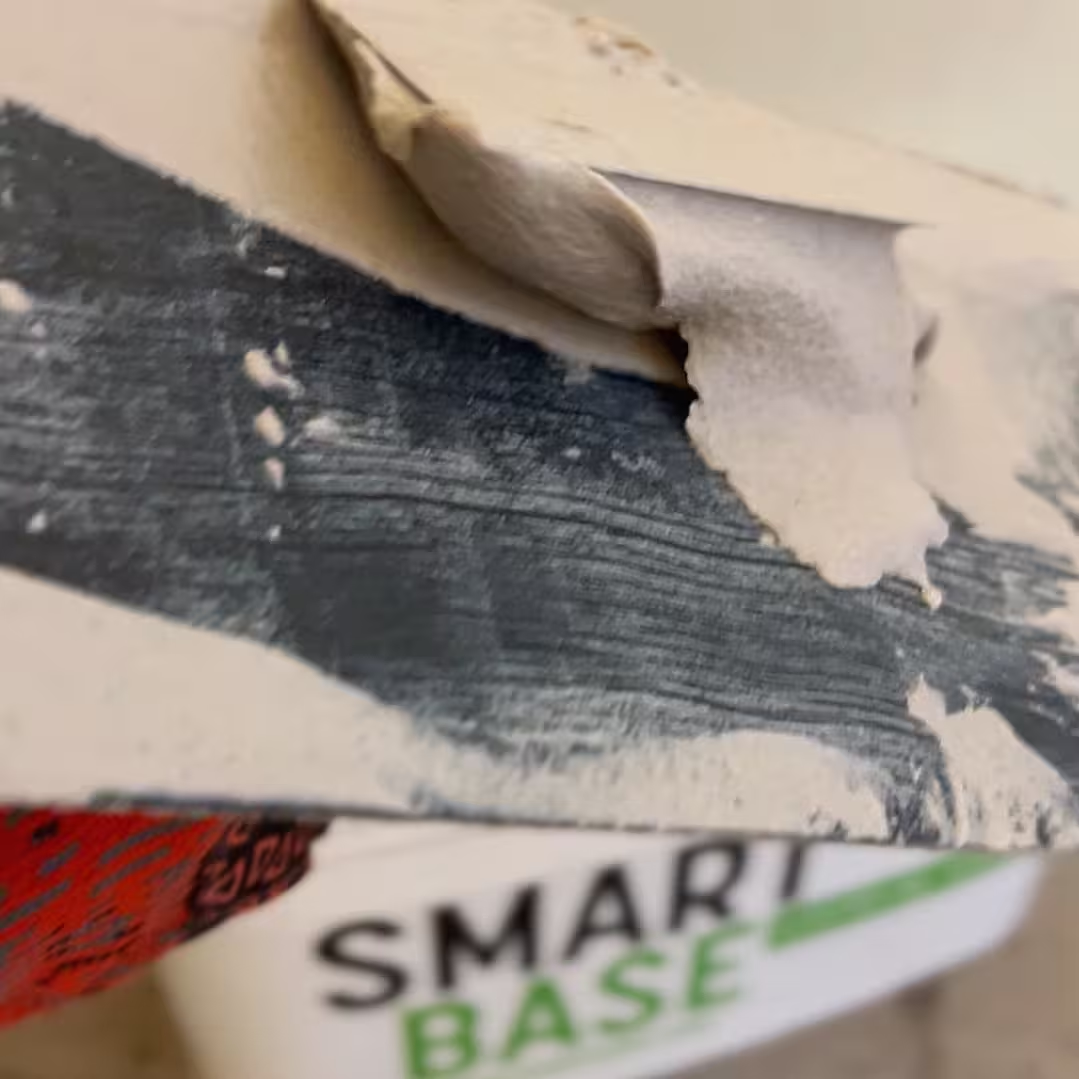
Apply two coats of Smartcret Smart Base, sanding gently between each coat.
- Focus on smooth, even application while maintaining a wet edge to avoid streaks.
- Allow the base to dry fully before moving on to the top coat.
The Smart Base has a slightly textured look, giving your walls a subtle, contemporary character.
Step 5: Apply the Smart Liso Top Coat
Apply the Smart Liso Top Coat
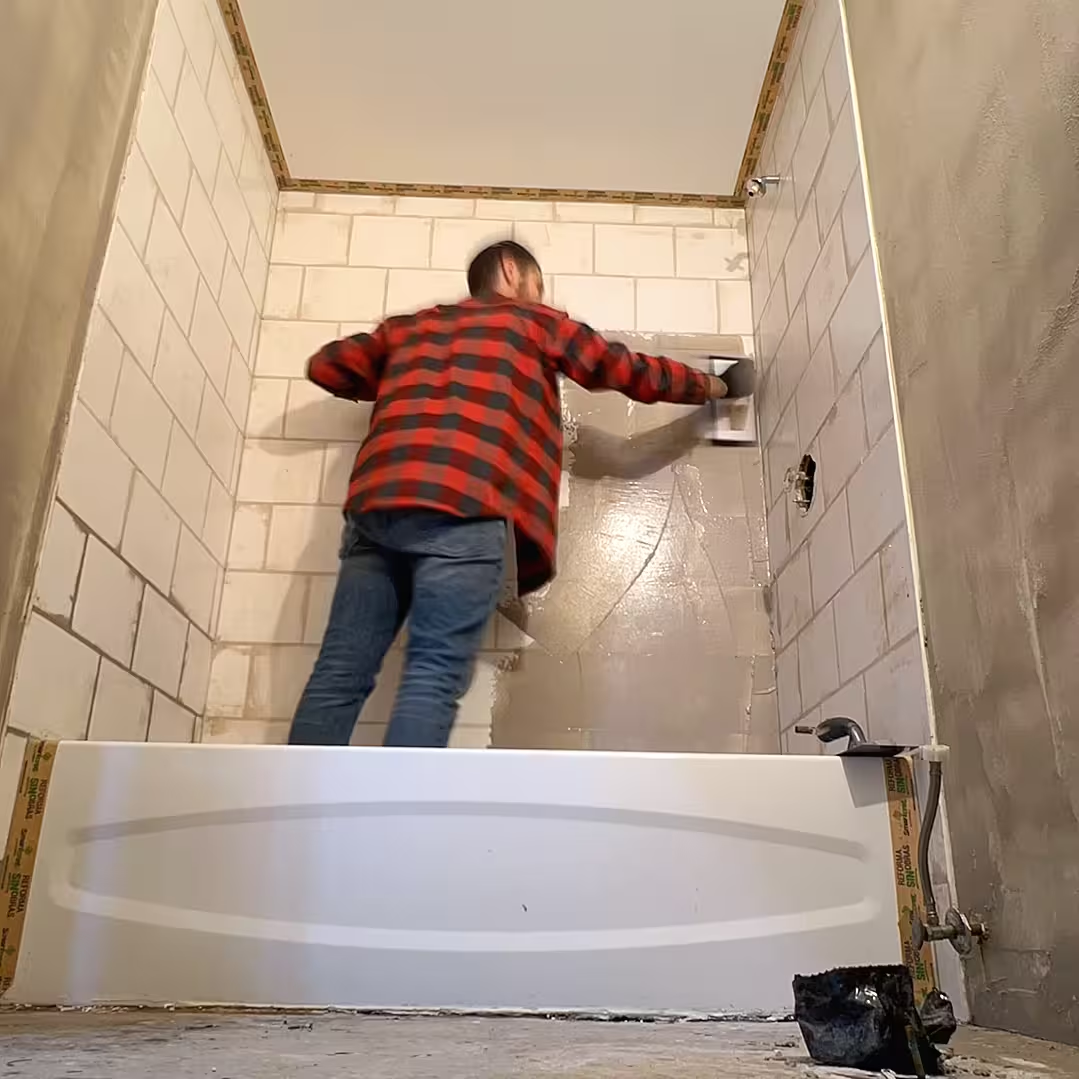
- Use Smart Liso for areas that need to be waterproof (like shower walls).
- Apply two or more coats, sanding between each for a smooth, glassy finish.
- The top coat provides additional durability and water resistance.
Tip: Keep a wet edge and work in a continuous motion for the most uniform result.
Step 6: Seal Your Microcement
Seal Your Microcement
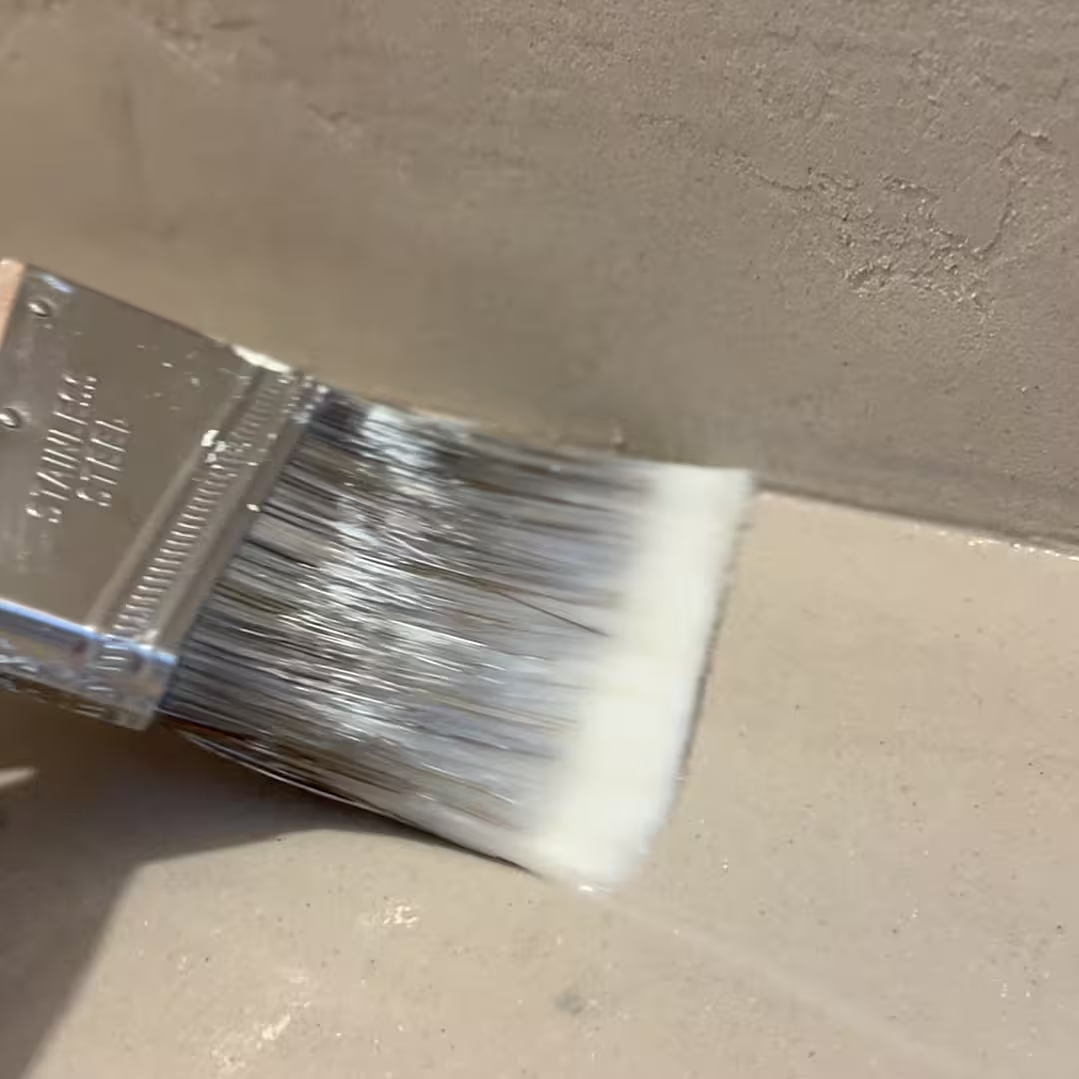
Once the top coat is dry, apply a Smartcret sealer to protect your surfaces from stains and water. More coats increase water resistance and durability, especially in wet areas like showers and floors.
Step 7: Final Touches
Final Touches
- Remove masking tape carefully using a utility blade to avoid peeling the microcement.
- Add silicone around tubs or sinks for extra protection.
- Admire your smooth, seamless, contemporary space!